
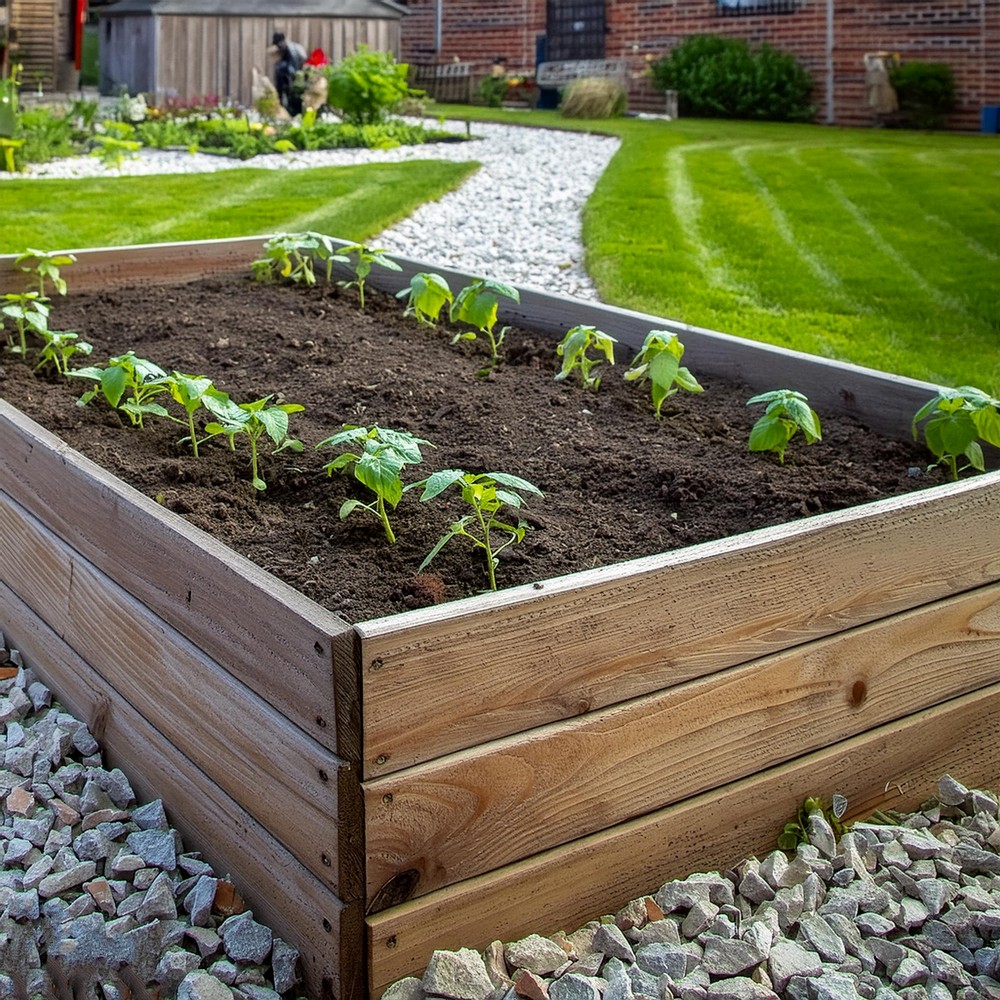
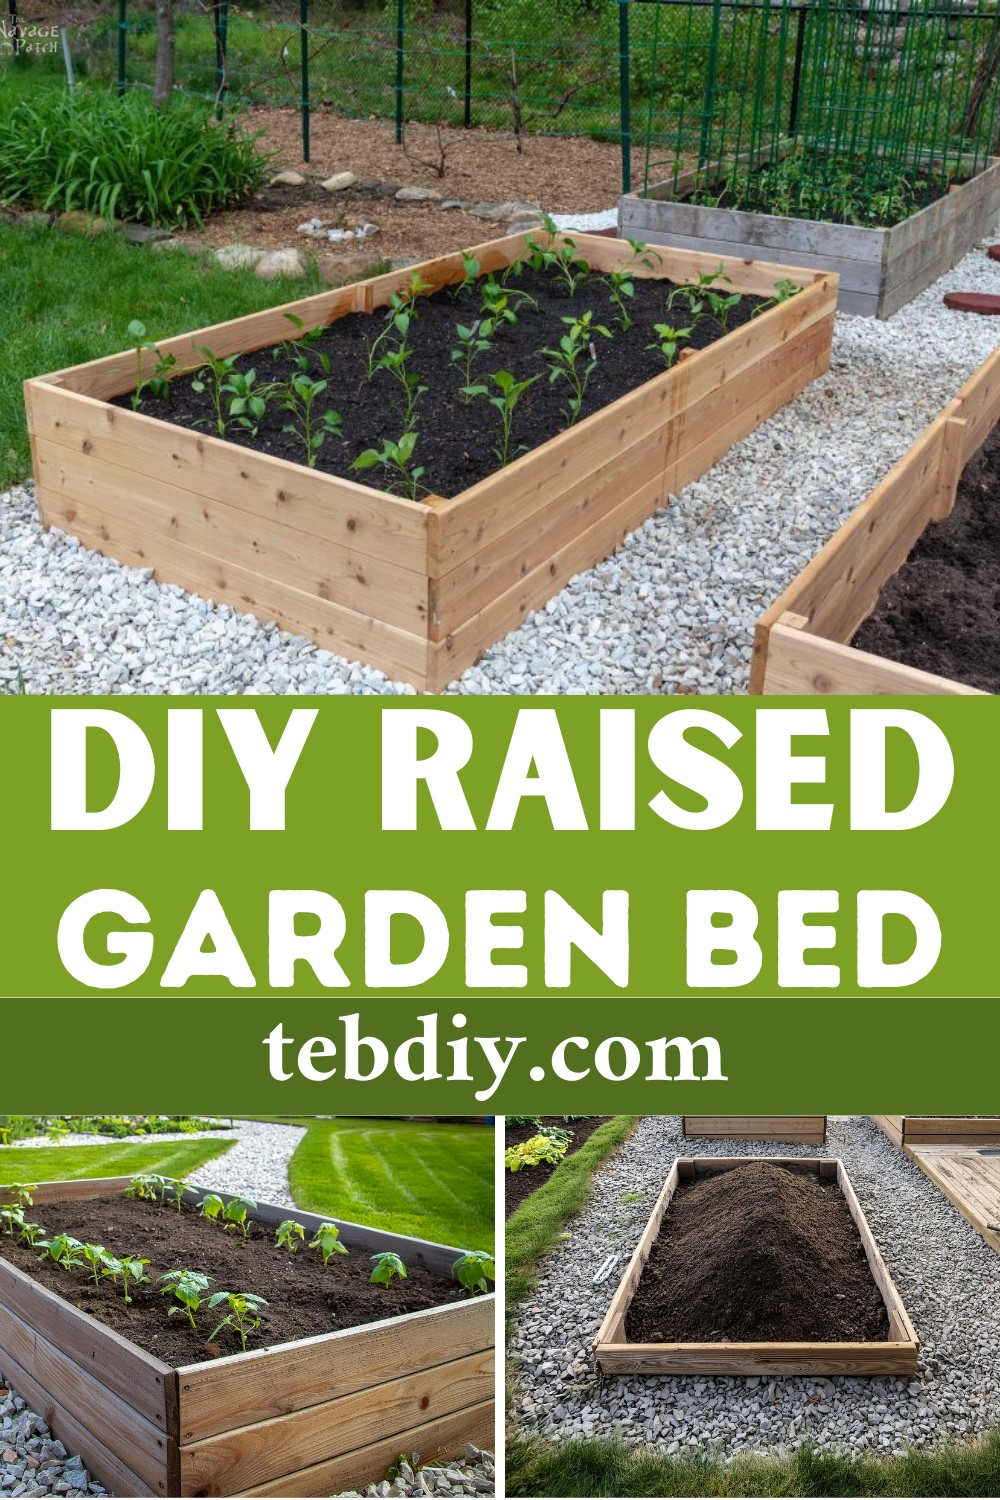
Building your raised garden bed is a fun and easy way to add beauty to your outdoor space. With a few simple materials and some basic tools, you can create a cozy home for your plants that looks great and helps them grow better. Our step-by-step guide makes it easy for anyone to build their garden bed, even if you’ve never tried a DIY project. Imagine seeing a lovely raised bed filled with blooming flowers or tasty vegetables, and knowing you built it yourself!

DIY Raised Garden Bed Plan
Materials List:
- Nine cedar deck boards,
- 8 feet in length,
- 1 inch thick
- Exterior screws or deck screws
Tools Used:
- Circular Saw
- Kreg Jig (for drilling pocket holes)
- Drill
- Hammer
- Level
- Sawhorses (optional for ease of assembly)
Crafting Your Raised Garden Bed:
Sizing Up Your Cedar:
First, measure and mark the required lengths on your cedar boards. Then, guide the circular saw through the wood to cut six boards in half. This will form the sides of two 4-foot by 8-foot garden beds.
Pocket Hole Prepping:
With your boards cut, it’s time to prepare for assembly. Choose the smaller boards and drill three pocket holes into each of their ends. This step is crucial to ensuring snug and solid corners.
Ascent to Assembling:
Set the boards on sawhorses to make the process easier on your back. This elevates the work to a comfortable level, where each pocket hole can be aligned and joined to form the bed frames without strain.
Staking the Structure:
After completing the assembly of the tiers, drive corner stakes into the ground at the four corners, securing the structure for the raised garden bed.
Leveling the Landscape:
Now, address the slope of your garden. Begin at the back, level across, and secure each board with deck screws. Repeat front and center until your bed sits grandly upon the land.
The Finishing Touch:
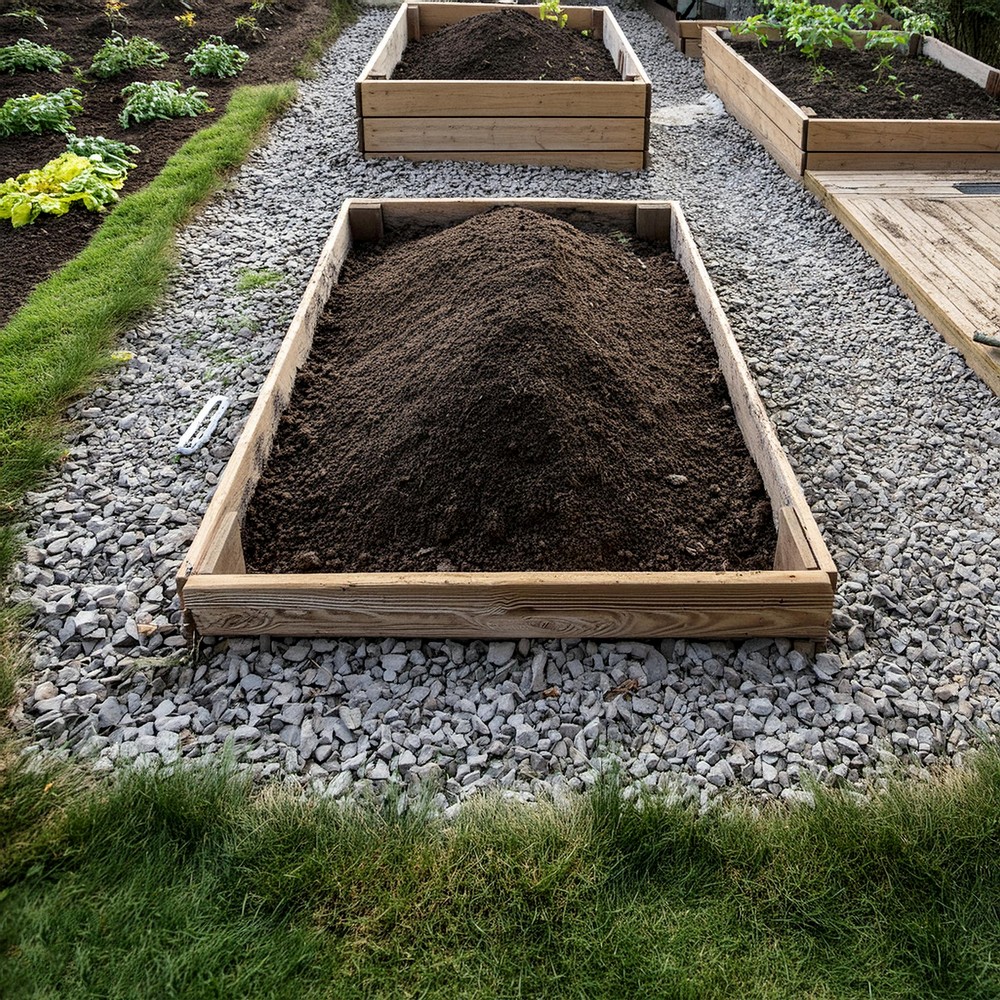
Finally, layer your lovingly assembled beds with garden soil mixed with peat moss and compost. With the topsoil balanced and enriched, your garden bed is primed for seeds and plants to take root.
Leave a Reply