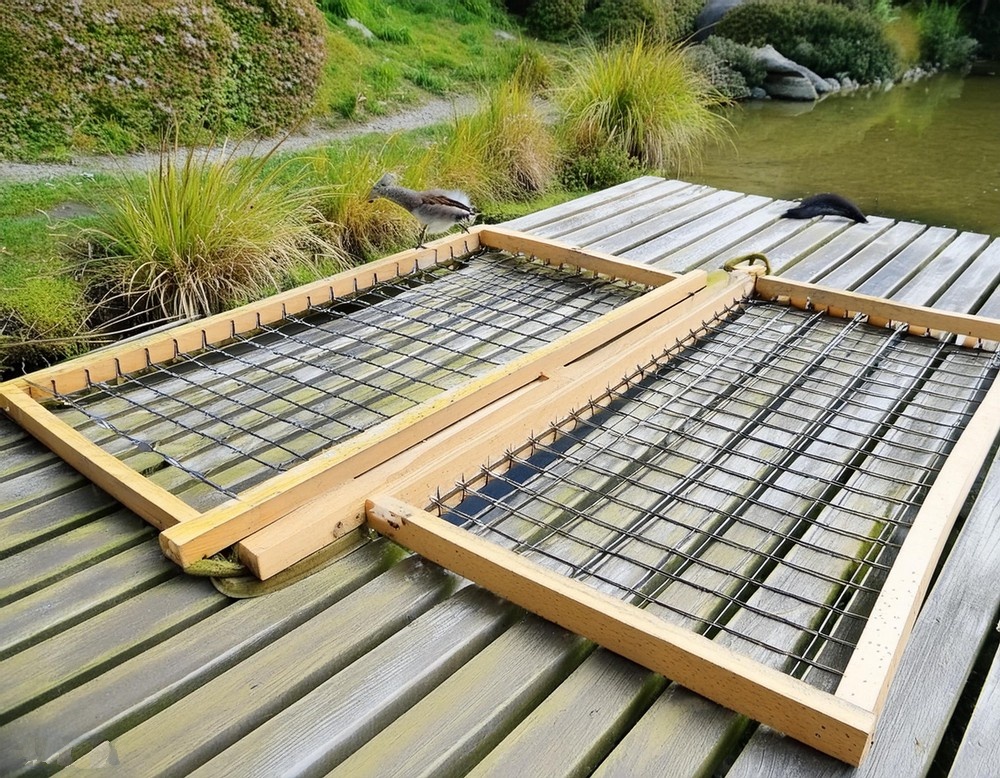
This DIY project is best to enhance your living space and can be a rewarding endeavour, bringing not only aesthetic appeal but also a sense of personal achievement. One particularly unique project that combines the rugged beauty of metal with the warm, natural tones of wood is the construction of a custom fence made from rebar and Douglas fir wood. This project is perfect for those looking to introduce an element of industrial chic to their outdoor space while also enjoying the hands-on process of creating something truly distinctive.
DIY Fence Project

Materials Needed:
To recreate this distinct fence, you will need the following materials for each post:
- Douglas fir wood:
- Main Post: 9×9 cm, 92 cm long
- Cap: 13×13 cm, 2.5 cm thick
- Base: 22×22 cm, 2.5 cm thick
- Dowels: 6×30 mm (2 pieces)
- Screws: 100 mm long, 5 mm thick (2 pieces)
- Rebar: 18 or 26 cm long, 16 mm thick (2 pieces per post connection to the fence sections)
- Wood glue
- Black varnish for the wood
- Black paint for the rebar
Tools Required:
- Savage
- Drill
- Screwdriver
- Angle Grinder
- Paint brushes
Step-by-Step Guide:
Gathering Wood
Start by assembling all necessary Douglas fir wood lengths, preparing to cut them to the specified measurements.
Cutting Wood for Rails
Cut the wood for the rails to a length of 182 cm and the vertical side of the fence to 70 cm, taking into account the length of rebar and the desired fence height.
Cutting Wood for Posts
For the main part of the post, cut the Douglas fir to a length of 92 cm. The caps and bases should be cut according to the dimensions mentioned in the materials list to ensure a proper fit and aesthetic appeal.
Overview of Cut Wooden Parts
Organize and review all the cut pieces, ensuring everything is ready for the next steps and matches the project’s needs.

Painting the Wood
Apply a transparent varnish to the fence sections and a black varnish to the post parts. Remember, areas meant to be glued should not be painted.
Preparing Metal Parts
Retrieve the pre-cut rebar and paint all metal parts with a metal-specific paint. This step was performed in advance to allow for curing.
Prepping Rebar for Connection
Cut additional, shorter pieces of rebar to use as connecting pins between the fence sections and posts. Grind the edges to remove any sharpness.
Paint Newly Cut Rebar
Apply the same metal paint to these freshly cut pieces, allowing time for them to dry and cure fully.
Layout Test
Lay the rebar pickets over the wooden frame to preview the final look and adjust if necessary.
Marking Drill Locations
Carefully measure and mark where each hole needs to be drilled on the rails for the rebar, considering the space needed for assembly.

Drilling Holes for Rebar
Drill holes to accommodate the rebar’s thickness, ensuring they’re deep enough for a snug fit but not too loose.
Assembling the Posts: Base Plate
Attach the base plates to the bottom of each post using glue and screws, ensuring a secure attachment.
Assembling the Posts: Top Cap
Affix the caps atop each post using dowels for a clean look that masks any visible attachment points.
Positioning the Fence
Align the fence sections with the posts, utilizing a clamp and spacers to simulate the final assembly, and drill pilot holes for the connecting pins.
Enlarging Holes for Connecting Pins
Enlarge the pilot holes to accommodate the connecting pins precisely, ensuring a tight fit without excessive play.
Final Assembly
Following the thorough preparation, assemble the fence sections by placing the rebar in the pre-drilled holes and securing everything together.


Leave a Reply