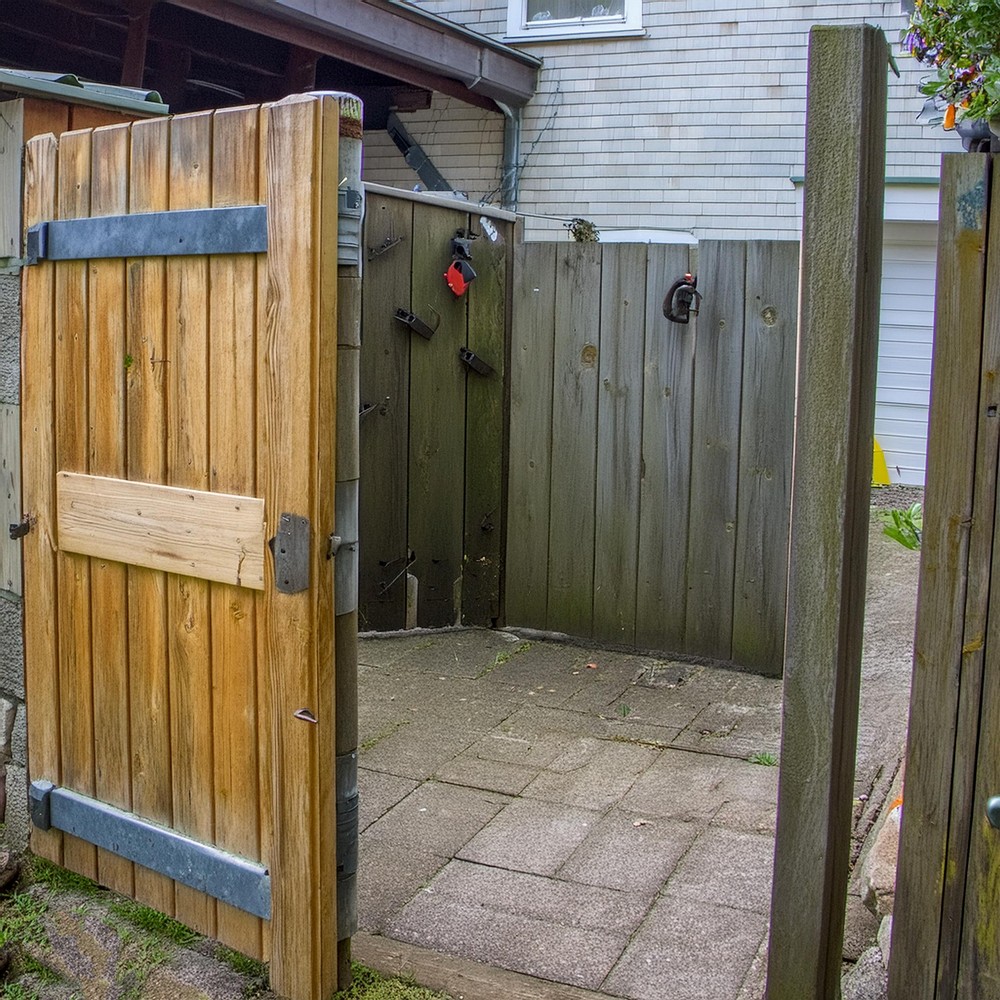
Put your hands on this DIY project for building a fence gate that doesn’t just signify building a passage. It marks the crafting of an entrance to new beginnings and endless memories in your outdoor spaces. Whether it’s a welcoming entry into your garden or a protective barrier for your private haven, the art of constructing a fence gate combines functionality with aesthetic appeal. And guide transforming lumber and bolts into a gateway for outdoor that mirrors your home’s warmth and character.
Building Fence Gate Project

Materials:
- Wood (pressure-treated 2x4x10 for the framework and 6 ft dog-eared fence planking)
- Metal hardware
- Bolts (48 needed based on project specifics)
Ensure that the bolts are appropriately sized for the thickness of your 2x4s.
Tools:
- 24″ level (or larger)
- Drill with bits
- Tape measure
- Circular saw
- Triangle
- Marking pencil
- Ratchet with socket for bolts

Step-by-Step Guide to Crafting Your Fence Gate
Laying It Out
It all begins on the ground. Your gate’s threshold sets the tone for the alignment with the rest of the fence. Arrange your planks on the ground, playing a Tetris game with gaps and measurements until you find the perfect layout. The magic number here turned out to be seven planks, snuggly fit with consistent gaps. Extract frame measurements from an existing fence section to dodge any mismatch in sizing.
Piecing It Together
Once your layout is blessed by the geometry gods, it’s time to measure twice and cut once. Lay out your cut pieces, alongside the hardware, to check for any miscalculations before they become permanent. Squaring the frame and marking the spots for L brackets come next, perfecting alignment and ensuring robustness. Pre-drill your holes to avoid wood splits, and then, with patience, start bolting everything together, ensuring straightness and solidarity in the frame.
Erecting the Gate
Positioning the gate single-handedly might feel like juggling, but with some ingenuity, it’s entirely feasible. Start by propping the gate near its destined space to gauge adjustments. Use temporary supports like nailed 2x4s or shims to maintain its position and height as you attach the hinges. This stage is where precision meets patience, ensuring the gate’s functionality and appearance align perfectly.
Final Touches
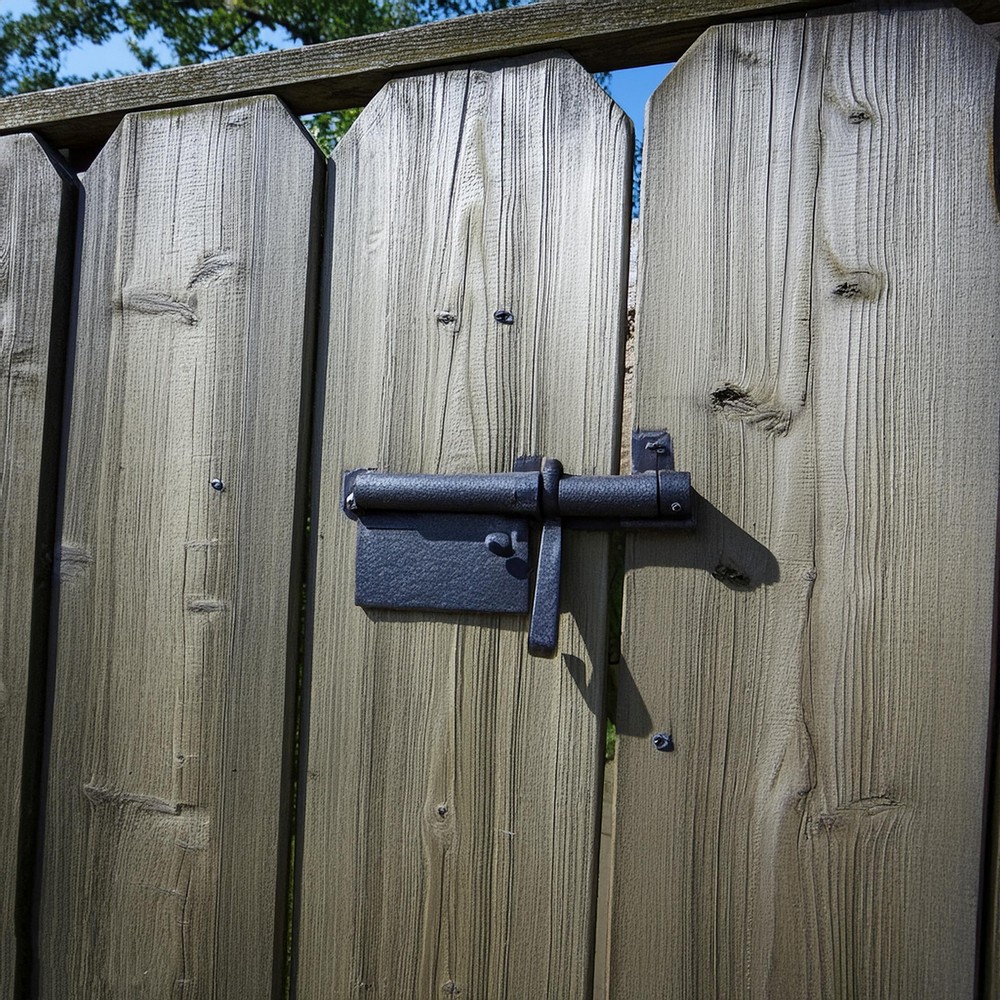
Attach the hinges carefully, maintaining level and alignment with the posts. Once secured, step back and see the transformation. The final phase involves attaching the planks to the frame, bringing your vision to life. Adding your chosen hardware for securing the gate adds the finishing touch to a project that stands as a testament to your craftsmanship.

With every plank secured and every bolt tightened, stepping back to admire your handiwork brings a unique satisfaction. This project not only enhances the appeal and functionality of your outdoor space but also embodies the spirit of DIY – merging creativity with utility. The new fence gate stands as a proud entryway into your sanctuary, a symbol of your dedication and craft.
SO, in my opinion, now, it’s time to put these steps into action and create something truly remarkable for your home.

Leave a Reply