
Ever wish your room looked like a cozy farmhouse? You can make it happen by making an elegant yet simplistic farmhouse-style window frame following this straightforward DIY tutorial. Perfect for adding a personal touch to any room, these frames are easy to make and stunning to display. With their rustic look, these frames can transform a plain wall into an accent piece. You can switch out decorations on these frames as the seasons change – maybe hang a wreath during the holidays or display family photos for a personal touch.

DIY Farmhouse Style Window Frames

Materials and Tools Needed:
- Flat straight braces
- Wood glue
- Flat corner braces (optional)
- Screws (the size will depend on the boards you use)
- Wood stain (the tutorial uses diluted latex paint, mixed 50-50)
- White latex paint
- Sandpaper
- Cotton cloth
- Brushes
- Plastic or paper plates
- Plastic sheet for protection

Tools:
- Measuring tape
- Drill
- Ruler
- Kreg-Jig pocket holes tool
- Step-by-Step Creation Process:
Preparation:
Initiate the project by arranging your workspace. Lightly sand the pinewood boards to eradicate any irregularities and potential splinters. Lay out all the pieces, confirming a snug fit. Mark the necessary spots for pocket holes, ensuring precision for a seamless assembly later on.
Pocket Holes:
Employ your Kreg-Jig pocket hole tool to drill holes at the previously marked points. Be cautious to follow the directional arrows you’ve sketched. Avoid drilling into the internal boards to prevent splitting; instead, focus on the frame boards, despite the slight indentation it may cause. This is not noticeable once the frame is mounted.
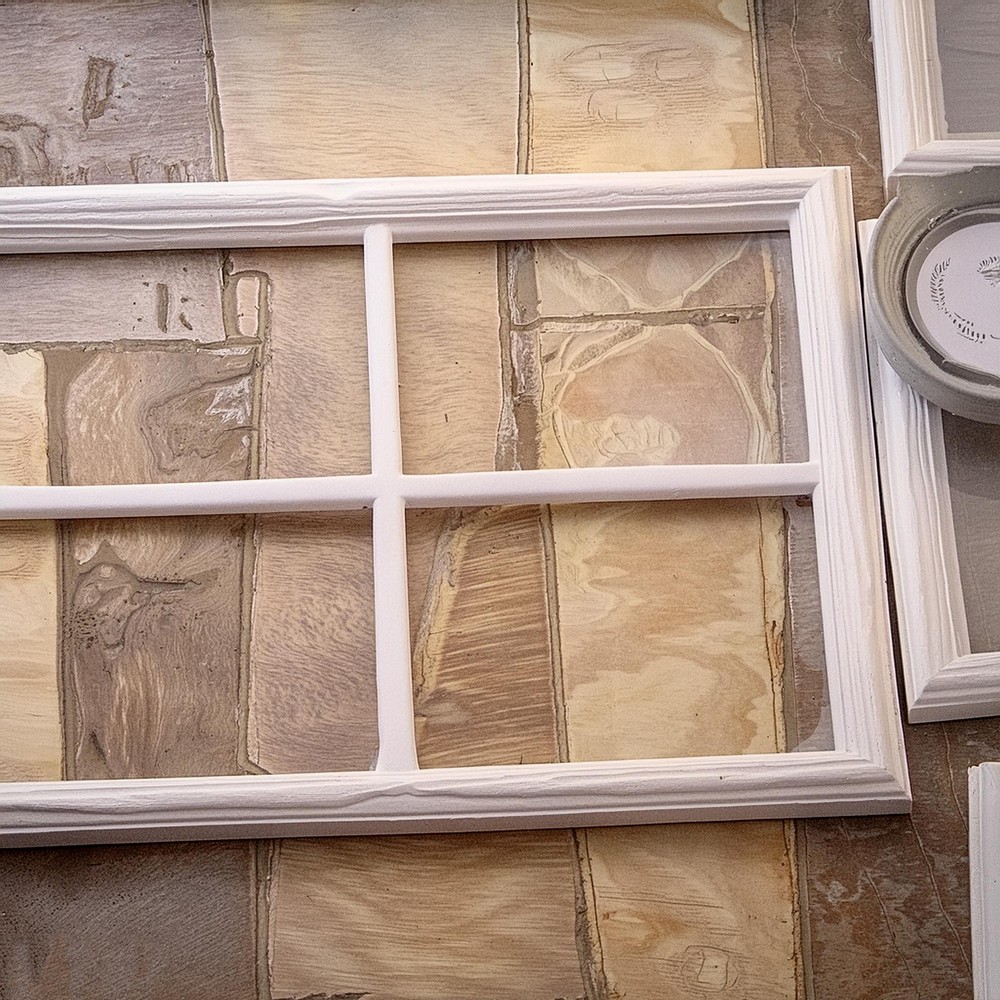
Assembly:
Now, it’s time to put the pieces together. Start with the outer frame, securing it with screws, then proceed to fit and glue the inner pieces. Using flat straight braces to reinforce the joints is optional but recommended for added stability.
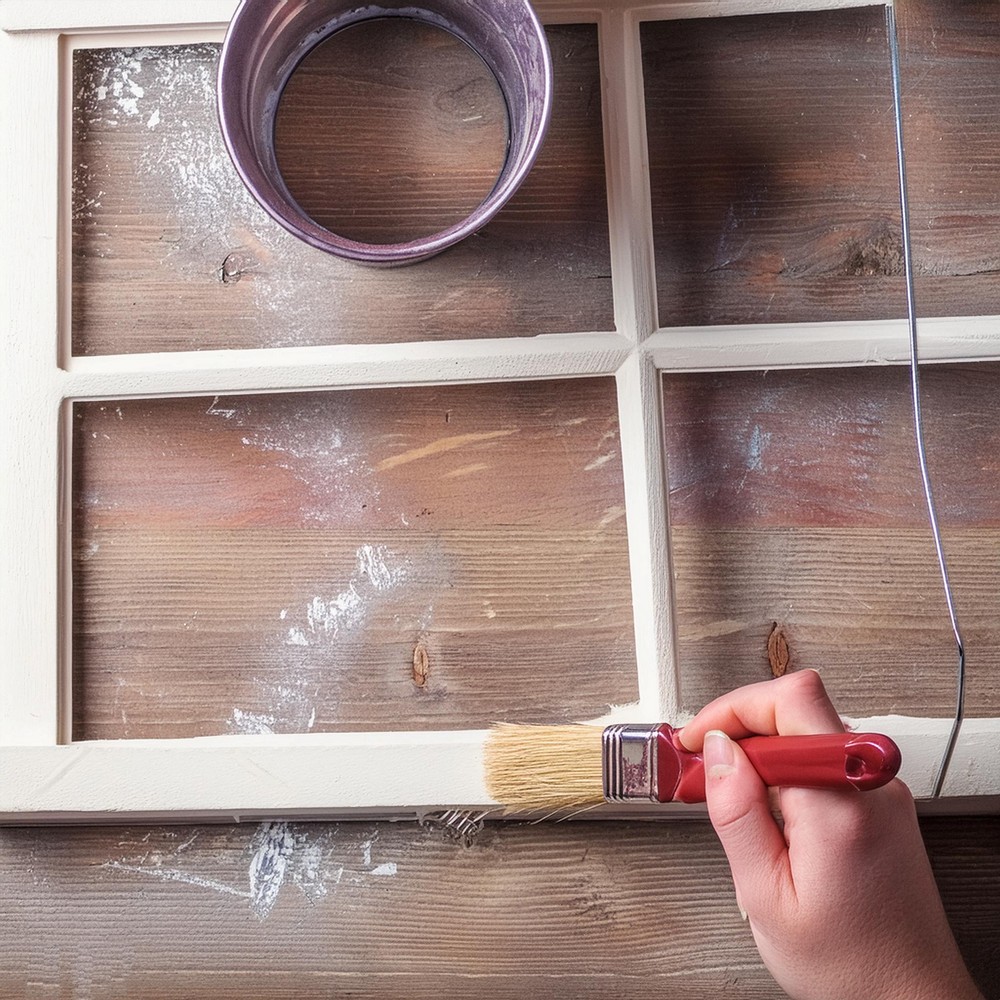
Painting and Finishing
Once the frames are assembled, begin the finishing process. For a personalized touch, stain the frames using a homemade mixture of latex paint and water. After applying the stain, wipe each piece with a cotton cloth, highlighting the grain of the wood. After a few hours of drying, move on to the dry-brushing technique with white latex paint to achieve a rustic look.
Mounting and Hanging:
Decide on your arrangement, with the option to place a large frame atop the smaller ones for a layered effect. Secure the chosen layout with screws. Install hooks behind the frames, ensuring they face the same direction for trouble-free hanging. Finally, seal your work with spray varnish, and the window frames are ready to be displayed in your chosen spot.
What we’ve created is more than just a window frame; it’s a statement piece. This easy-to-follow, versatile crafting journey has added a dash of farmhouse flair to your home, proving that style lies in the palette and the process of the beholder.
Leave a Reply