
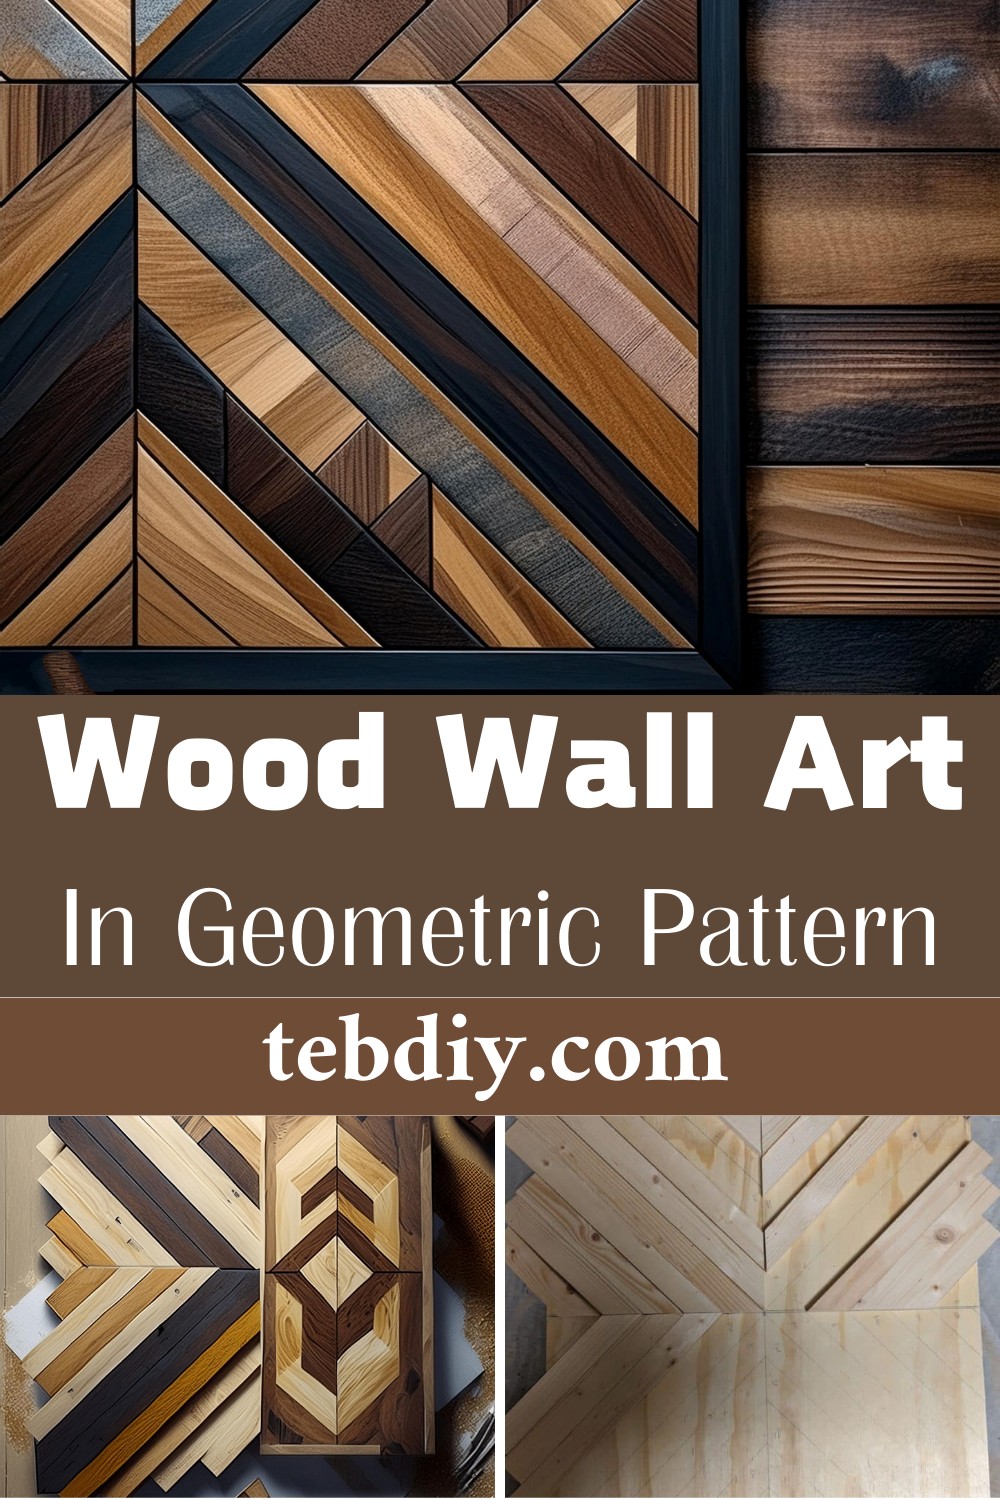
Craft your own stunning wood wall art with this simple guide! From materials to step-by-step instructions, you’ll create a beautiful and unique piece. Making geometric wood wall art on Pine and Poplar is a budget-friendly alternative to costly store-bought pieces. The wood art features a selection of stains! This palette creates a rich, varied appearance that enhances the artwork’s depth and complexity. Each piece within the geometric pattern sports a different hue, providing visual interest and contrast.
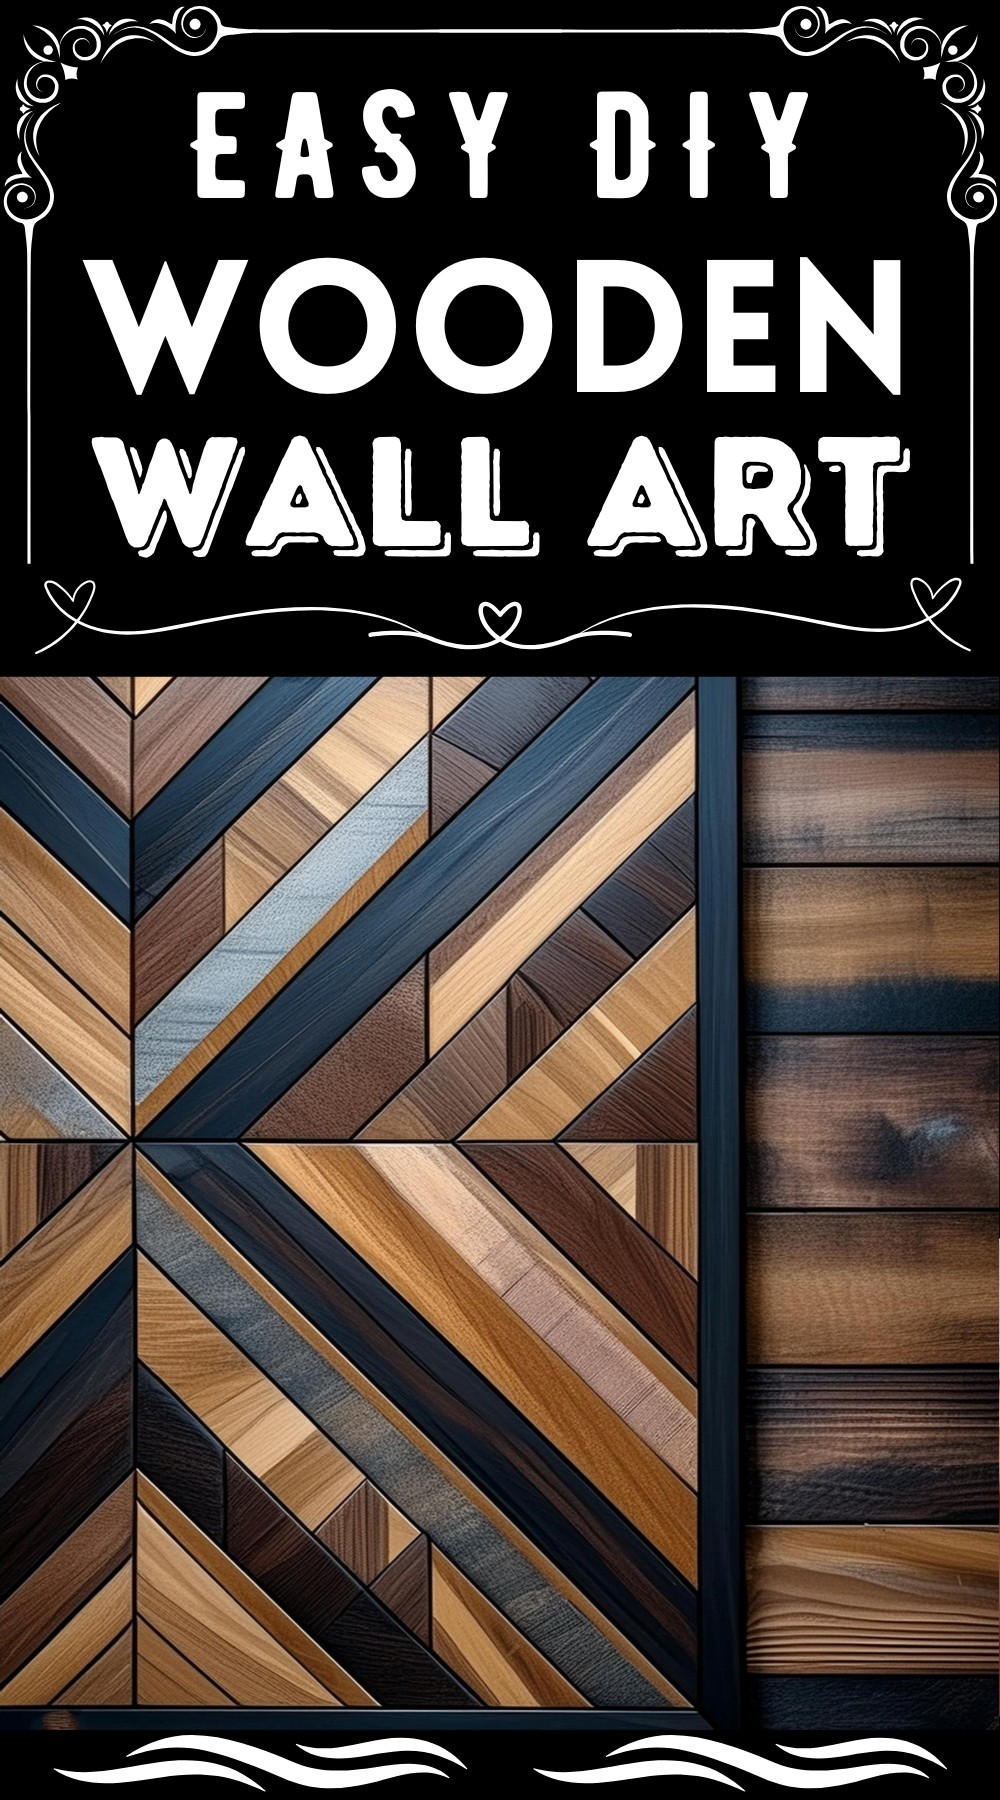
DIY Easy Wood Wall Art

Materials:
- 1x2x8 common pine boards
- 1/4″ plywood
- Wood glue
- Pencil
- Paint and/or stain
Tools:
- Circular Saw
- Miter Saw
- Nail Gun
Creating Your Geometric Wood Art Step-by-Step
Mark Your Foundation: Draw two critical lines on your plywood—the first spanning the vertical midpoint and the second crossing it horizontally at the halfway point. Accuracy is critical, so double-check your measurements, as plywood can sometimes betray your expectations of perfect geometry.
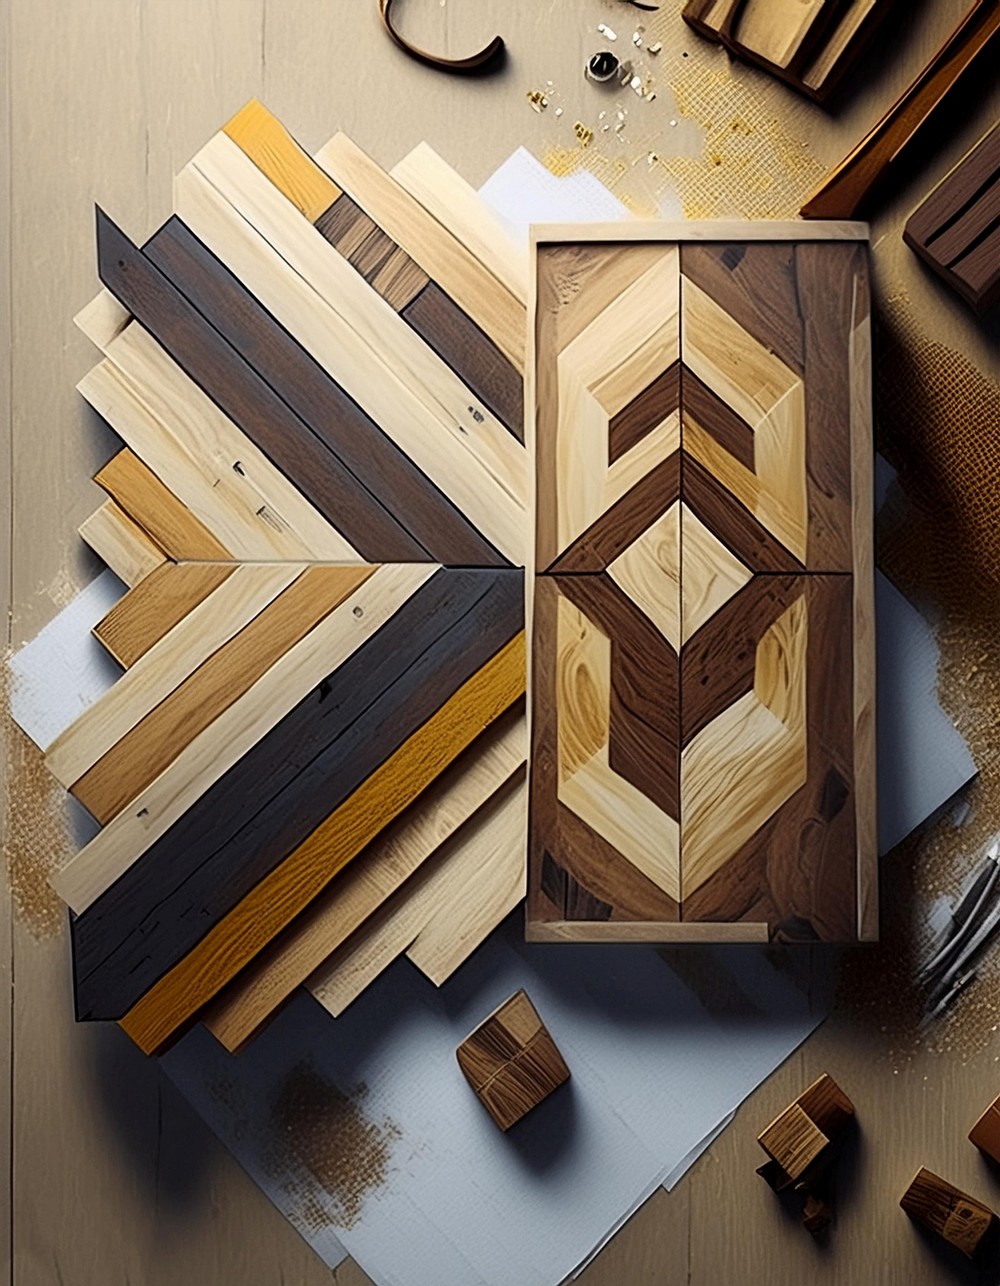
Design with Precision: With your plywood prepped, angle the end of a 1×2 board at 45 degrees. Align this angled edge with your previously drawn lines, tracing the board’s silhouette to outline your design. This process lays the groundwork for your art, offering a clear template of how your pieces will fit together. Remember, the tracing might slightly differ in size from the actual wood, but consider this an innovative guide rather than a strict blueprint.
A World of Color: Before cutting, decide on the stain for each piece. This project began with darker tones at the center, gradually integrating lighter shades without a fixed pattern, adding a dynamic contrast and depth to the artwork.
Precision Cutting: Roughly cut your 1x2s without aiming for perfection, leaving room for later adjustments. If a piece fits a pattern efficiently, replicate it for similar sections to minimize waste. The design naturally accommodates slight gaps at the edges, allowing straightforward fixes without detracting from the overall appearance.
Color Application:
Post-layout, remove the pieces for staining. Organize them by section and sequence, applying your chosen colors systematically. This project embraced the natural texture of wood by skipping sanding, allowing the stain to highlight the material’s innate character and variation.
Assembly with Adhesion: Now, bring your vision to life by adhering pieces to the plywood, focusing on one section at a time. Apply glue generously, ensuring every piece is placed before the glue sets. The most minor pieces should be glued at the end to provide a cohesive look.
Trim to Perfection: Once your creation has dried, it’s time to square it off. Use a circular saw to clean the edges of your plywood, trimming away any overhanging wood for a crisp, clean finish.
The Final Frame: Measure and cut 1x2s to form your frame, ensuring a perfect fit around your artwork. Stain these pieces to match or complement the art. Finally, secure the frame using glue and nails, adding a polished look to your piece.
Leave a Reply