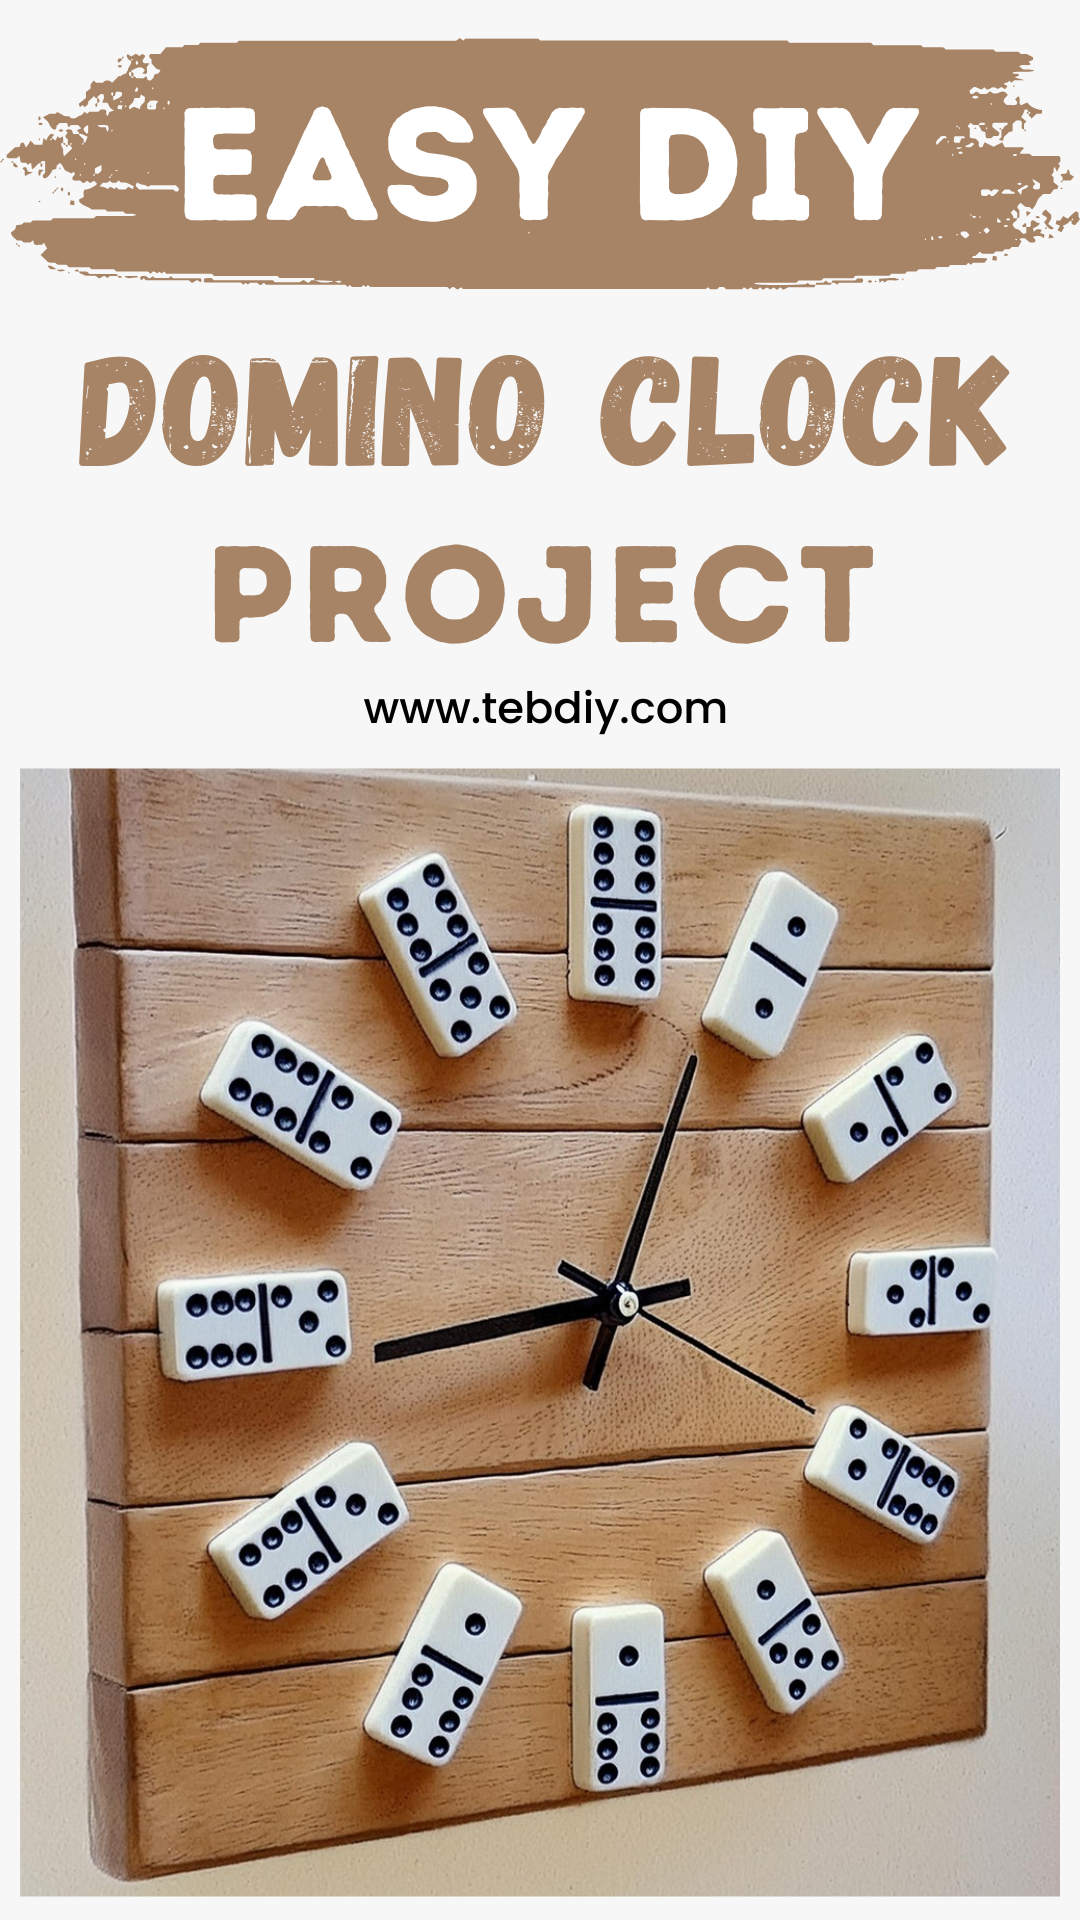
Do you have some old pallet wood and a handful of dominoes collecting dust? Why not combine them into something both practical and eye-catching? This DIY Domino Clock project is perfect for anyone who loves a simple yet creative challenge. You’ll end up with a unique domino clock that’s sure to be a conversation starter in any room. Let’s dig into this fun DIY project and transform those ordinary items into a crafty masterpiece!

DIY Domino Clock Project
Materials:
- Pallet board
- Epoxy glue
- Varnish
- Brush
- Domino tiles
- Clock movement mechanism
- Wood glue
- A few wood screws
Tools:
- Miter saw or hand saw
- Table saw or hand planer
- Drill and bits
- Screwdriver
- Clamps
Step-by-Step Creation Process
Preparation
Start by selecting a suitable pallet board. Cut it into three equal parts since our goal is to configure these parts into a square.
Wood Preparation
To ensure a smooth gluing surface, pass each board piece through a table saw. Aim for minimal material removal with each pass to achieve a perfectly flat surface, adjusting the saw fence as necessary for precise cuts.

Gluing into One Piece
Now, apply wood glue to only half the edge of the board pieces to prevent any glue from squeezing out at the front. Use additional pieces of wood as a guide for clamping the boards together tightly. Patience is key; allow the glue to fully dry while striving for a flat, unified board surface.
Crafting a Slot for the Clock Mechanism
Carefully mark the center of the assembled wood surface and drill a hole for the shaft of the clock mechanism. Then, determine and mark where the clock mechanism will sit and use a router to hollow out a recess for it.
Surface Finishing
To maintain the characterful rustic appearance, lightly sand the surface with 120-grit sandpaper. Prop the board on wood screws for an elevated work surface and apply a clear coat of varnish with a brush for a protective finish.
Arranging the Dominoes
The domino tiles will represent the hours on the clock. Create or use a pre-set template to correctly position each domino tile around the clock face. Secure the tiles in place with two-component epoxy glue, ensuring each is aligned perfectly.
Adding Final Touches
Once the glue has set and the domino tiles are firmly in place, remove the paper template (if used) and attach the clock hands. Flip the clock to its back, find the center, and drill a hole for a screw to hang your new clock on the wall.

Final Assembly
Remove the temporary screws used for varnishing, install the battery into the clock mechanism, and voila, your domino clock is ready to grace a wall, offering a slice of rustic charm and the functionality of timekeeping.
Conclusion
After completing these steps, the result is a charming, rustic-looking domino clock. It’s not just an object that shows time, but a statement piece that adds a touch of uniqueness to any room. Its silent mechanism ensures peaceful, uninterrupted moments, making it a delightful addition to your home decor, combining aesthetics with utility in a project well worth your time.


Leave a Reply