
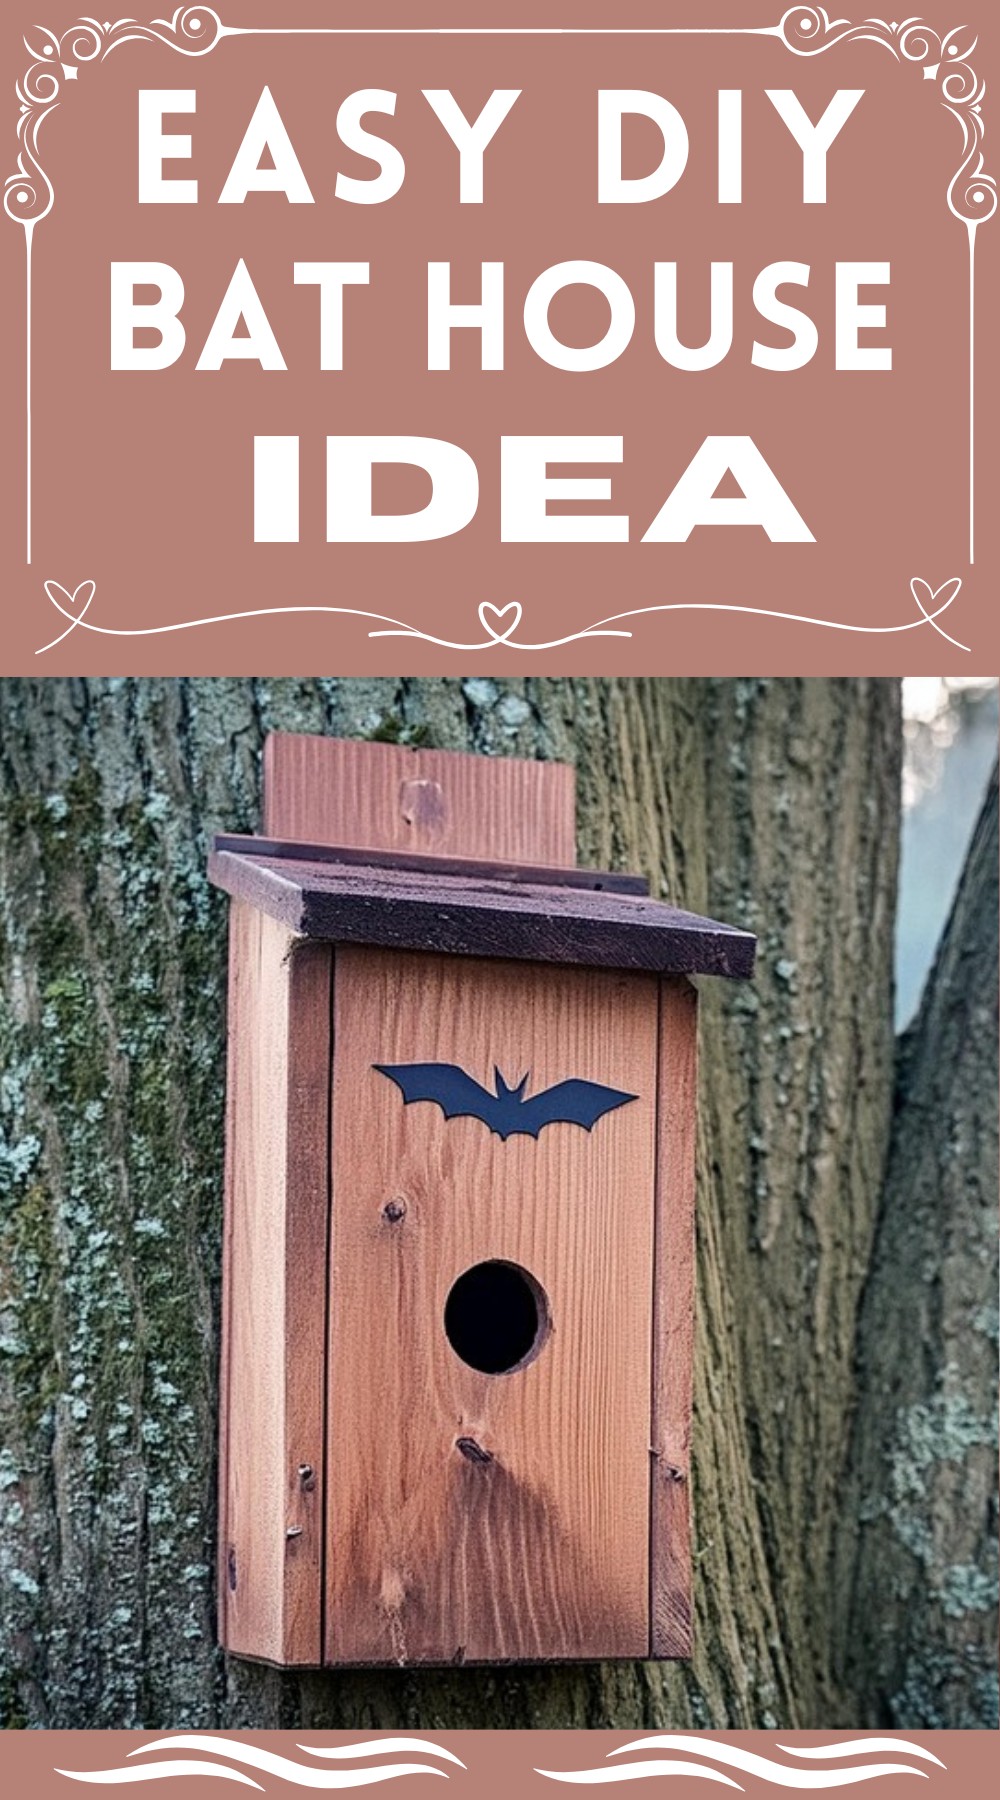
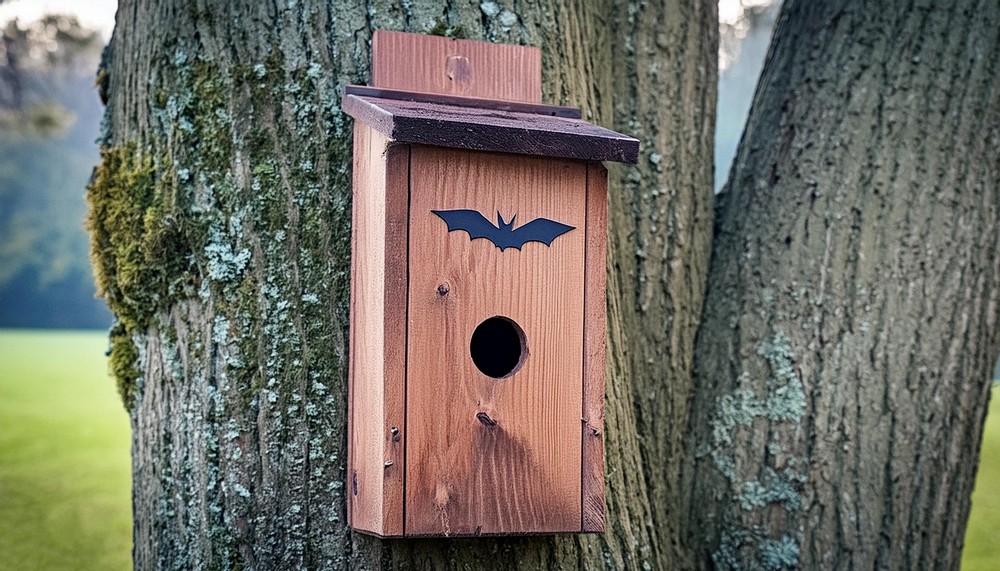
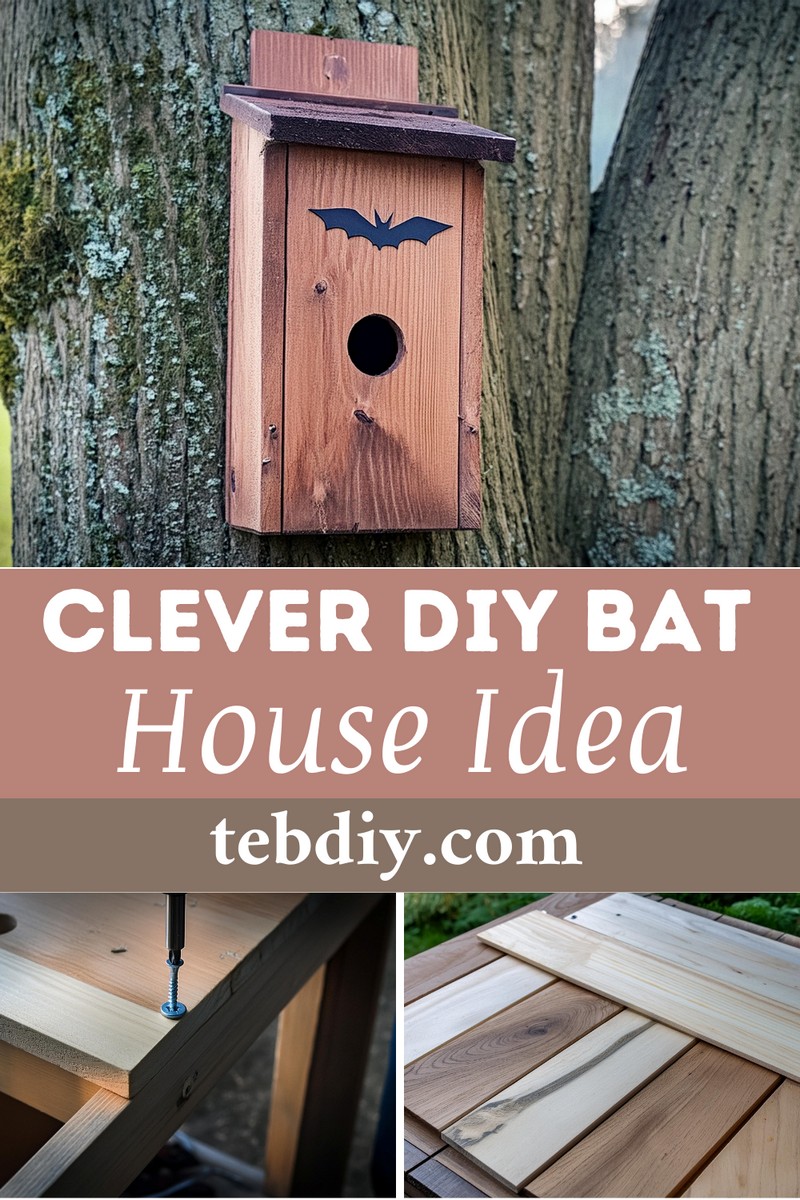
Building this DIY bat house is a budget-friendly project at about $50, taking less than 2 hours. It helps tackle mosquito problems naturally by attracting bats, who are great at catching mosquitoes. Made with simple materials like plywood and cedar, it features a dark interior to keep bats warm, a sloped roof for style, and mesh for grip. Hanging it high ensures safety from predators and maximizes warmth from the sun. A creative way to spend time with kids while solving a common backyard issue!
DIY Bat House
Materials:
- Red oak plywood (cut to size at Home Depot)
- 2 pieces of cedar fencing
- 1 piece of 1″ x 2″ x 8″ cedar for the sides
- Exterior screws (1-1/4″)
- Caulk (suitable for exterior use)
- Leaf gutter guard plastic mesh
- Heavy duty staples
- Ebony stain
- White craft paint
Tools:
- Miter saw
- Jigsaw
- Circular saw
- Power drill with drilling and driving bits
- Heavy duty stapler
- Lint-free rags
- Scissors
- Measuring tape
- Bat stencil (optional for decoration)
Craft Your Own Bat House: A Step-by-Step Guide
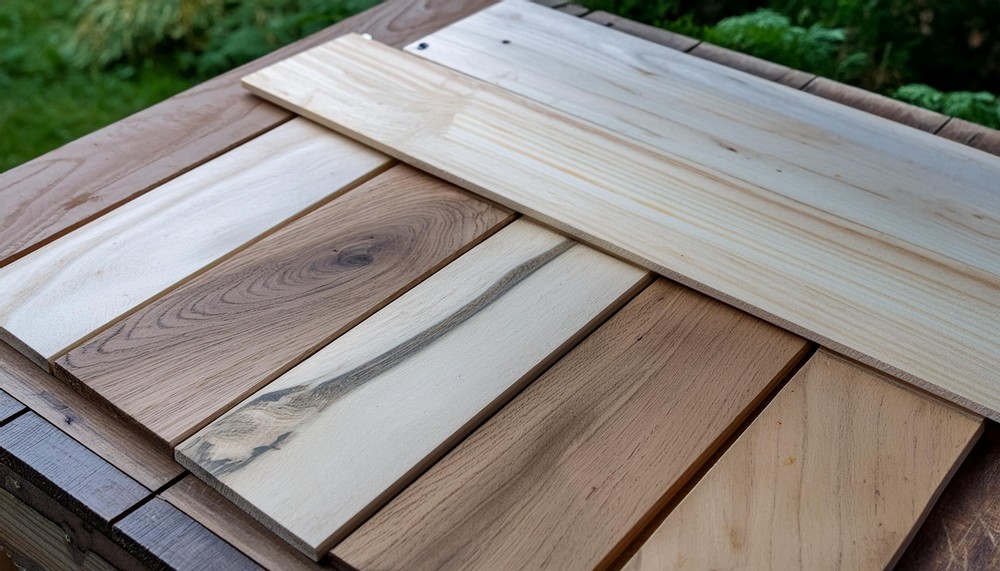
Measure and Cut the Wood: Have a youngster at the helm of measuring to give them practical life skills. Cut the following:
- One 15″ x 34″ red oak plywood for the back panel
- Six 15″ cedar boards from the cedar fencing
- Two pieces of 1″ x 2″ x 4″ cedar (cut the longer piece in half)
- One 3/4″ thick piece of wood, 13.5″ long
- Step 2: Sanding to Perfection
- Smooth all wooden edges with 150-grit sandpaper.
Stain for Warmth:
Apply an ebony or dark brown stain inside the bat house to retain warmth and encourage a cozy bat environment.
Tailored Roof:
Opt for a straight or sloped roof by cutting the pieces accordingly. Bevel the edges for the latter and stain.
Gutter Guard Attachment
Secure the plastic mesh with staples to give bats a latch-on point. Provide 1/8″ to 1/4″ spacing for ventilation while attaching the mesh.
Predator Guard:
Attach the 3/4″ thick piece of wood to the bottom of the front cedar boards to restrict larger predators’ access.
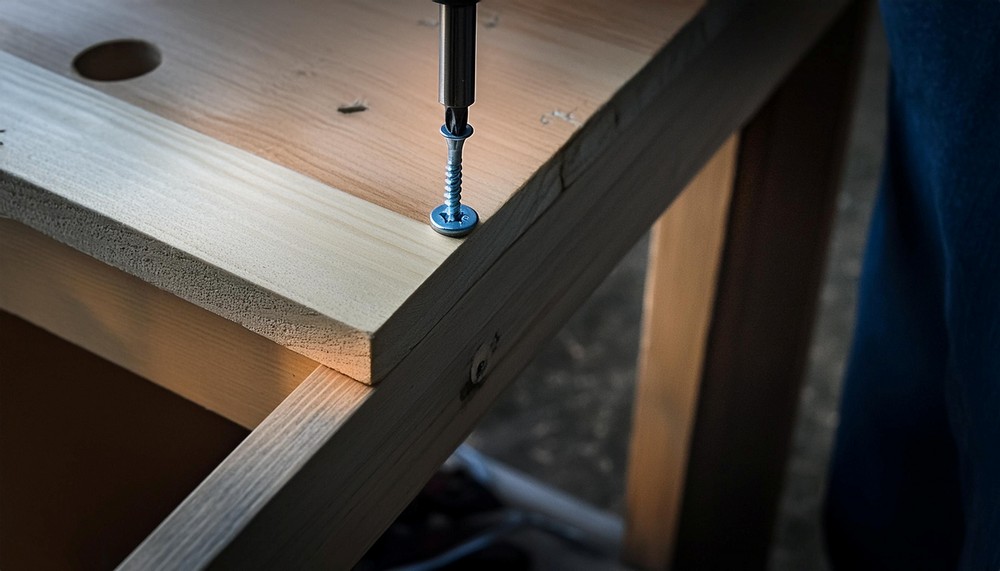
Assemble with Care:
Secure all pieces using exterior screws to withstand the elements. Caulk all seams but be mindful of the staining areas. Drill pilot holes to avoid wood splitting.
Final Sanding:
Use either an orbital sander or 220-grit sandpaper for the final smoothing.
Installation Prep:
Cut and attach a French cleat to the back of the bat house for secure hanging.
The Finishing Touch:
Add a beautiful dark mahogany stain and a custom bat stencil to the exterior for an aesthetically pleasing result.
With all the steps completed, your DIY rustic bat house is ready to make its debut outside. Hang it with pride and wait for the night-time air traffic of hungry bats, ready to serve as your natural mosquito control squad!
Leave a Reply