
Enjoy the allure of creating something with your own hands brings a unique sense of pride and satisfaction. You can easily transform simple materials like copper pipes and a piece of wood into a stunning piece of functional decor. This DIY copper pipe table lamp project marries the rustic charm of copper with industrial flair, resulting in a conversation piece that softly lights up any room. Whether you’re a seasoned DIY enthusiast or a curious newcomer, this project is an exciting venture into the world of creative home lighting.
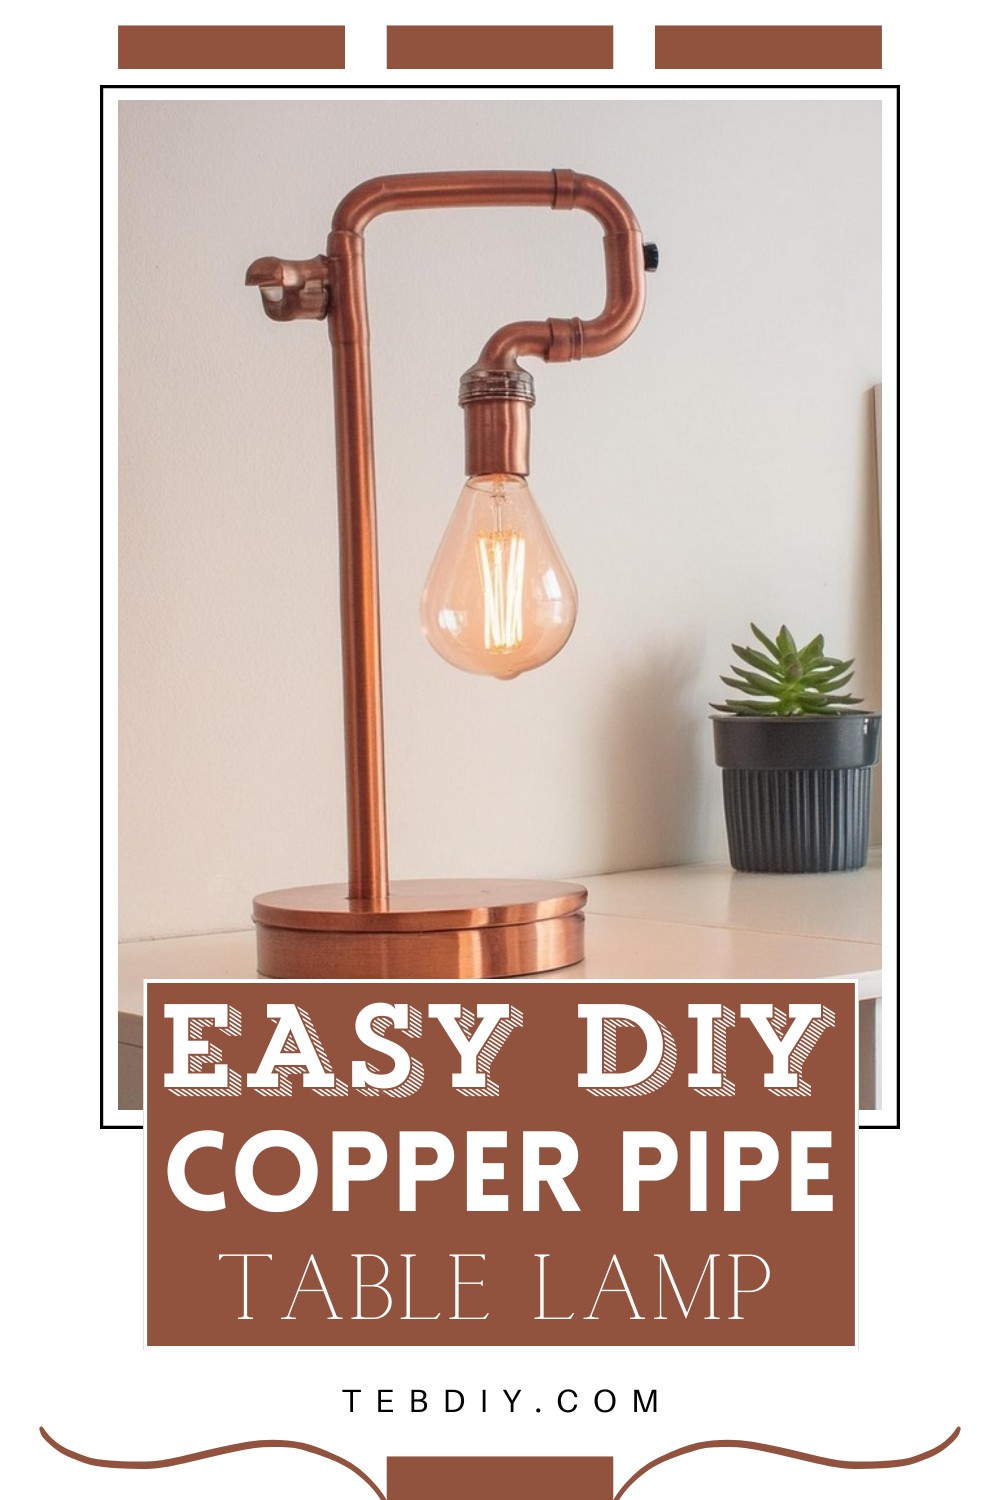
DIY Copper Pipe Table Lamp Project

Materials Needed
Wooden Base: Approximately 5” x 9” x 2”
- Copper Pipes:
- 15″ of ½” diameter
- 6″ of ½” diameter
- 2 ½” of ½” diameter
- 2″ of ½” diameter
- Copper Fittings:
- (4) ½” 90° elbows
- (1) ½” copper threaded male adapter (CxM)
- Lighting:
- Push through light socket
- Vintage ‘Edison’ style light bulb
- 10-foot extension cord
- Miscellaneous:
- Wood stain (Early American suggested)
- Copper spray paint
- Weldbond glue
- Felt pads for the base
- Tools:
- ¾” drill bit (spade type)
- Drill
- Tape measure
- Pipe cutter
- Staining applicator (foam or cloth)
- Adjustable wrench
- Wire stripper
Step by Step Instructions
Stain the Wood Base
- Prepare the Surface: Begin by sanding your wooden base to a smooth finish, ensuring it’s free from splinters and rough edges.
- Stain Application: Remove all dust. Using a foam applicator or a clean cloth, evenly apply your chosen wood stain to the surface. Here, the suggested stain is Minwax Early American for its rich, warm tone.

Drilling the Holes
- Measuring: Take the wooden base and measure 1-½” from the center of the short edge to mark your drilling spot.
- Main Hole: With a ¾” spade bit, drill almost through the wood from the top side.
- Side Hole: Switch to a ¼” drill bit and make a hole on the side face that connects with the main hole in the base.
Prepare the Threaded Adapter
- Cord Preparation: Using wire cutters, trim the end off one side of the extension cord (not the plug end).
- Thread the Wire: Insert the wire through the side hole and guide it up through the main hole.
- Secure Adapter: Attach the threaded adapter to the wire, then screw it firmly into the base using an adjustable wrench, ensuring it’s aligned straight.
Cutting the Copper Pipes
- Measure and Mark: List the lengths required – 15″, 6″, 2½”, and 2″. Mark these measurements on your copper pipe.
- Cutting Process: Using a pipe cutter, adjust the cutter to the pipe and twist, tightening the knob incrementally until the pipe sections separate.
Assembly Dry Run
- Fitting Together: Lay out all your copper pipe sections and elbows. Thread them together starting with the longest piece, incorporating elbows between each pipe segment as you go.
Wiring the Light Socket
- Socket Prep: Disassemble the socket and spray the metal components with copper paint for a cohesive look.
- Wire Attachment: Identify the wires (hot and neutral). Attach them to the corresponding screws on the socket—hot (usually black or red) to the brass screw, neutral (usually white) to the silver screw.
- Reassemble: Slide on the insulating sleeve and then reassemble the outer parts of the socket.
Final Assembly and Gluing
- Glue Components: Using Weldbond glue, securely attach all copper pipe joints and fittings.
- Cure Time: Allow adequate time for the glue to dry fully following the product’s guidelines.
- Install Bulb: Insert your chosen light bulb into the socket.
This DIY project blends creativity with practical skills, turning simple components into a bespoke piece of home décor. Whether it’s for your reading nook or as a unique gift, this copper pipe lamp adds a touch of handmade craftsmanship to any setting.

Leave a Reply