
Have you ever wanted to add a unique touch to your workspace or bedroom with something that blends art with functionality? Make a whimsical yet practical piece that illuminates your space with a soft, dreamy glow. The DIY Cloud Desk Lamp is more than just a light source; it’s a project that invites you to tap into your creative skills to build something beautiful and eye-catching.
Whether you’re a seasoned DIY enthusiast or a curious beginner, this desk project promises an enriching crafting experience that transforms simple materials into a captivating centerpiece.
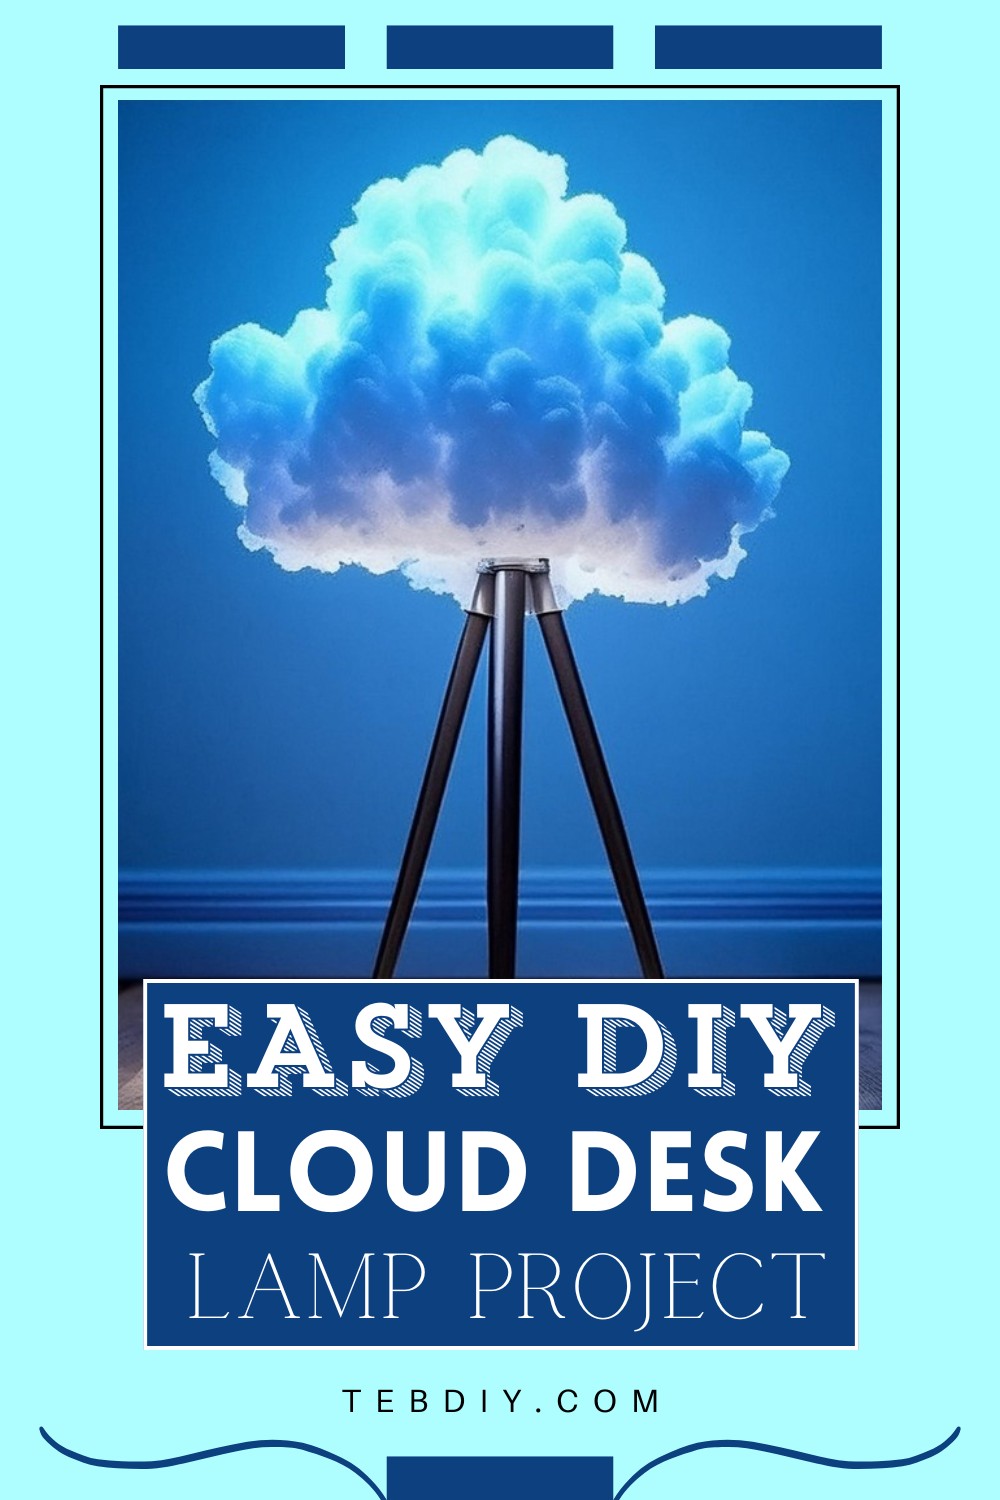
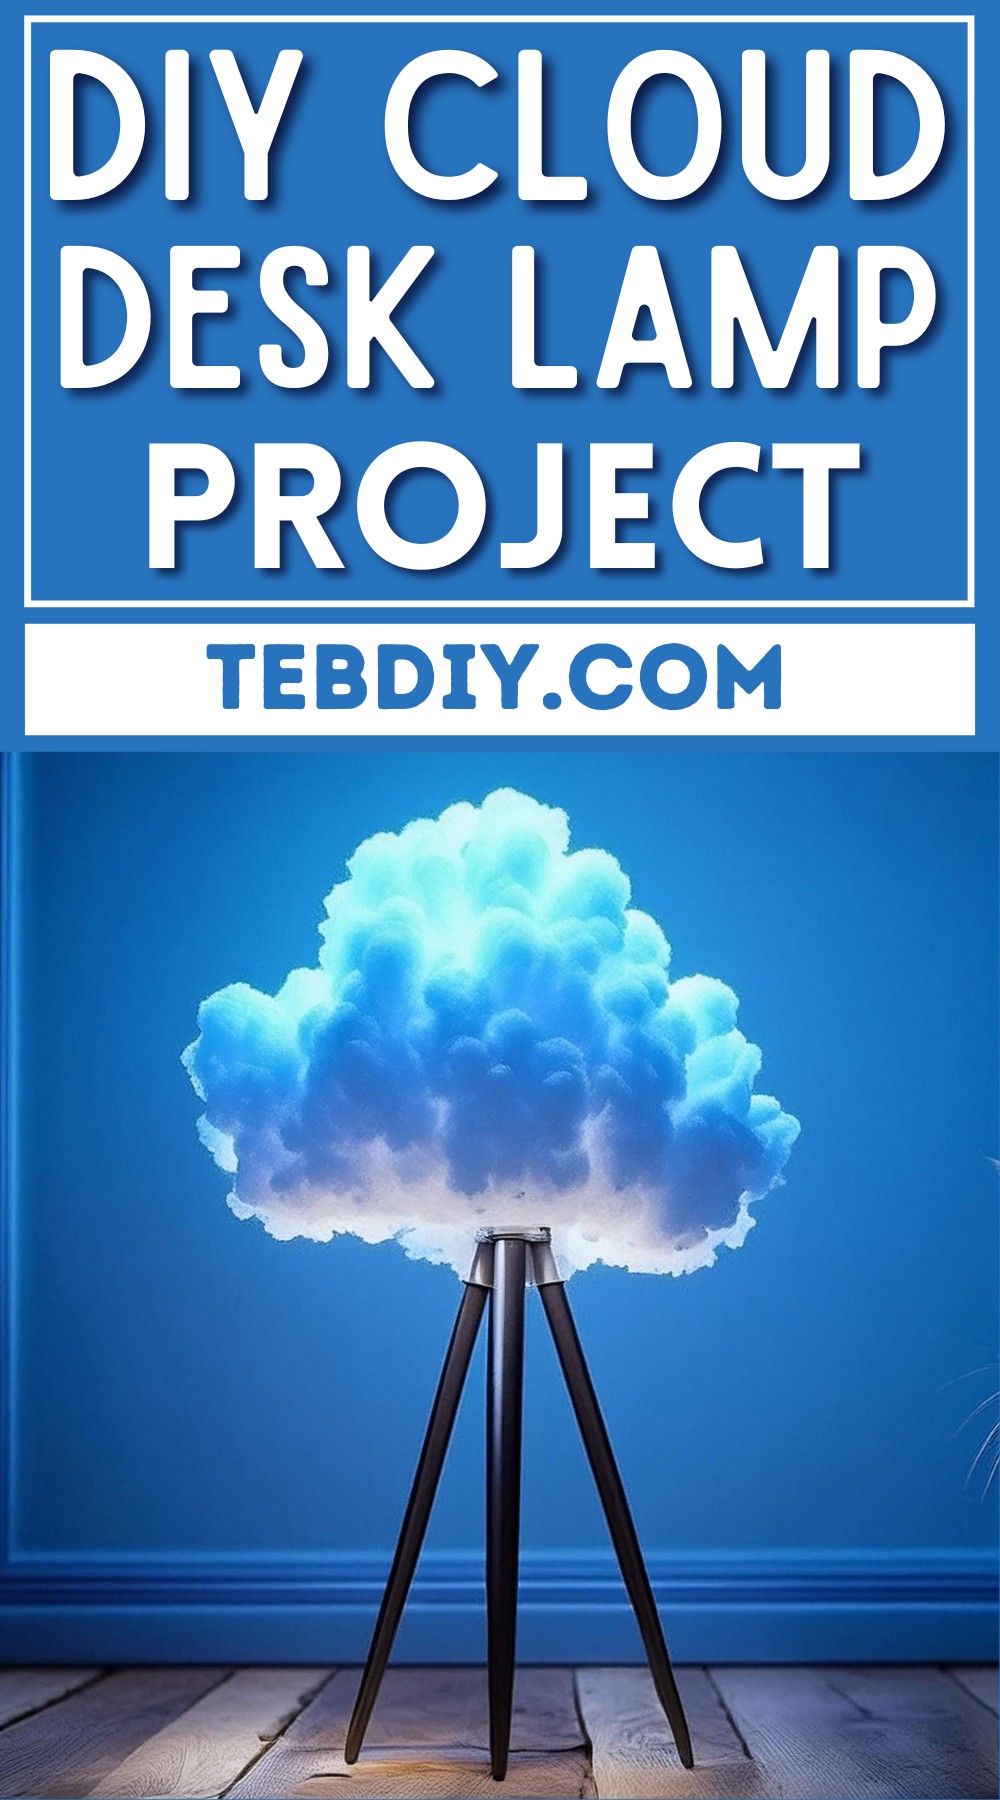
DIY Cloud Desk Lamp Project

Materials Needed
- Plastic Balls: Sizes – 5 cm, 16 cm, and 12 cm
- LED Strip Light: To provide the illumination
- Hot Glue Gun: For assembly
- Transparent Christmas Toys: For enhanced detailing
- Round Sticks (10 mm in diameter): These will serve as the legs
- Nuts: To secure the legs
- Filler Material (e.g., pillow filler): For the cloud texture
Tools Required
- Soldering Iron: For modifying the plastic balls
- Screwdriver: To attach the legs
Step-by-Step Guide to Making the Cloud Desk Lamp
Preparing the Cloud’s Body
Start by taking the transparent Christmas ornaments and splitting them into two halves. Arrange the halves to form a cloud shape and use the hot glue gun to partially secure these pieces together. This forms the basic shape of your cloud.

Installing the LED Strip
To ensure that the LED strip can light up the entire structure effectively, cut out the walls of the plastic balls using a soldering iron for better fitting of the LED strips. Attach the LED strip around the inner walls of the constructed cloud shape using hot glue, making sure it’s evenly distributed for balanced lighting.
Constructing the Base
For the lamp’s legs, use round sticks approximately 10 mm in diameter and 20 cm in length. To attach these to the cloud, first affix nuts to the body of the cloud using hot glue. Then, screw the wooden sticks into these nuts, creating a sturdy base.
Adding Fluffy Details
To achieve the fluffy cloud texture, adhere the pillow filler or any suitable filler material to the exterior of the cloud body. Apply hot glue generously to ensure that the filler stays in place and gives a full, fluffy appearance.

Finishing Touches
Review your lamp to ensure everything is secure and that the LED light functions properly. Make any necessary adjustments to the placement of the filler to ensure the light diffuses softly and evenly through the cloud.
Conclusion
Once completed, you have a charming and functional Cloud Desk Lamp that not only serves as a source of light but also as a delightful decor element. This project is not just about creating a lamp but about bringing a piece of the sky into your home. Perfect for nightstands, desks, or as a gift, it’s a creative project that brightens any room literally and figuratively.
By following these steps, you will be able to enjoy your very own handcrafted cloud lamp, adding a touch of creativity and charm to any room.
Leave a Reply