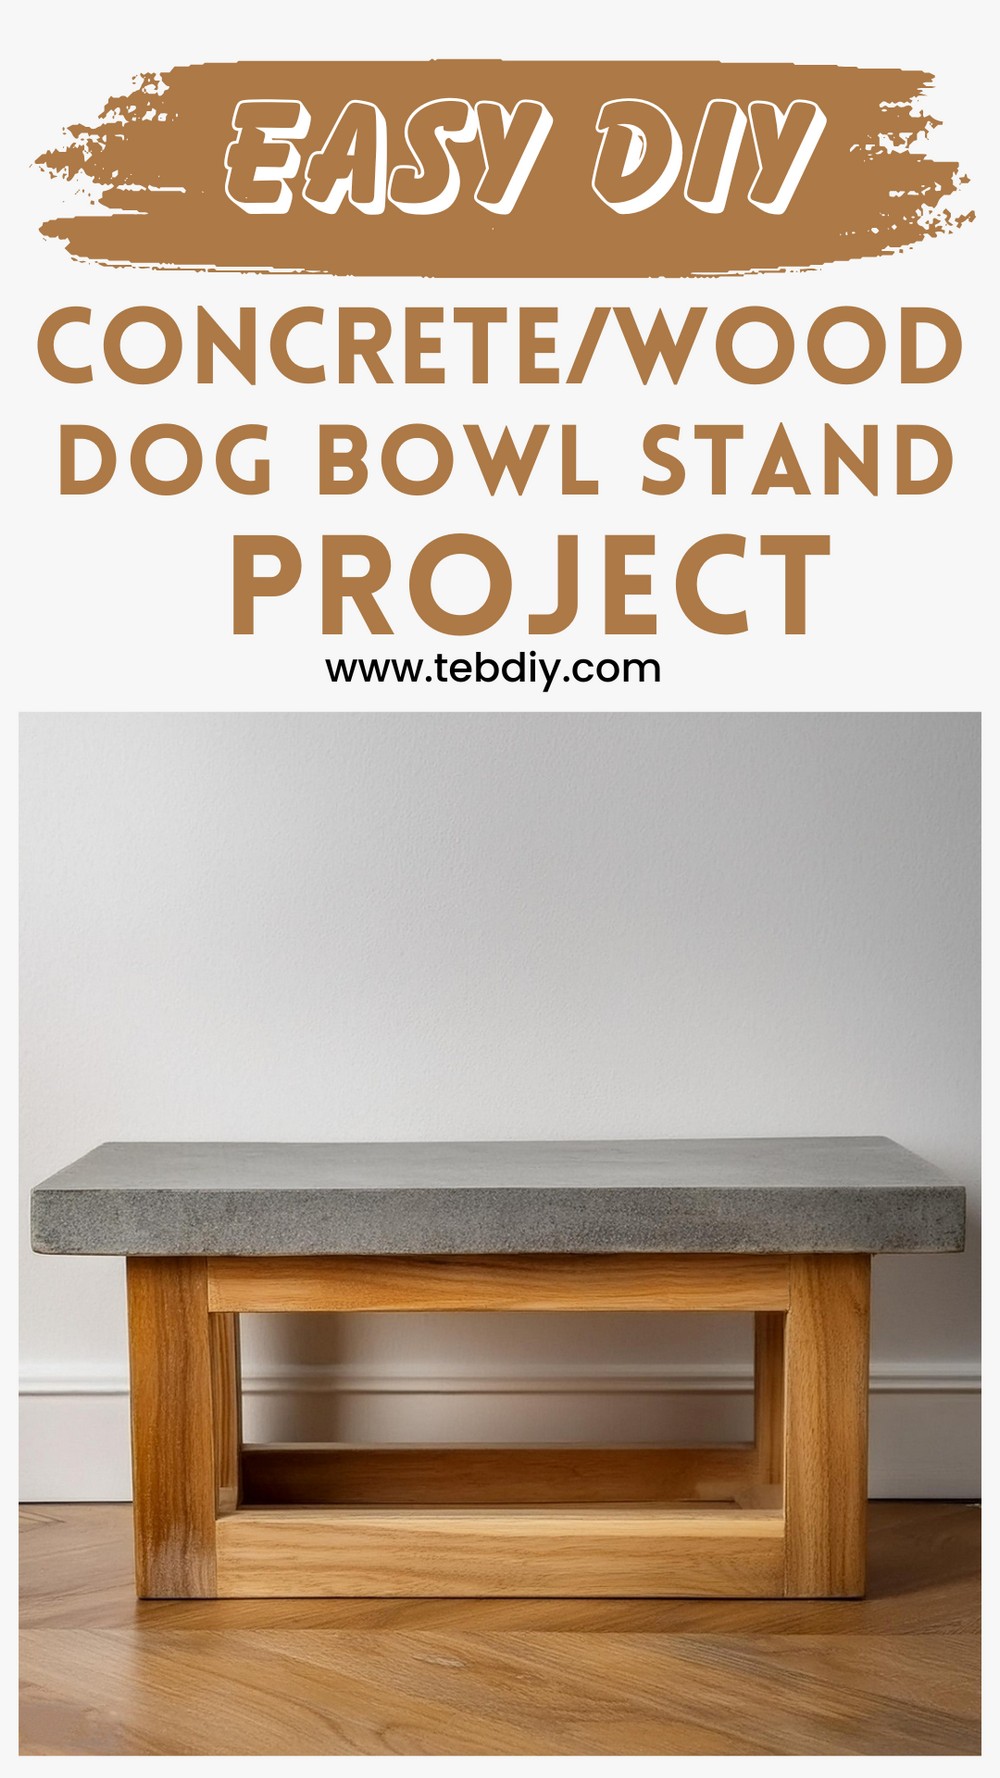
This DIY Concrete/Wood Dog Bowl Stand Project is perfect for pet lovers looking for a weekend project, this mixture of industrial and rustic styles results in a sturdy stand for your furry friend’s feeding needs. It not only enhances your dog’s dining area but also invites you to explore the satisfying realms of concrete and woodworking. So if you’re ready to give your pet an upgrade in the feeding segment following this project will be helpful.

DIY Concrete/Wood Dog Bowl Stand Project

Materials:
- Quickrete Concrete Mix
- Concrete Sealer
- 2×8 Boards
- Wooden Dowels
- Wood Glue
- Matte Poly Finish
- Melamine Boards
Tools:
- Table Saw
- Circular Saw
- Hot Glue Gun
- Drill/Driver
- Orbital Sander
The Making Process
Crafting the Concrete Form
- Cut Melamine: Begin by slicing four strips from melamine boards to 1.5″ width using a table saw or circular saw for the sides of the concrete form, then trim to the needed lengths.
- Assemble the Form: Fasten these pieces into a rectangular shape, ensuring the corners are precisely square.
- Secure the Form: Affix this form onto a larger piece of melamine to serve as the bottom, sealing the interior corners and edges with silicone to prevent leakage.
Mixing & Pouring Concrete
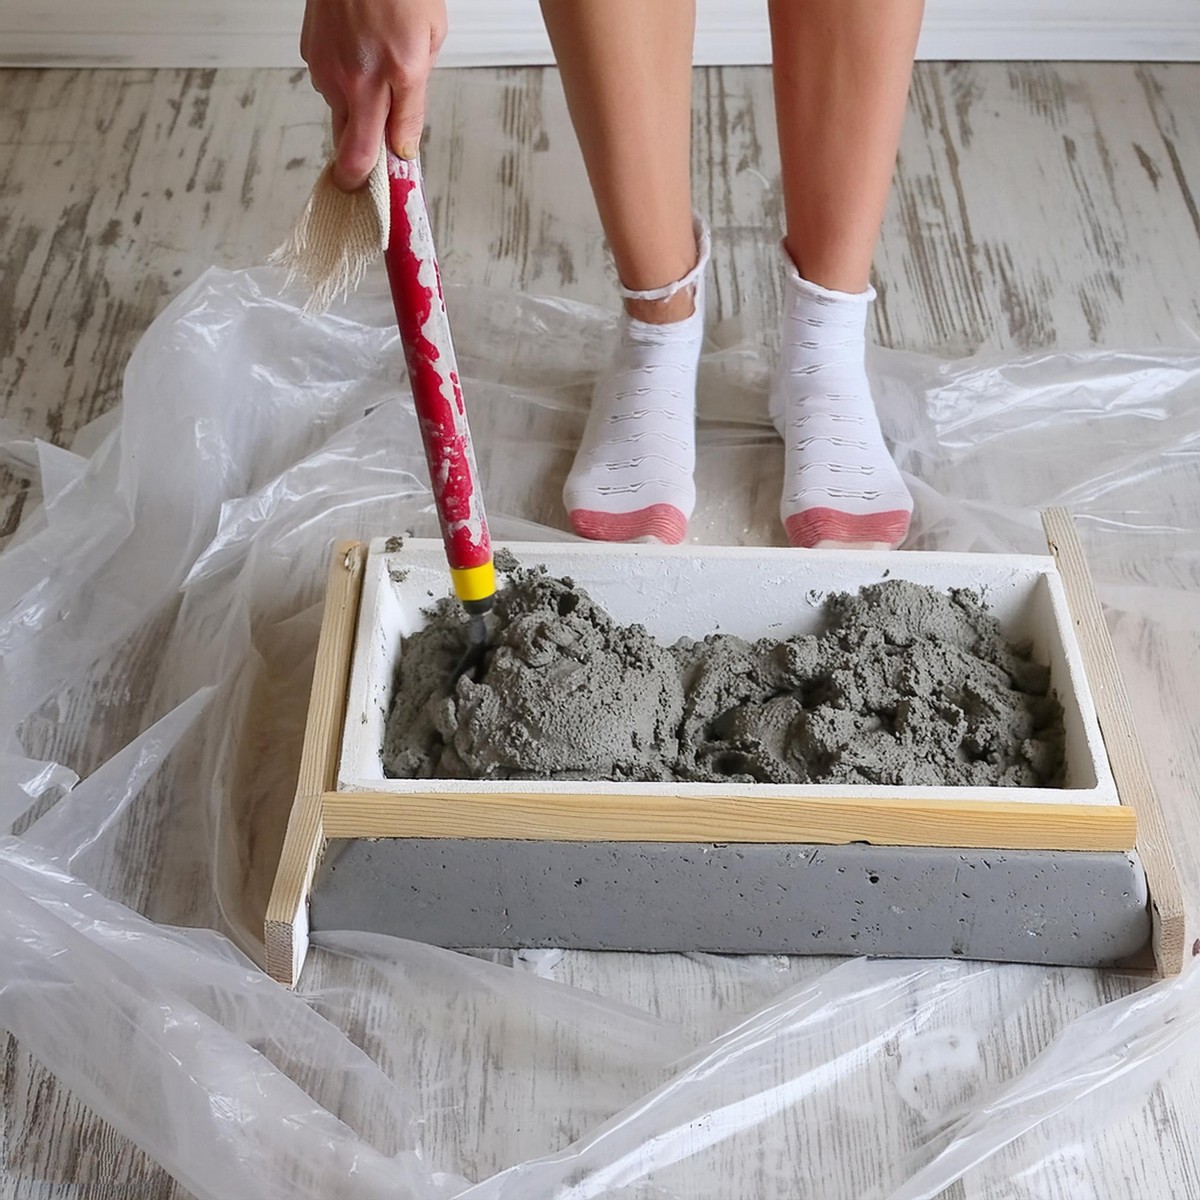
- Prepare the Mix: Blend the Quikrete concrete mix according to the package instructions.
- Fill the Form: Pour the mixture into the form, pressing it into corners and ridges to eliminate air pockets.
- Insert a Wood Block: Embed a wooden block treated with polyurethane in the center. This block aids in attaching the wooden base later. Use scraps and screws to keep it from moving.
- Air Bubble Removal: Gently tap around the edges of the form with a mallet to release trapped air bubbles.

Curing & Sealing the Concrete
- Cure Time: Allow the concrete to rest undisturbed in the form for a minimum of 48 hours.
- Unmold: Carefully remove the hardened concrete slab, smoothing any sharp edges with light sanding.
- Seal: Apply a concrete sealer following the product’s directions to protect the surface.
Constructing the Wooden Base
- Prepare 2×8 Boards: Trim the rounded edges off a 2×8 board to leave you with square edges, then cut to the required sizes.
- Assembly: Screw the boards together to form the base, keeping in mind to create recesses for the screws to hide them from view.
Fusing the Base with the Concrete Top
- Attach Base to Top: Position the wooden base onto the bottom of the concrete top while it’s accessible, using recessed screws for a clean finish.
- Complete the Assembly: Fasten the bottom board to the rest of the wooden base to stabilize the structure.

Finishing Touches
- Hide Screws: Insert wooden dowels into the screw recesses with a bit of glue, trimming flush once secure.
- Sand and Seal: Smooth the entire wooden base and apply multiple coats of matte polyurethane to protect against water.
Conclusion: Enjoy Your New Dog Bowl Stand!
Once complete, you’ll have a modern, sturdy stand that elevates your dog’s dining experience. Not only does this project introduce you to working with concrete—a versatile and durable material—but it also refines your woodworking skills. Ideal for any skill level, this dog bowl stand is a testament to the joy and satisfaction of making something unique and practical for your beloved pet.
Embark on this DIY adventure, and let the making process enrich your bond with your furry family member. Enjoy the fruits of your labor with a stylish, homemade dog bowl stand that’s sure to fetch compliments from both two and four-legged friends alike!


Leave a Reply