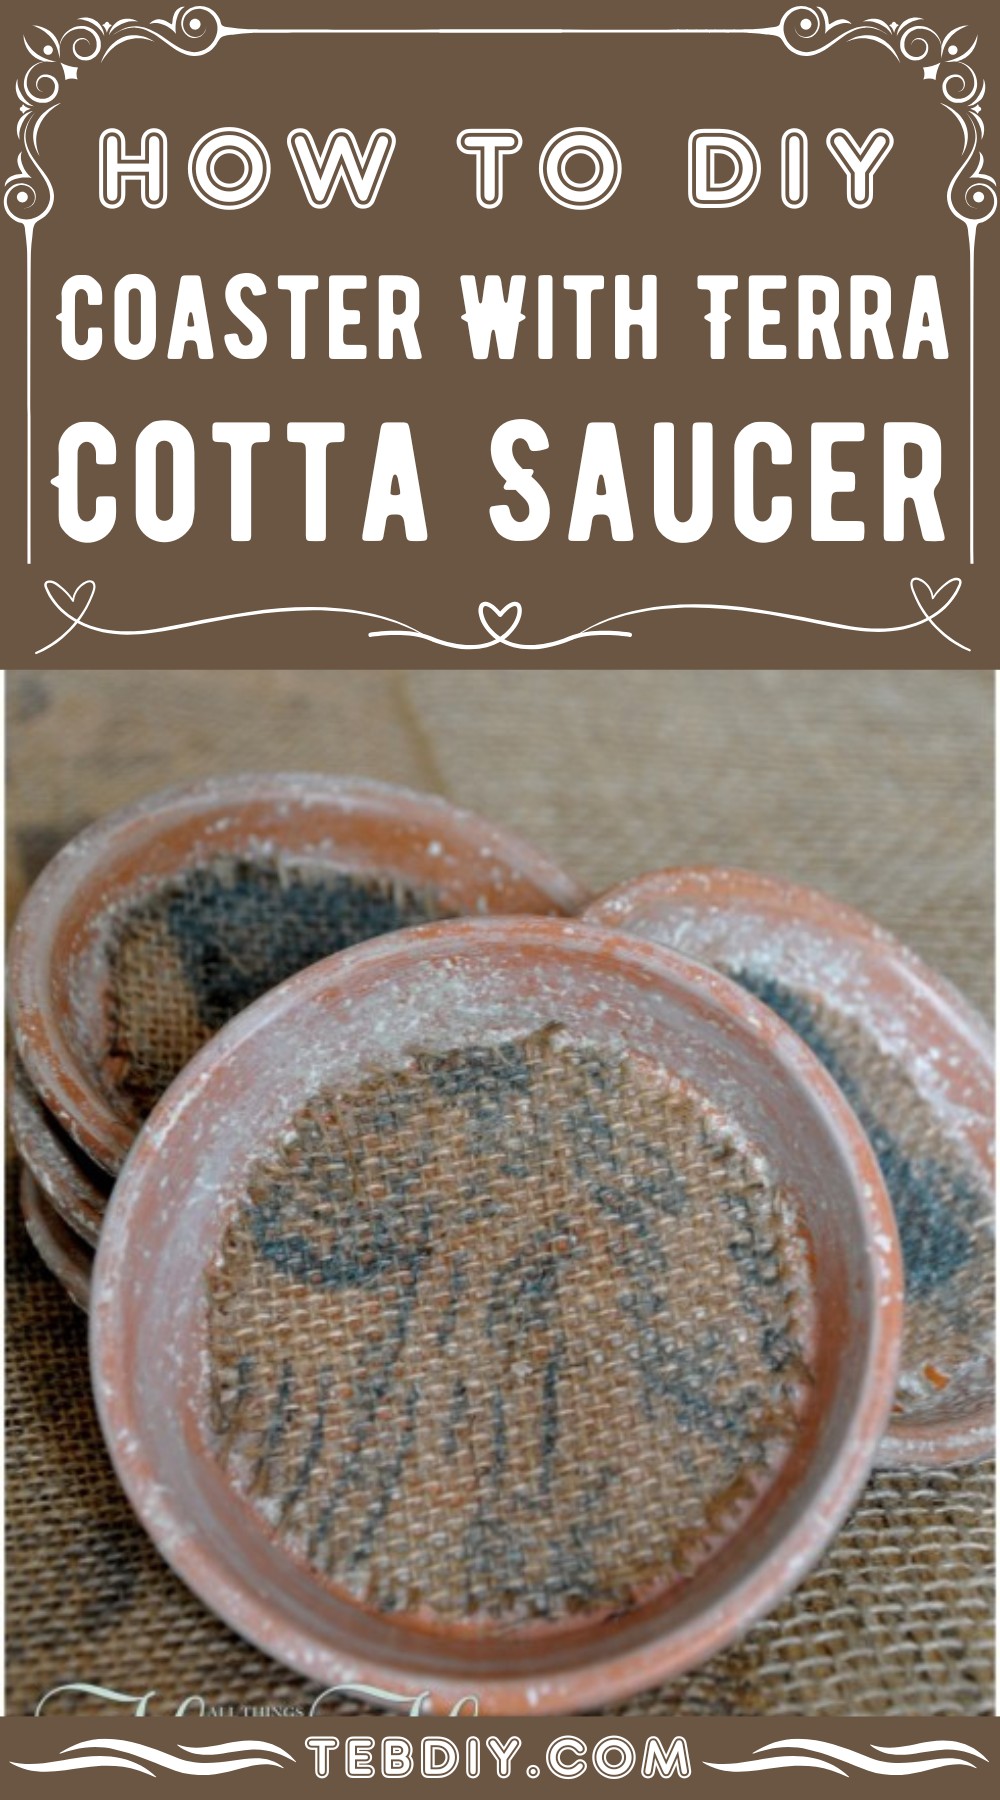
DIY Coasters are small, cheap, and highly useable projects. Terracotta saucers are great materials because they are shaped right, durable, and can safely hold the pot.
So, I am sharing this tutorial on how to make a coaster using this material, along with little modifications and cool additions like burlap.
You will also learn how to age terra cotta and correct burlap cutting. It is a complete farmhouse terra-cotta project, but it still looks beautiful. So, let’s get started!

Before I show you how to make these cute Terra Cotta Coasters, let’s look at some other DIY Coasters I’ve done:

Instructions On How To DIY Coaster From Terra Cotta Saucers?
Step-by-step instructions below will guide you completely to DIY our terra cotta coaster:
Step 1: Gather Supplies

In addition to saucers, you will need the following items for this terra cotta project:
- Stone Texture Spray: This spray can replicate the natural grayish stain on the old saucers. Thus, we shall use it to age our saucers. A great alternative can be yogurt or buttermilk.
- Acrylic Paints: A little rub of White and sage green will further mimic the look of aged saucers like the algae.
- A Stenciled Burlap Piece: I had a rug that I shall utilize by cutting in rounds. However, you can use one you have or buy. It adds to the old, rustic look that is needed.
- White glue: Sticking burlap to the saucers is only possible with white glue.
A scrap basket and box that may be lying in the backyard should also be in hand to keep the area clean while using paint and spray to age the pots.
Gather these supplies before you start the project so you do not need to start the car repeatedly!
Step 2: Age The Terra Cotta Saucers
How To Age The Terra Cotta Saucers?
Below are two ways to age the terra cotta saucers:
1. Using Spray:

- Before spraying, we must prepare a barrier to protect the crafting area from the spray.
- So, I laid some inverted disposable glasses inside an empty cardboard box. Then, Put a solid basket on the crafting table on its side and put that box inside it. See the setup in the figure.
- Now, place each saucer over its base on each disposable glass.
- Start spraying the stone texture spray, and make sure to wear a mask before.
- Use a small fraction of spray on each saucer and avoid making a thick layer.
- After spraying, keep the saucer lying to dry for 2 hours.
- When dried, sand the saucer to remove excess paint and to produce a natural effect using sandpaper until you get the look you like.
Using Yogurt:
- Make a mixture of natural yogurt and water (about 50-50 ratio). The yogurt contains live bacteria, which will help give the terra cotta an aged look.
- Spread the yogurt mixture over the saucer using a paintbrush.
- Place the saucers in a shaded, wet spot in your garden. The bacteria need these conditions to grow and create the aged effect.
- It will take several days to weeks to show the effect, which may be a long wait. So, the first option may be good if you do not like to wait.
How to Add Further Aged Look:
Wipe some watered-down craft paint on the terra cotta- (I used white and sage green). Let dry & sand again.

Step 3: Cut & Glue Any Burlap Rounds
Cutting:
- Measure the approximate circumference of the base of the saucer. You can easily do that by comparing as many jar lids as possible until you find the right one.
- Then, use that lid as the template and mark the circumference of the burlap piece.
- Then, start cutting using sharp scissors one or as many rounds as needed. It may be a messy task, so do that slowly.
- I did not actually find the right way to cut the burlap in rounds. So, mine, too, looked a little irregular.
Gluing:
- Apply some glue on the base of the saucer and regularly place the burlap circle.
- Rub the popping glue from the sides over the burlap, too.
- Apply more glue over the burlap.
- Do the same for all.
- A place for drawing.
It Is Finish

Spray with 2 coats of Rust Oleum Polyurethane and add felt circles or cork to the bottom of the coasters.


Leave a Reply