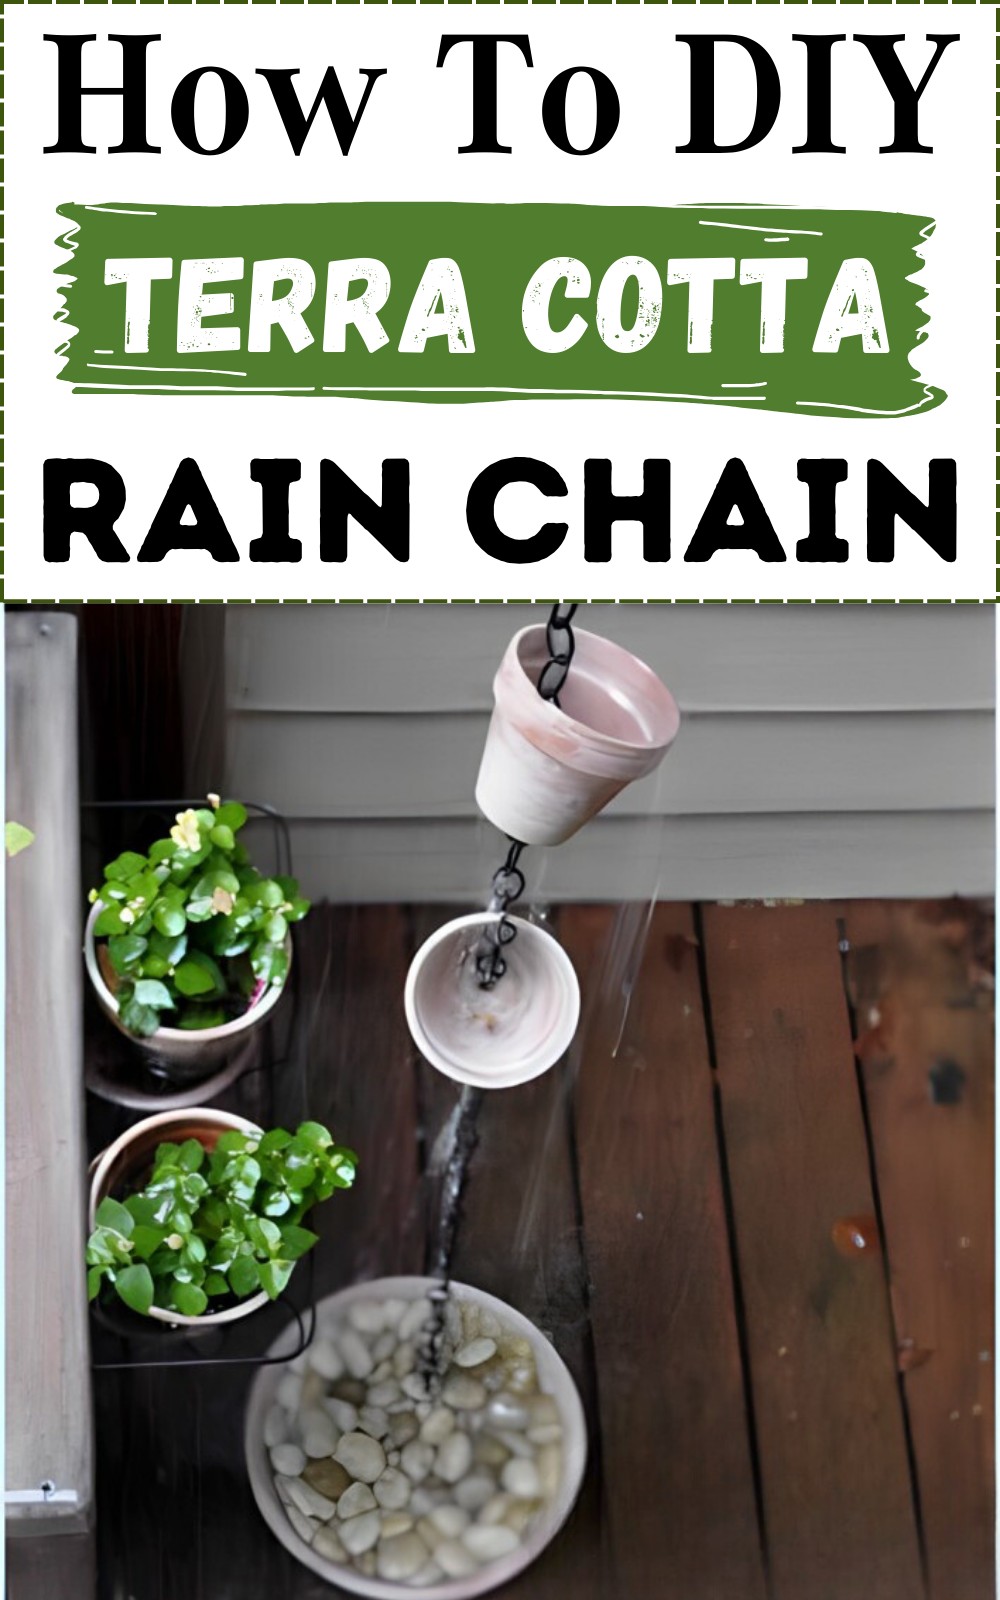
There are many good reasons to install a rain chain outdoors rather than boring downpipes. It has a pleasing sound, a cute waterfall scene, and the same functionality. But instead of buying one, learn how to DIY a rain chain out of terra cotta pots with my easy step-by-step tutorial.
It would be especially good for those who have a garden spot in their home and want a decor for it. It perfectly blends with nature and is much easier. So, make your own rain chain following my instructions with pictures!

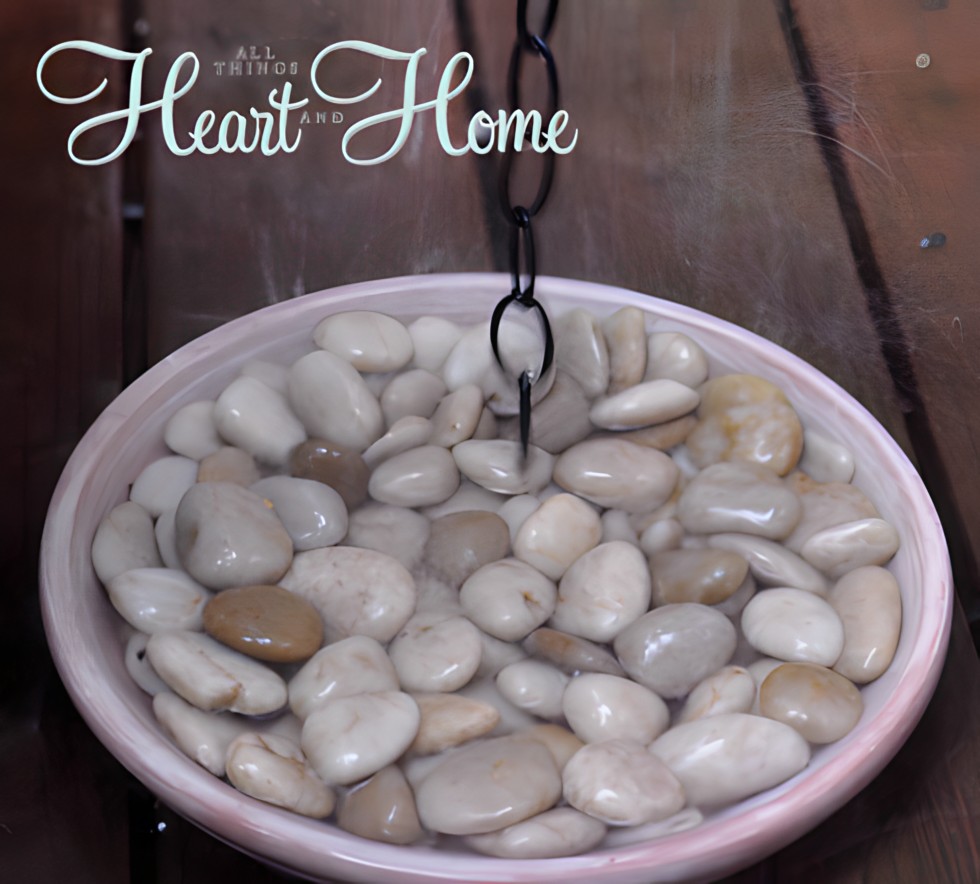
Our homemade rain chain idea would feature a series of vintage pots attached with a black chain and a cute pebble-filled basin. Overall, you would love this terra cotta project!

What Is Rain Chain?
A rain chain is used in home exteriors to guide the flow of rainwater from a gutter hole on the floor to the ground or a draining basin. It came into view in Japan and interestingly became popular in the US and other countries as an alternative to downpipes. A DIY rain chain is easier, cheaper, and fun.
What Are The Types Of DIY Rain Chains To Build?
-
- DIY Cup Style rain chains: These have small pots with holes, such as copper cans linked with chains. Each cup fills some water from the one above, and ultimately, water falls onto the ground. It is a highly functional choice, and Today, we will learn that type. Traditionally, rain chain cups are made of copper, but I’d try using one of my favorite things – terra cotta.
-
- DIY Link Style rain chains: This style merely has chains from which the water transfers. They are less functional than the cup style, and heavy water sometimes falls downward without going through the chains as a medium. However, much attractive

Materials & Tools You Will Need To Build Rain Chain
Below is the list of everything you would need for a DIY rain chain with terra cotta found at any online market.
-
- 10 Little Potts: Aged terra cotta looks nice and rustic. So, you should look for old pots from thrift stores or paint a yogurt and buttermilk mixture around the pot that would grow a white moss patina. I love this look. However, if you want, you can retain the new color. You can use it all in one size. I decided to 5 smaller and 5 larger.
-
- Chain: I used the black chain of 132 inches or 11 feet with ring links for this homemade rain chain. You can use almost anything from keyrings to folks.
-
-
How to take measures for my DIY rain chain? For yours, you should measure from the gutter of the roof to the ground level. Then, subtract some length from the height of the basin and, if you want, a few inches to float the gutter rain chain in the air above the basin.
-
-
- Small sections of a tiny chain: A link of a small chain goes through the hole in the pot to connect it to the larger link of the chain. Was not it a clever idea?
-
- Terra Cotta Saucer: People ask: How can I handle water from a DIY rain chain? Placing a basin like a terra cotta saucer is the best way to handle water.
-
- Pond pebbles: They were merely for decoration. More spacious, better.
-
- Needle Nose Pliers: We shall use them to open the chain link and to make the hole.

How To DIY Chain Rain?
Now, I would teach step-by-step about how to make rain chains.
Skill Level: Anyone can do
Step 1: Gather The Supplies
Gather the materials and tools as mentioned (10 pots, a 12” chain, a smaller chain, saucer, pebble, pliers, etc.!).
Step 2: Make Holes In The Pot Bottom
If you mistakenly got the pots with no drainage holes, you can make holes in the bottom your own. Here is how to make holes in a terra cotta pot:
-
- Dip the pots in water overnight before making holes to make the pot softer.
-
- Bring the pot out the next day and place it inverted.
-
- Use a big masonry drill bit and gently start drilling.
-
- The best practice is making holes in the side, not the center.
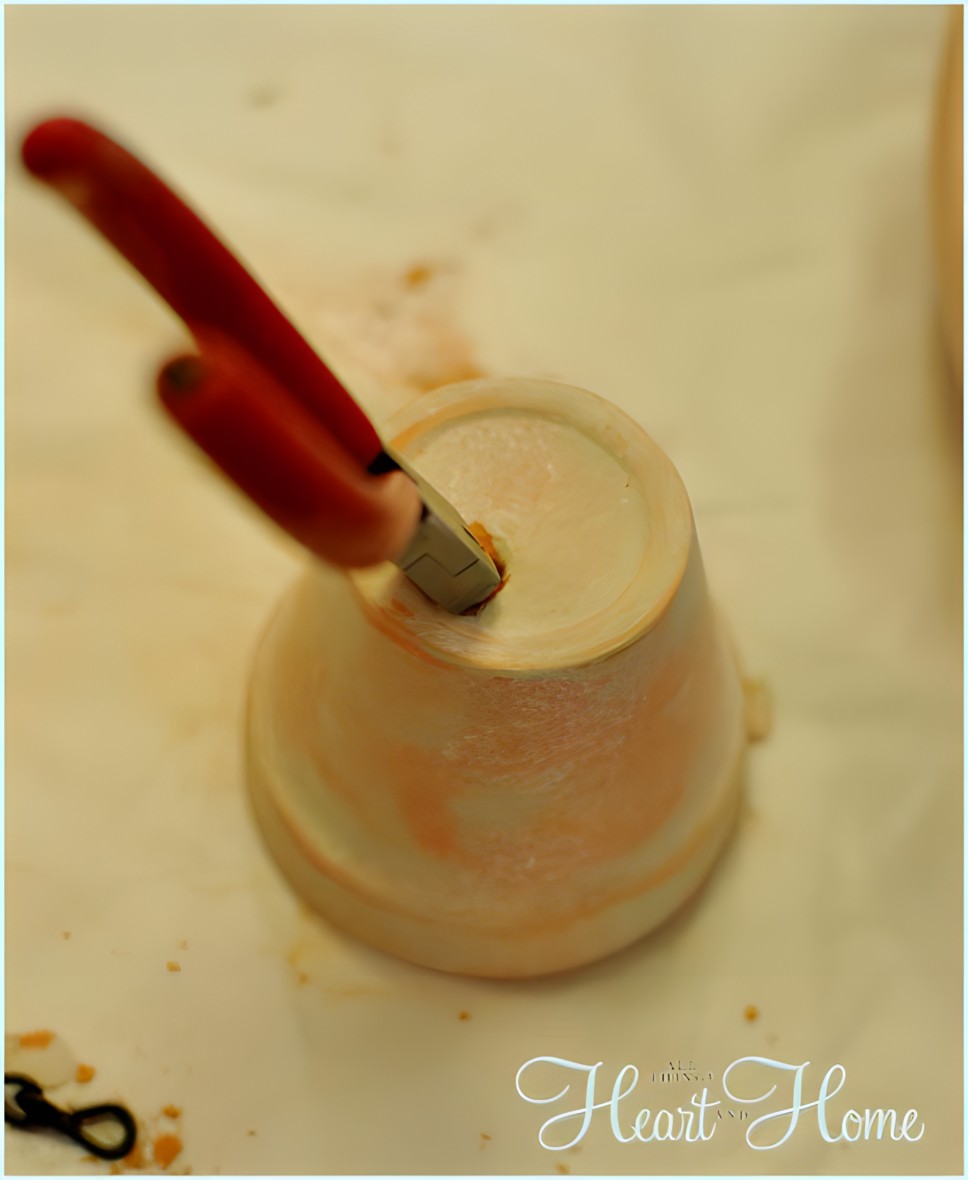
However, in my case, I found that the drainage holes in smaller pots were much smaller. So, in this case, we can insert the needle nose piler in the hole and carefully turn it slowly until the hole is big enough. (One of my pots cracked, so be careful and make sure you don’t do that quickly)

Step3: Separate The Chains By Opening Links
Lay flat the whole length of the 132-inch chain. Using the needle nose pliers, open the links and divide the chain into 8 equal parts (each roughly 11”!) & 2 longer sections double in length (roughly 22”) for the top and the bottom pots. Also, open 10 links from the small chain. They would serve as the connection between all the pots and can pass through the holes.

Step 4: Link the Pots
Now, Take a pot, pull the smaller chain through the hole, then attach the large chain sections with this link inside and outside (bottom). Take another pot and insert the small link inside the hole. Now, attach the large chain of the previous upper chain to the bottom side of the small link. This way, you can attach all the pots. You can see in the picture below:

The length depends on where you’re hanging your rain chain. You’ll want a bit of the chain landing in the saucer…
Step 5: Place The Saucer As Basin And Put Pebbles
Now select the location where you want the water to fall and place our aged saucer there. Also, put some pebbles in it. In this way, the rain chain would become part of your backyard.

Step 6: Hang Rain Chain
I attached my rain chain to the gutter on my back deck where rain spills. We can see it from inside the house and from the screen porch.
How To Attach The DIY Rain Chain?
-
- Remove the previous downspout.
-
- You would left with the gutter hole or leader’s head.
-
- Find a V-hook and attach it to the gutter opening.
-
- Open the first link of the rain chain, enter the hook, and close it again.
-
- Your rain chain is ready for water transfer.

It’s so pretty when it’s pouring rain. I know this because we’ve seen it in action every day since I hung it up…pouring rain for days, peeps.

The Husband, that sweet man, helped me take pictures during a deluge…

We came inside soaking wet, him growling about what he does for me, and I tickled because I got to play in the rain.

This was a quick and easy project, and I think I picked the very best week of the year to make this little rain chain.

~Rain or shine, have a beautiful day, my friends
Final Thoughts
Rain chains can be functional, but they are also quite beautiful…all that lovely water flowing down through cups over links of chain… It is all about doing something in your hand, so if you loved my tutorial for rain chain build, leave a comment below.
FAQs
No, but it is a good practice. It concentrates the flow of water downward so that it may fall directly into the rain chain rather than straight. Otherwise, with heavy rain, the water would certainly not fall onto the rain chain.
Rain chains with cups work really well for even heavy rains if you provide support to withstand the highly blowing air. However, it is suggested to use them in the middle of the rain.
As mentioned, the rain chains should have a ground support that may hold them and prevent the free swinging and the hitting of the walls.

Leave a Reply