
Make a desk that not only fits perfectly into your small studio apartment but also speaks volumes about your style and personality. This how to build a desk project isn’t about splurging on fancy furniture; it’s about creating a piece that’s uniquely yours, with your own hands, and perhaps with a touch of your essence. Whether it’s for diligent school nights or dedicated work days, a customized desk built by you, for you, can transform your productivity and infuse life into your space.
The essence of DIY is not just building furniture; it’s about sculpting a personal niche where creativity blooms. With simple materials and an afternoon of crafting, you can manifest a workspace that caters to your goals and blends seamlessly with your decor.
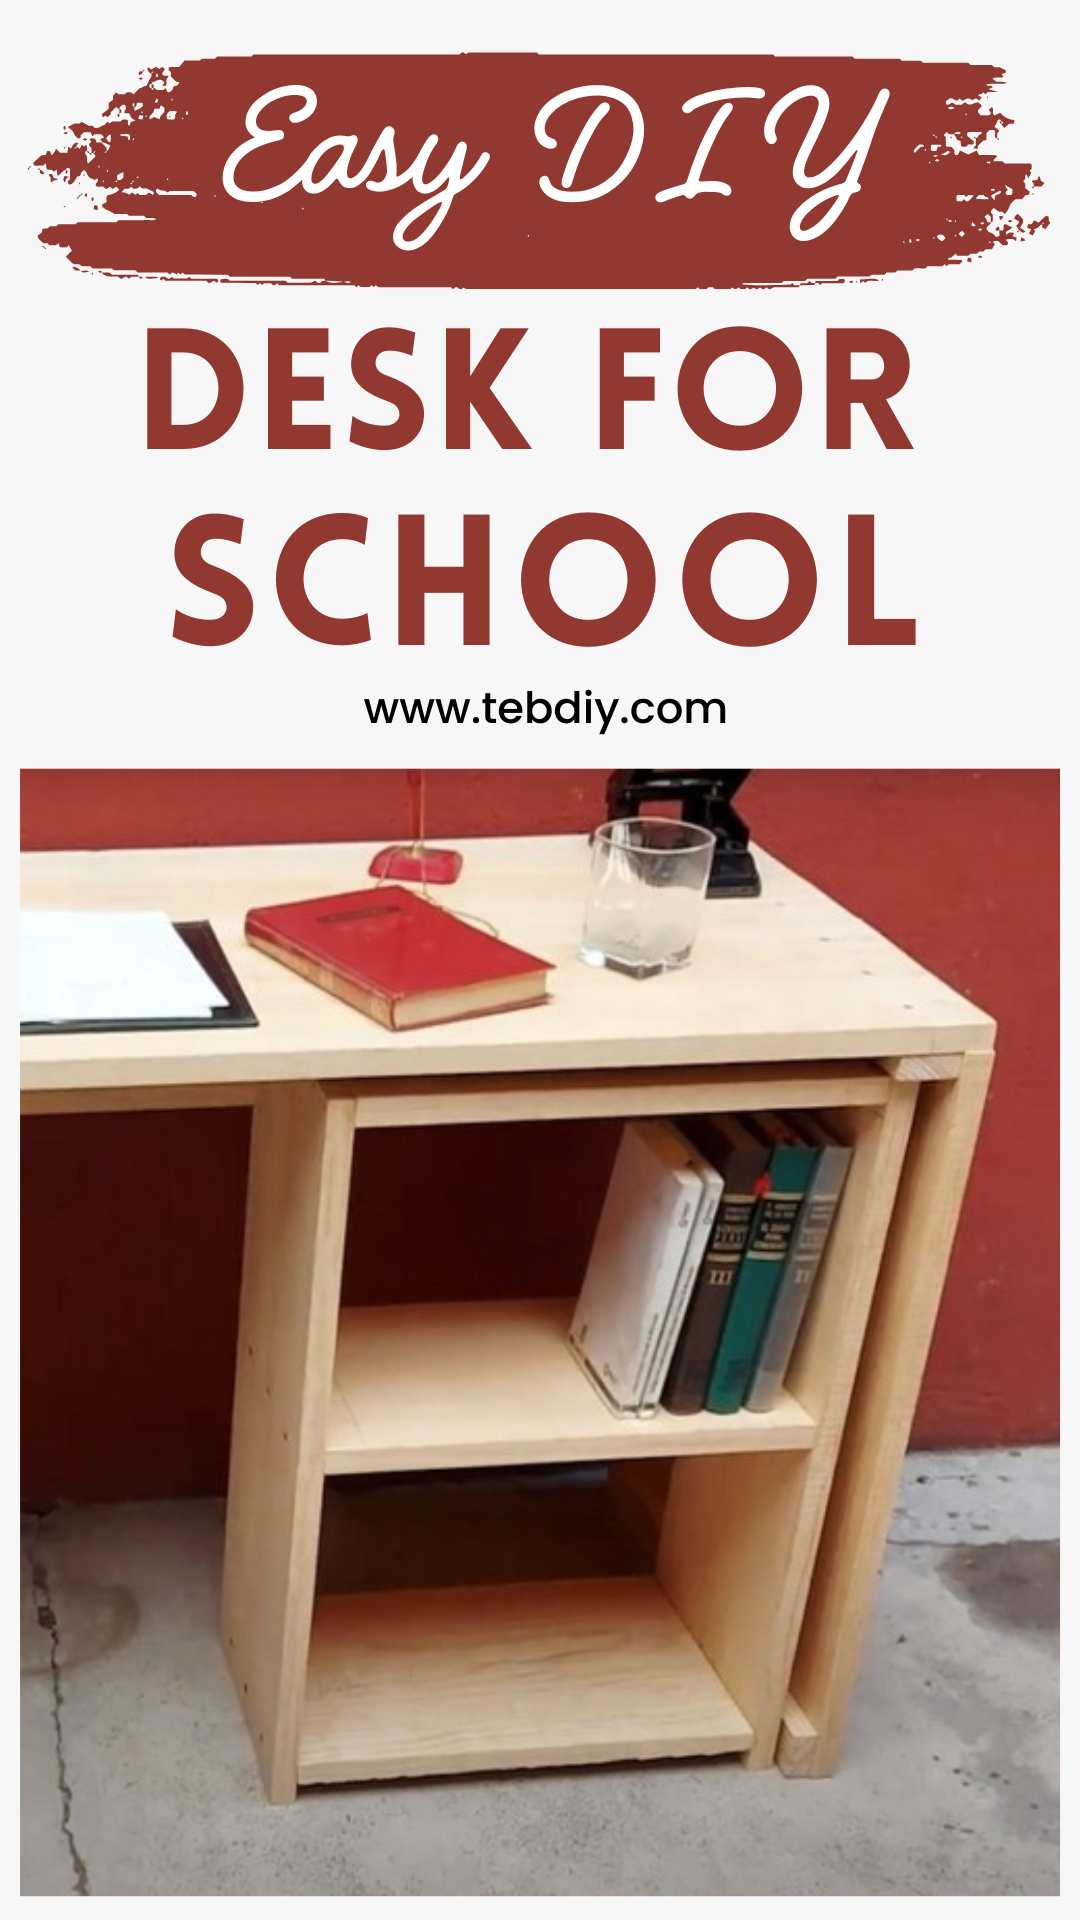
How To Build A Desk For School

Materials Required
To create this bespoke desk, you will need:
- 3 pieces of 1” x 10” lumber, each cut to a 28″ length
- 1 piece of 1” x 10” lumber, cut to 14.5″ length
- 2 pieces of 1” x 10” lumber, each cut to a 50″ length
- 1 piece of 1” x 6” lumber, cut to 52″ length
- 1 piece of 1” x 10” lumber, cut to 11.25″ length
- 1 piece of 1” x 10” lumber, cut to 25.25″ length
- 3 pieces of 1” x 10” lumber, each cut to 16.25″ length
Tools Used
While the guide does not specify exact tools required, typical wood construction would require:
- Saw (to trim the lumber if not pre-cut)
- Drill (for screws and fastening)
- Screwdriver
- Measuring Tape
- Sandpaper or Electric Sander (to smoothen the wood edges)
- Hammer or Nail Gun
- Wood Glue (optional for added strength)
- Clamps (to hold wood in place while assembling)

Crafting Process
Assembling the Main Frame
Begin by laying out the parts of the main frame:
- Take the four 28 inch 1×10 lumber pieces.
- Pair and align them to create two parallel structures, ensuring a clean and even formation.
Once paired, the 50 inch 1×10 pieces will connect the parallel structures at each end, offering a wide tabletop and side support. The 52 inch 1×6 piece will then serve as the support for the upper rear, contributing to the overall stability. Assemble these elements carefully to form the frame’s foundation.
Assembling the Desk Shelf
Now, to add the shelf:
- Use the two 27 inch 1×10 pieces for the front and back edge of the shelf frame.
- Integrate them with the three 16.25 inch 1×10 pieces by positioning one at each end and the final piece in the middle.
This process will create a sturdy shelf compartment for all your accessories, providing necessary organization and accessibility right under the workspace.

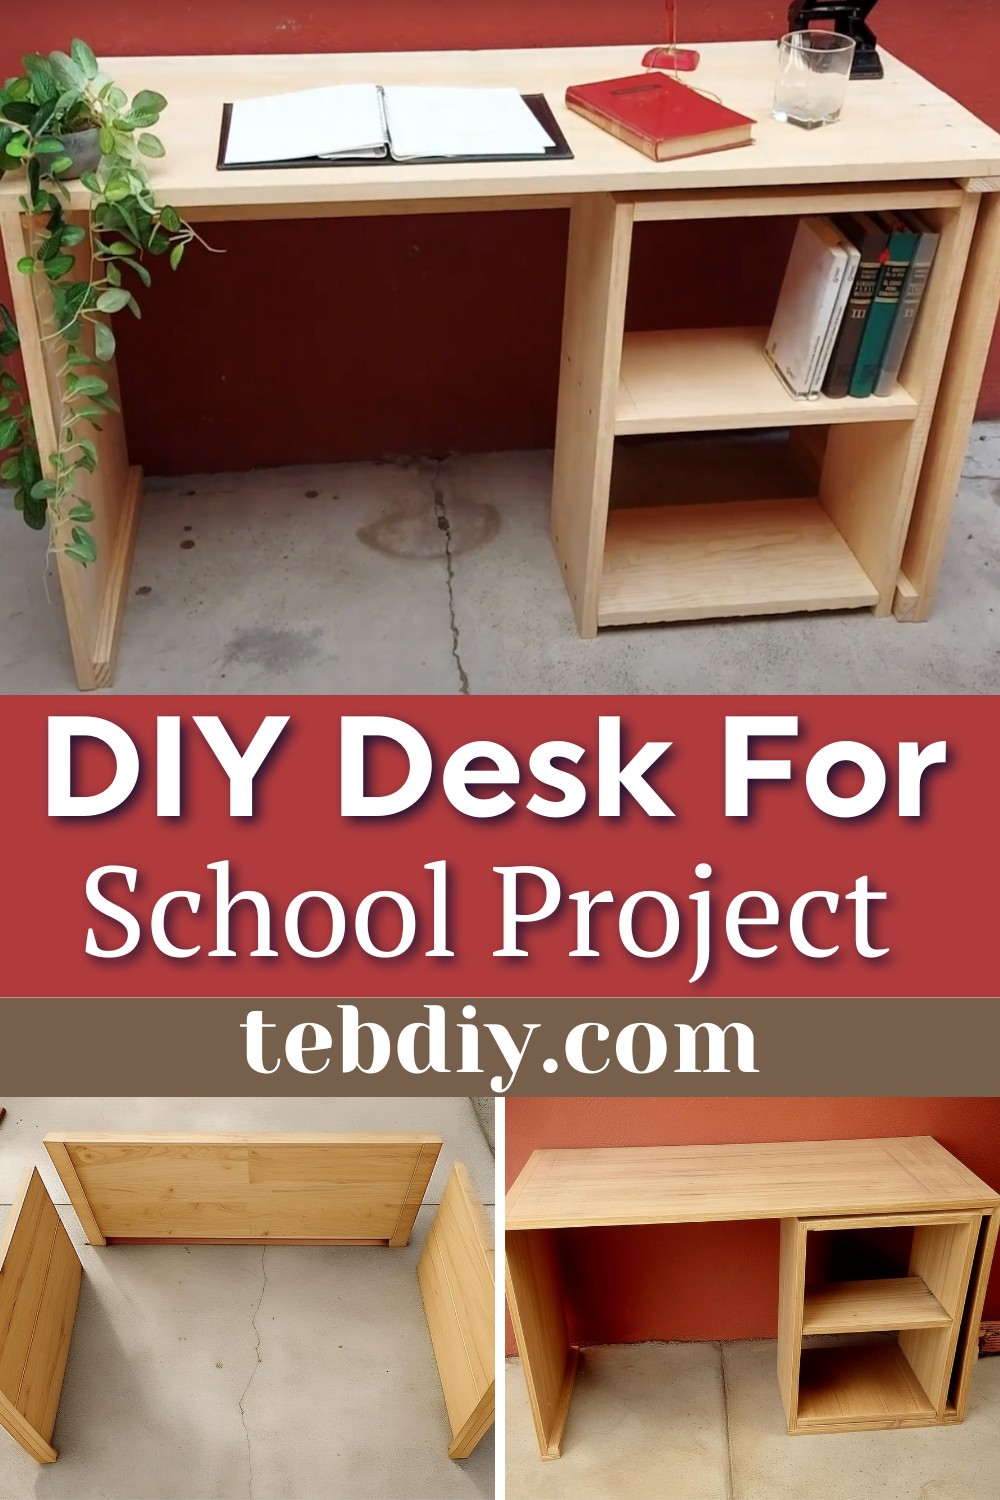
Final Assembly
Finally, it’s time to bring everything together:
- Place the constructed shelf unit onto the bottom right region of the desk frame.
- Securely attach the shelf to the frame to ensure that it doesn’t shift over time.
Once assembled, take a moment to step back and admire the fruit of your labor. Your desk is not just another piece of furniture; it is a testament to your dedication, customized to meet your needs.
Conclusion
Congratulate yourself on a job well done. Your new desk awaits its role in your daily life, promising to be a steadfast companion in your endeavors. Whether it’s for studies, work, or your creative escapes, your handcrafted desk will cater to your tasks while resonating with your personal touch. Get set to enjoy a workspace that is truly your own.
Leave a Reply