
In an era where the aesthetics of workspaces are increasingly valued, creating custom accessories that not only enhance functionality but also add a touch of personal craftsmanship can be immensely satisfying. This DIY Vertical Laptop Dock project of constructing a vertical laptop dock marries the robustness of metal with the warmth of wood, offering a bespoke solution for those looking to streamline their desk setup. By docking your laptop vertically, you minimize its footprint, transforming a cluttered desk into a neatly organized workspace.
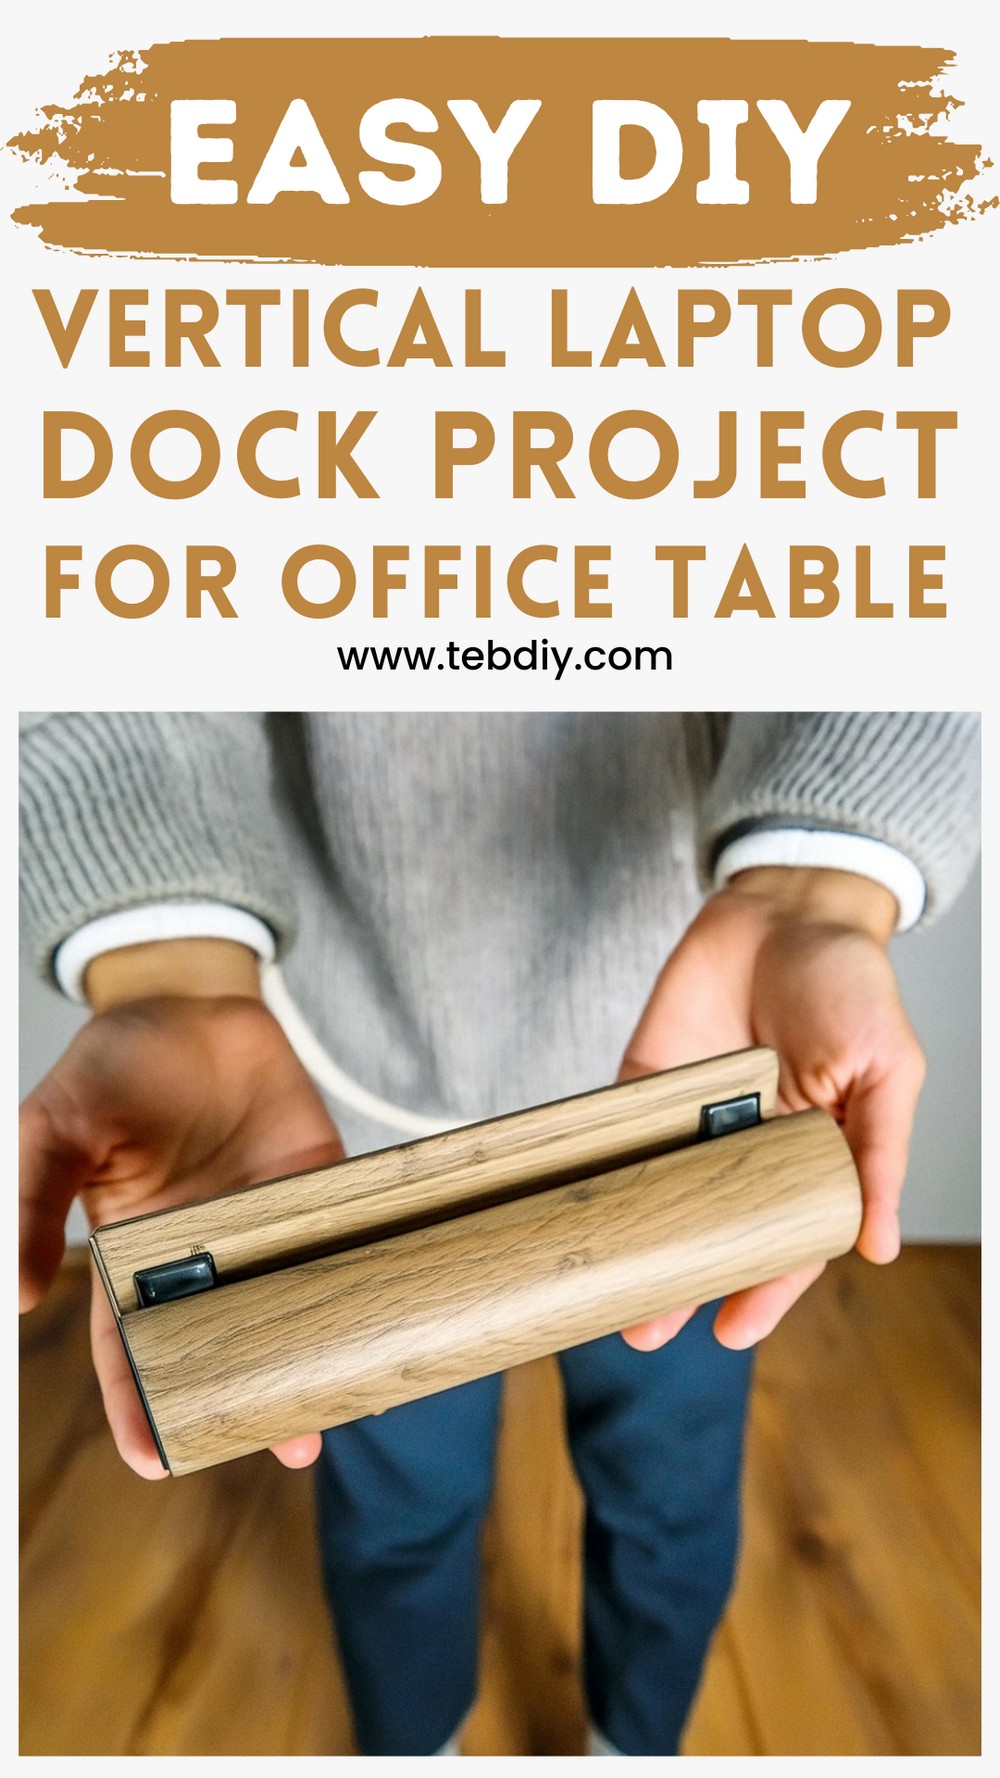
DIY Vertical Laptop Dock Project
Materials:
- Maple Dowel (2″ Round)
- 3/4” Plywood Scraps
- Maple Dowel (3/4” Square)
- Felt Sheet Metal (16 gauge)
- Matte Polycrylic
Tools:
- Miter Saw
- Wood Glue
- Table Saw
- Spray Adhesive
- Angle Grinder
- Orbital Sander
- Acetone
- Paste Wax
- Drill

Step-by-Step Guide
Preparing the Dowel for Cutting
- Begin by sizing up the cylindrical dowel: cut two square pieces from the 3/4″ plywood scraps using the miter saw.
- Attach these squares to each end of the dowel with wood glue to create flat, stable ends for easier cutting.
Bisecting the Dowel (Cylinder)
After the glue dries, find the center and slice the dowel lengthwise into two halves, utilizing the table saw. The attached square ends will help mitigate rolling, facilitating a safer, more precise cut.
Further Cutting on the Tablesaw
For each half of the dowel, make an additional cut along their flat sides, removing about half an inch. This adjustment is crucial for achieving the correct depth for the laptop to sit in.
Finalizing the Cylinder Pieces
Remove the temporary square guides and sand down the wooden halves to their intended length and smoothness, readying them for the assembly.
Crafting Interior Wooden Tabs
Using the 3/4” square maple dowel, create four small 1/8 inch square tabs—these will later be tasked with securely holding your laptop within the dock.
Applying Felt to the Tabs
To protect your laptop from scratches, adhere felt to the tabs using spray adhesive. Once dry, trim away the excess felt for a clean, snug fit.
Attaching the Wooden Tabs
Determine the optimal placement for the tabs on the interior of the wooden halves, then glue them in place, ensuring they are set slightly inset from the edges.

Constructing the Metal Base
Outline and cut an 8” x 2 5/8” base from the 16 gauge sheet metal. This provides a sturdy foundation and adds a contemporary look with its mixed-material aesthetic.
Finishing Touches on Metal and Wood
Smooth and round the metal edges with the orbital sander; cleanse with acetone and then seal with paste wax for a polished finish. Apply a coat of matte polycrylic to the wooden pieces for a natural, protective layer.
Assembling the Base and Sides
Pre-drill and countersink holes to attach the metal base to the wooden sides securely. Ensure the fit is snug and precise to avoid any wobble.
Adding Interior and Bottom Felt
Before fully sealing the dock, line the interior touching points with felt to prevent damage to the laptop. Lastly, a felt piece on the bottom protects the surface of your desk.
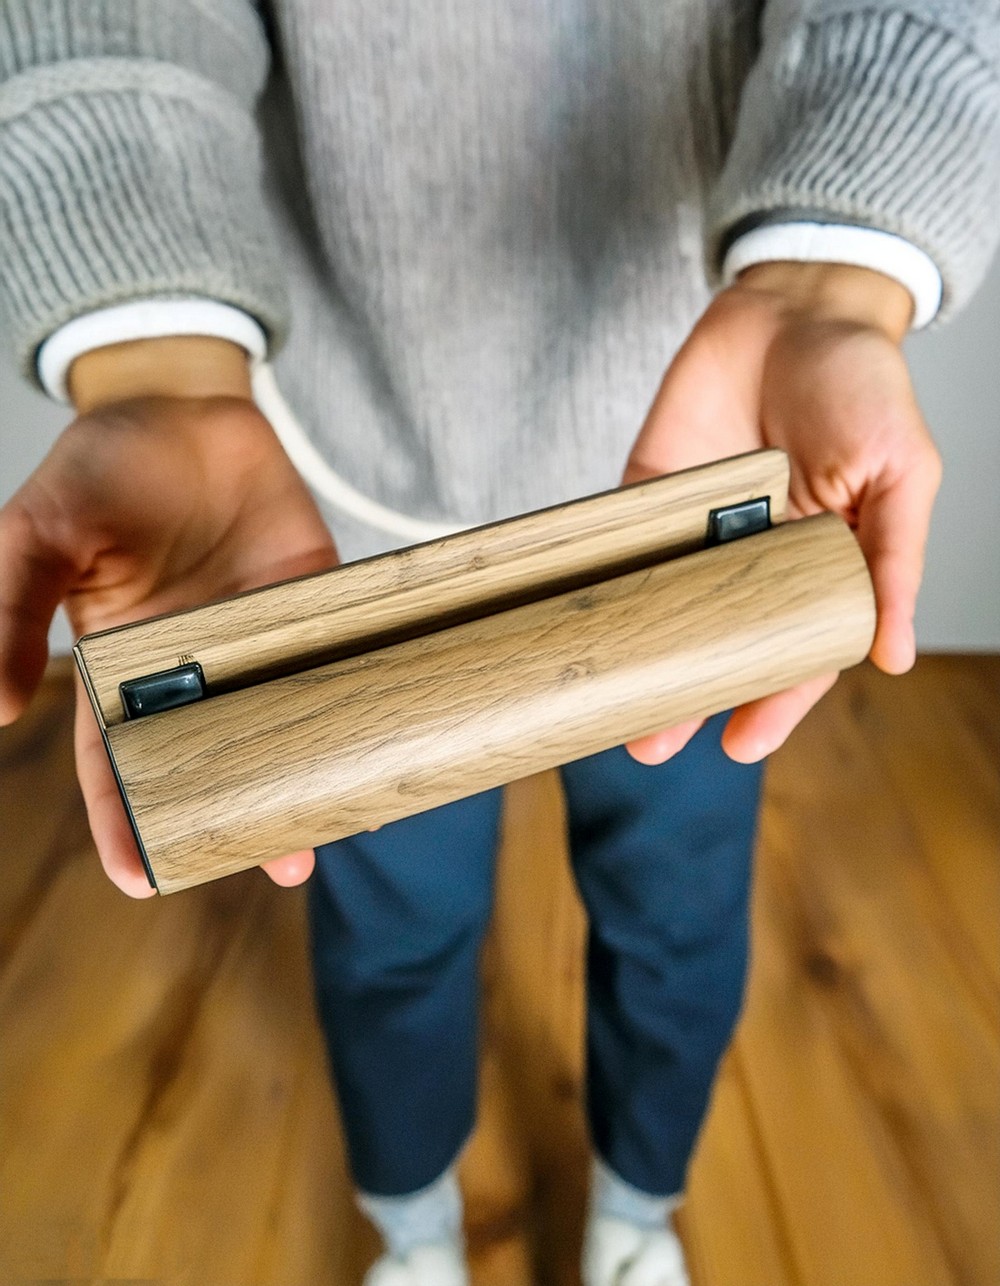
Completing the Dock
With all pieces assembled, you now have a functional and stylish vertical laptop dock. It’s ready to minimize the desktop footprint and elevate the look of your workspace.
This project not only serves a practical need but also stands as a testament to the joy and satisfaction derived from creating something with your own hands. The combination of natural wood and industrial metal results in a dock that is not only functional but also a piece of art in its own right.

Leave a Reply