
This DIY A-Frame Garden Shed Project can be both thrilling and intimidating, especially when it involves giving life to an old idea with a fresh twist. If you’ve been nurturing the dream of enhancing your garden with a functional yet aesthetically pleasing structure, let this guide ignite your imagination. We will walk you through the creation of an A-frame garden shed, meticulously constructed from reclaimed wood. This project not only offers a nod to sustainability but also promises a charming retreat in your garden that stands as a testament to your DIY skills and commitment to eco-friendly practices.
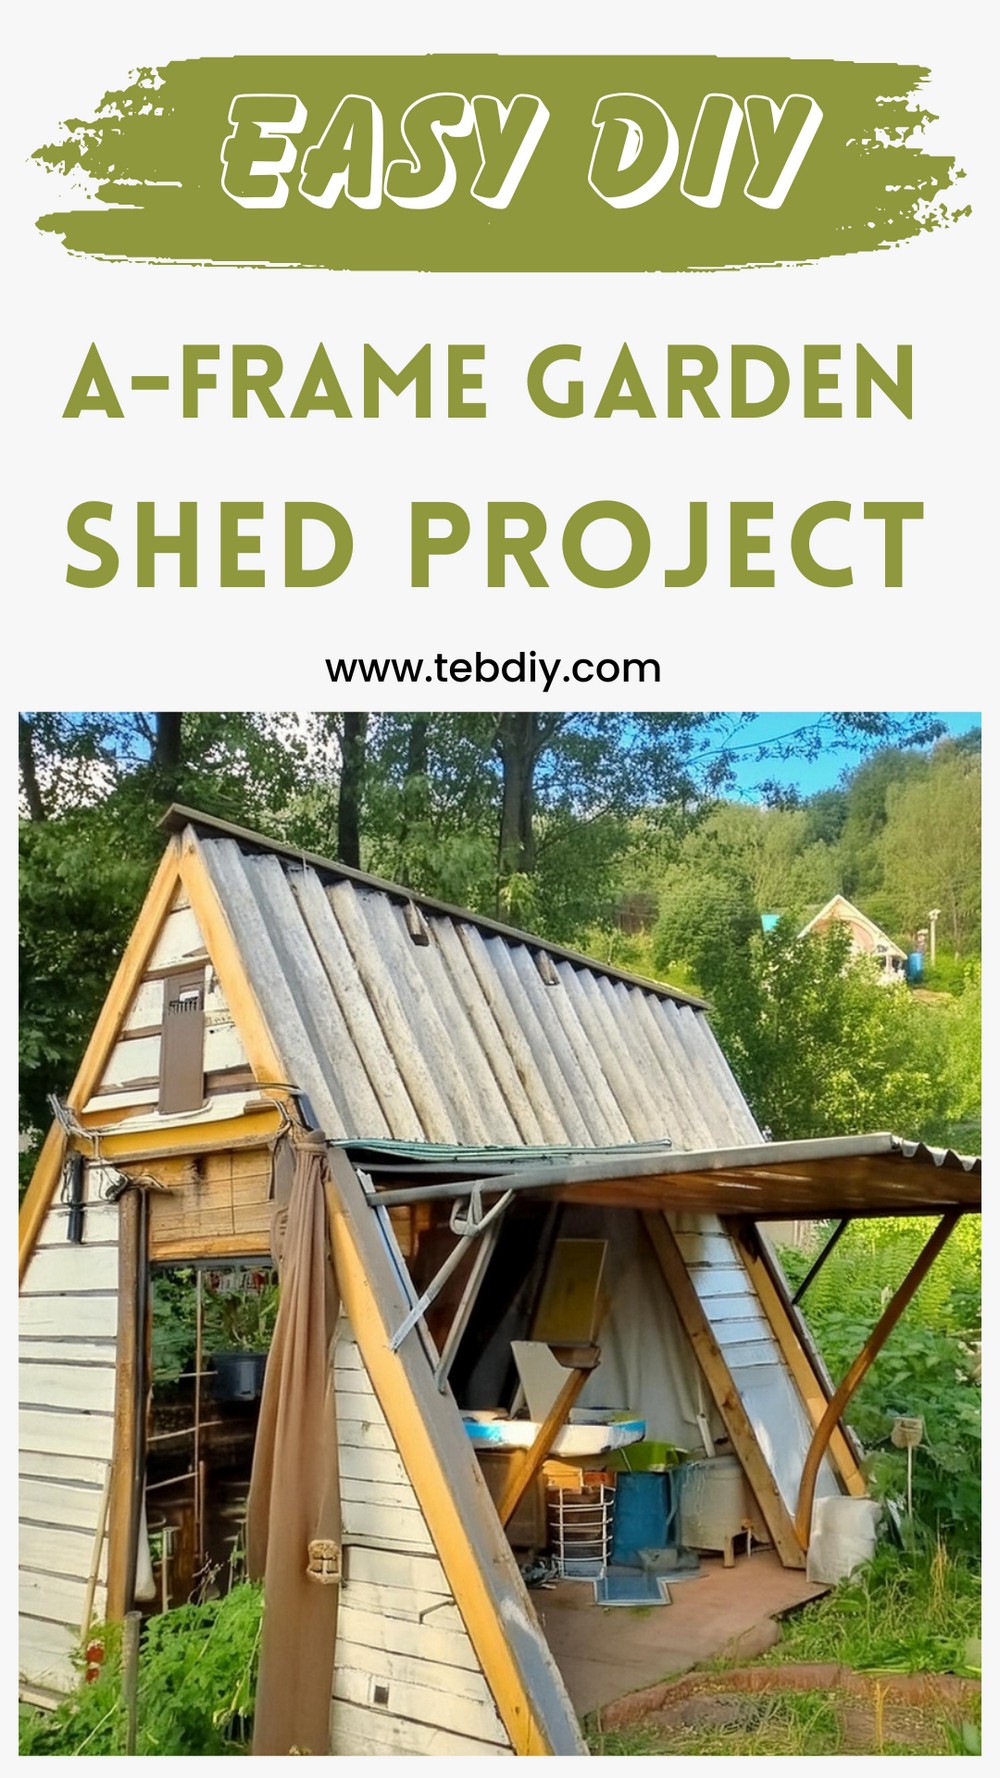
DIY A-Frame Garden Shed Project
Materials Needed:
Here’s what you’ll require for this venture:
- Wooden beams (approx. 10x20x400 cm and 10×10 cm beams of various lengths)
- Pallets
- Stone plates
- Bricks
- Gravel
- A large wooden door
- An IKEA Kura bed
- Flooring boards
- Corrugated roofing and corrugated polyester materials
- Sheets of thick plywood
- A yellow kitchen cabinet
Toolset:
Your arsenal should include:
- Classic hand tools (hammer, saw, etc.)
- A selection of power tools (circular saws, a power sander, a milling tool)
- Clamps
- A 40m extension cord for power tools

Step-by-Step Guide:
Gathering Materials
Start your project on a strong foothold by amassing all the necessary materials. This phase can take you on several adventures across your city, discovering friendly faces and hidden gems. Keep an eye on online marketplaces for free or discounted materials to keep costs low.
Preparing the Site
Clear the chosen site for your shed, ensure the old structures are removed, and the ground is prepped and leveled. Set up a temporary storage solution for tools and materials using a material tent and pallets.
Laying the Foundation
A robust shed demands a solid foundation. Mark the dimensions of your shed with a string line and dig foundation holes to the hard clay layer below. Use fine gravel to level the bases of these holes, making sure everything is perfectly aligned for stability.

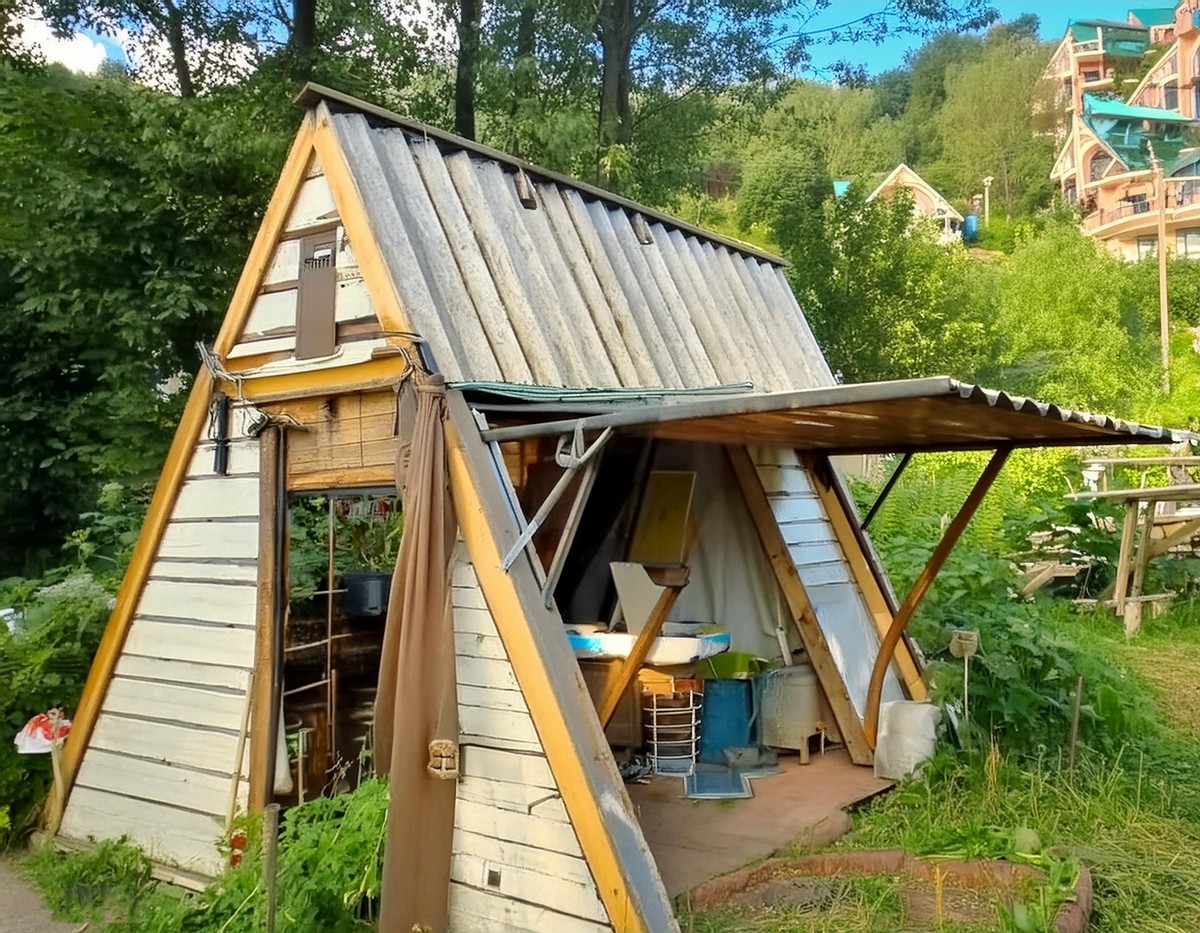
Erecting the Frame
Construct the frame by assembling the beams and pallets, steadily building the iconic A-frame structure. Attention to detail here ensures your shed not only stands tall but is also resilient against the elements.
Adding Walls and Roof
Utilize the wooden door, pallets, and flooring boards to craft the walls of your shed. For the roof, the corrugated materials will provide both shelter and character. This is where your shed truly begins to take shape.
Interior and Finishing Touches
With the structure in place, focus on the interior. The IKEA bed can be repurposed into shelving or seating, depending on your needs. Install the yellow kitchen cabinet for additional storage. Paint and varnish as needed to protect and enhance the wood’s natural beauty.

Conclusion:
This project is far more than just constructing a shed; it’s about building a haven in your garden that’s imbued with history, creativity, and personal effort. Each step not only brings the structure to life but also exemplifies the value of repurposing and recycling. As you look upon your completed A-frame garden shed, remember that it stands as a symbol of possibilities – a space where relaxation meets creativity, all the while harmonizing with nature’s ethos.
Leave a Reply