
Make a place where the laughter of children mingles with the gentle rustling of leaves and is a sanctuary for playdates and pirate ships, tea parties, and hide-and-seek. An A-Frame playhouse can be this magical space in your backyard, an abode for your kids’ imaginations to run free. Constructing an A-Frame playhouse may sound like a monumental task, yet it’s an achievable weekend project that promises to bring joy to your family for years to come.
Let’s embark on this rewarding journey together and create a little wonderland for the little ones in your life.
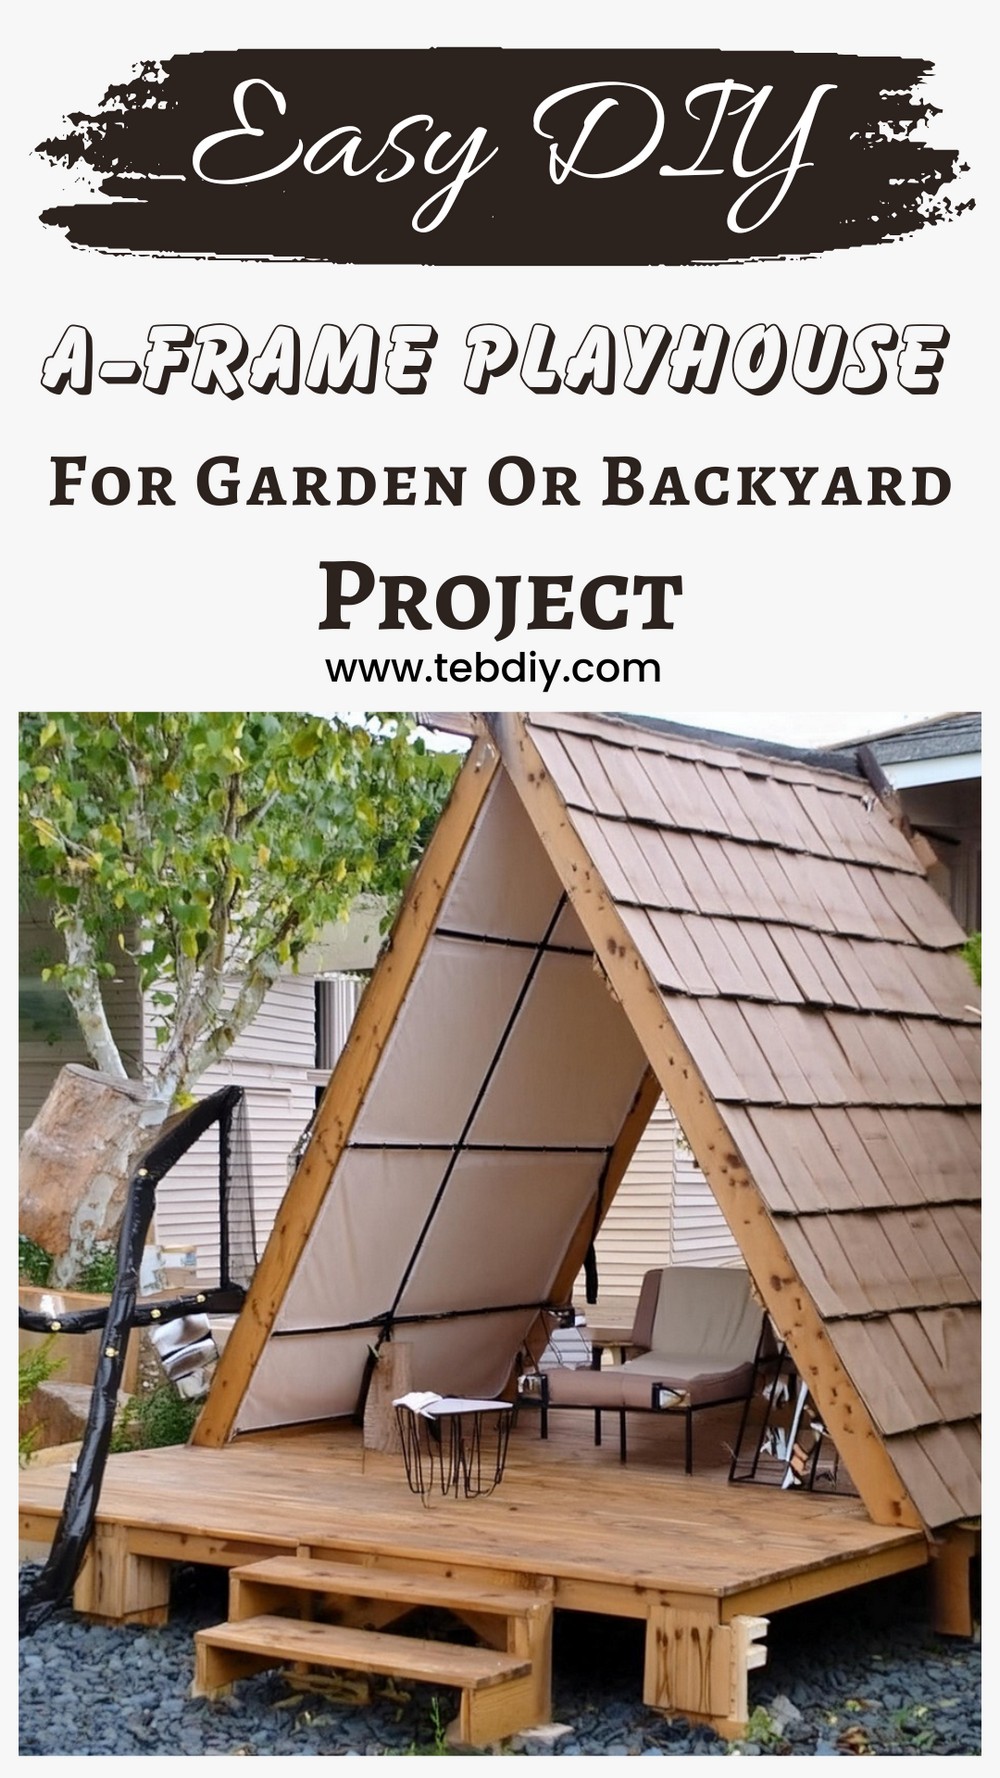
Crafting a Childhood Dream: The A-Frame Playhouse

Materials List:
- 2.4m x 2.4m decking kit
- 10 pieces of 2.4m 2×3 timber (frame construction)
- 5 pieces of 2.4m 2×3 timber (legs)
- 2 packs of cedar roof shingles (~5 square meters)
- 5 bags of quickcrete (for setting posts)
- 1 bulk bag of stone
- Waterproof membrane
- Cotton or hessian material (e.g., cotton dust sheet)
- Gravel membrane
Tools and Supplies:
You will need general construction tools for this project:
- Saw (for cutting timber)
- Drill and screwdriver (for assembling)
- Level and tape measure (for ensuring evenness and proper placement)
- Garden spade or shovel (for digging holes for the posts)
- Hammer or nail gun (for shingles)
- Staple gun (for attaching the material)
- Gloves and safety glasses (for your protection)
Now, let’s delve into the creation process, step by step.
Clearing and Prepping the Area
Start by prepping the playhouse area:
- Cutting Timber for Posts: Cut 2×3 timber into five 3-foot lengths, then glue and screw them together to create robust posts.
- Treating Posts: Apply black outdoor paint to the posts as a preservative.
- Site Clearance: Dismantle any old structures, clearing away weeds and smoothing out the ground.
- Marking Post Locations: Place the first post, ensure it’s properly distanced from any obstructions, and proceed to mark out the remaining post locations using stakes and string.
- Digging Post Holes: Excavate holes approximately 1 foot deep to accommodate the posts, keeping in mind the rule of thumb regarding post depth for stability.
Setting the Posts
The success of our A-frame house rests on the posts:
- Using Gravel Membrane: Lay the gravel membrane and cut crosses to fit the posts.
- Leveling and Bracing Posts: Start with the rear posts, setting them on the stone at the bottom of the holes and bracing as needed.
- Applying Postcrete: Fill holes around one-third full, then add Postcrete, ensuring it’s well mixed.
- Ensuring Accuracy: Use a spirit level to ensure all posts are of equal height and properly squared off.
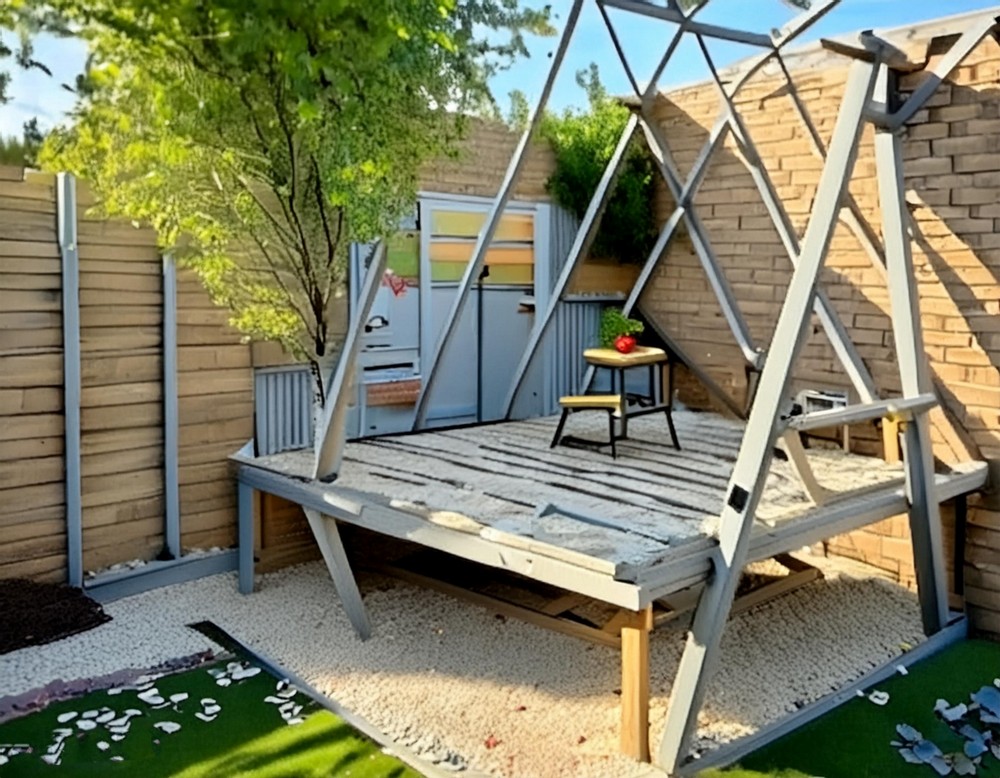
Building the Deck Frame
Assembling the heart of the playhouse:
- Deck Kit Assembly: Follow the instructions provided by your decking kit supplier to assemble the frame.
- Securing to Posts: Once the frame is squared, secure it to the posts using metal brackets.
- Adding Center Post: Install the center post after the frame is attached, bracing it with deck joists.
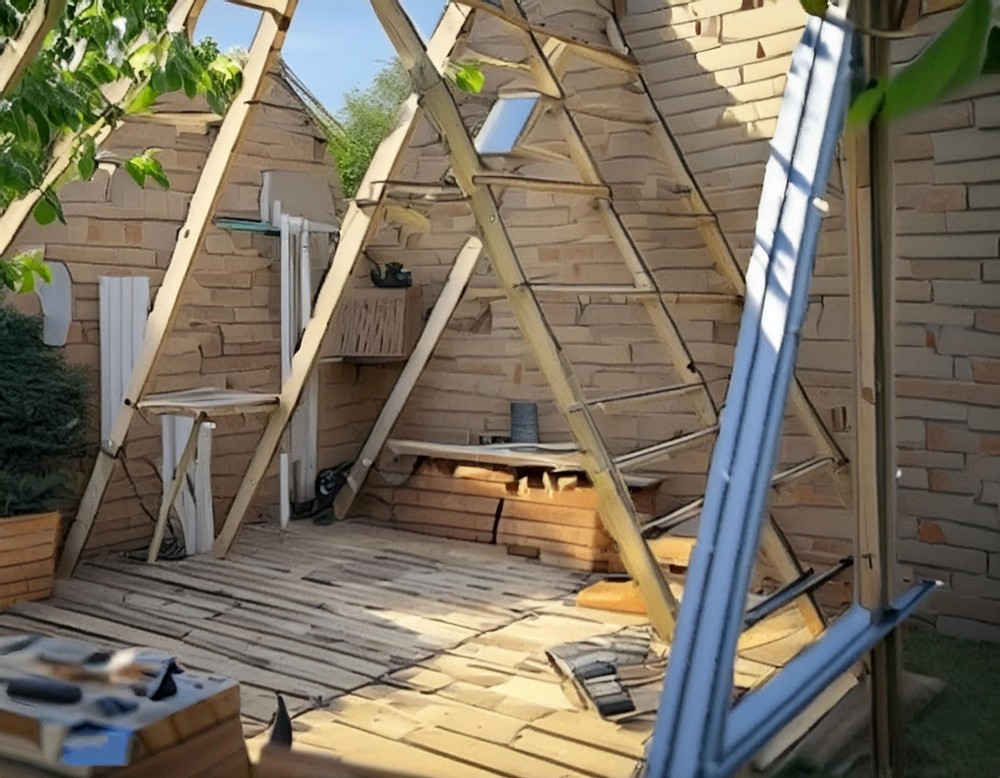
Building the A-Frame for the House
Creating the iconic A-frame:
- Cutting Timber: Cut 2×3 timber for the A-frame consisting of three A-shaped structures.
- Securing A-Frames: Attach the frames to the edges of the deck, ensuring sturdiness through additional bracing.
- Adding Battens: Install small battens along the sides for shingle attachment, spaced each foot apart.
Adding the Shingles
Giving the playhouse a classic look:
- Starting from Lower Edge: Begin attaching shingles from the bottom, working upwards, ensuring an overlap of approximately 4 inches.
- Creating the Roof Ridge: For the apex, use small pieces cut and positioned to cover the top layer.
Waterproofing, Material, Steps, and Ramp
Finalizing the A-frame playhouse:
- Waterproofing: Lay down a plastic sheet, then cover with the chosen fabric for waterproofing and aesthetics.
- Building Ramp: Use leftover fascia boards and support with timber to create a functional ramp.
- Constructing Steps: Design and build the stair treads and stringers with careful attention to uniformity and stability.
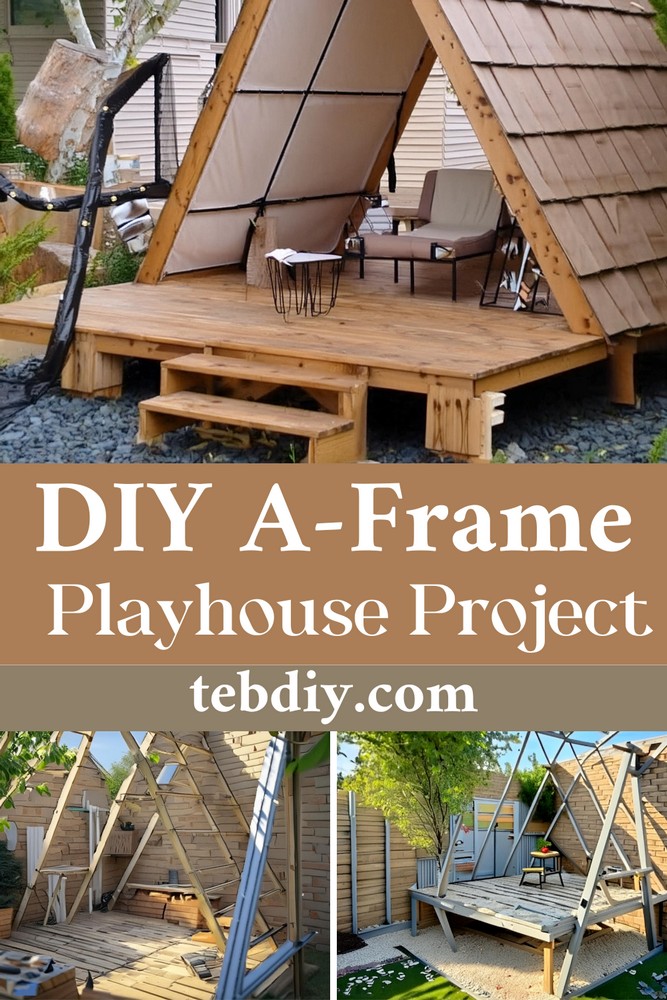
Completion
With an outdoor rug, a small bench, and some finishing touches, the playhouse takes on life and is ready to be the setting of countless adventures.
Congratulations! You’ve now created a whimsical and durable play area where your children’s imaginations can flourish.
Leave a Reply