
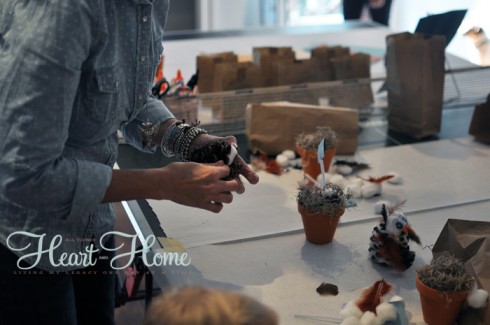
Pine cones and cotton balls are both kid’s favorite crafting materials. So, for my fall table decoration, I took them together to my crafting room and prepared this preschool pine cone owl craft, which ended up as a beautiful setting. If you also want to spend some creative time with your little one, learn this craft from today’s step-by-step tutorial. Like my previous pine cone craft, it is for festival when everybody wants a fun activity. So, let’s get started.
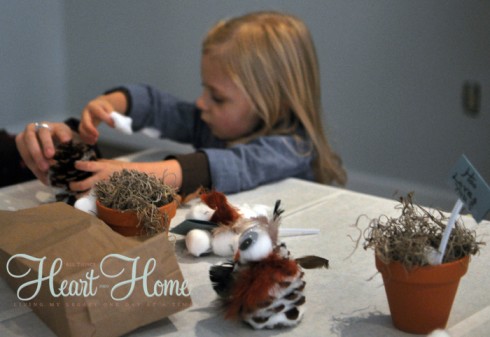
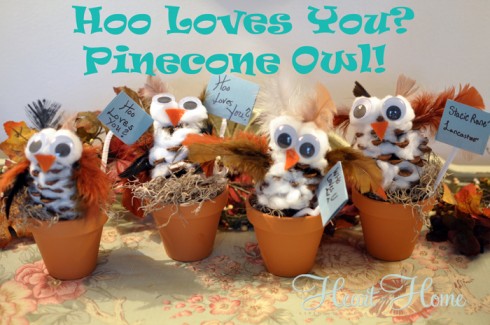
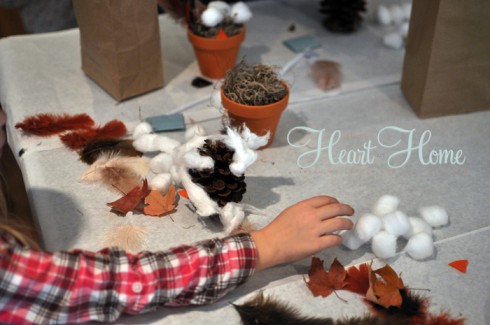
Anyhoo, here are a few of the little owls we made…
They were easy to do for ages 3 and older…any younger and the mamas did ’em!
Preparation of Pine cones For Pine Cone Owl Craft
Jump to the guide if you already know everything
Pinecones are not ready-made craft materials. They might have hidden bugs, dirt, and exposed needles and leaves that should essentially be eliminated. In previous kids’ pine cone craft, I explained this in detail in a separate section. In addition to this, Today, I shall also teach how to scent them. Here is the summary of how to prepare the pinecones for pine cone owl craft:
- Step 1: Remove the leaves and needles and clean the dirty spots from the pine cone with a sponge.
- Step 2: Soak and shake pine cones in water-vinegar solution for 30 minutes to remove the extra dirt.
- Step 3: Bring the pine cones out, lay them over the tray with a baking sheet, and put them in the oven at 200-300 degrees temperature for 20 minutes.
How to make cinnamon-scented pine cones?
After your pinecones are free from dirt and bugs, you can scent them as follows:
- Step 1: Put all the pinecones inside a ziplock bag.
- Step 2: Fill 1 ml of “cinnamon essential oil” inside a spray bottle along with some water and mix well.
- Step 3: Spray the mixture 3 to 4 times. Close the bag and keep it this way for a few hours. You can also put some cinnamon sticks inside.
- Step 4: Open the bag, bring the pinecones out, keep them in a shady area, and let the pinecones fully dry.
Now, they are ready to craft. The amount of water addition decides the severity of the scent, so you can increase or decrease as you want.
How to Craft Cotton & Pine Cone Owl Craft For Fall
Crafting a beautiful population of cotton ball and pine cone owl in nests is very easy, and the step-by-step craft instructions below will help you:
Crafting Skills: Basic techniques like cutting cardboard right, gluing objects, good handwriting, and molding pipe cleaners are needed.
Step 1: Gathering Crafting Supplies
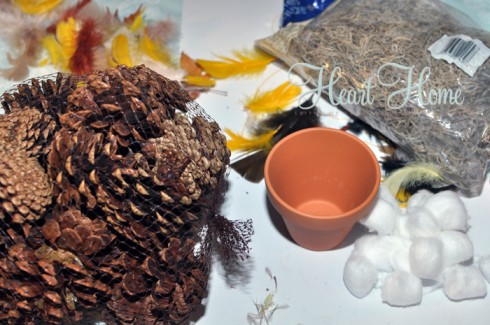
Here is what you need for the pine cone owl craft:
Supplies:
- Scented Pine Cones (so the owls aren’t only cute, they smell kinda like the holidays)
- White Cotton Balls
- Feathers (don’t harm a bird, buy fake ones)
- Orange felt for the nose
- Small Clay pots
- Dry Moss for Nest Filling
- Google eyes
- Pipe Cleaners
- Craft Paper for your “Hoo Loves You ” signboard.
Tools:
- Scissors
- Markers
- White Glue
Step 2: Preparing the Owls
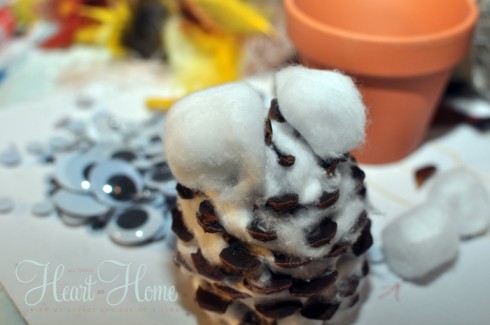
Make sure you have open pine cones; if not, dry the moisture out of them. Here is how to craft the cotton ball and pine cone owl.
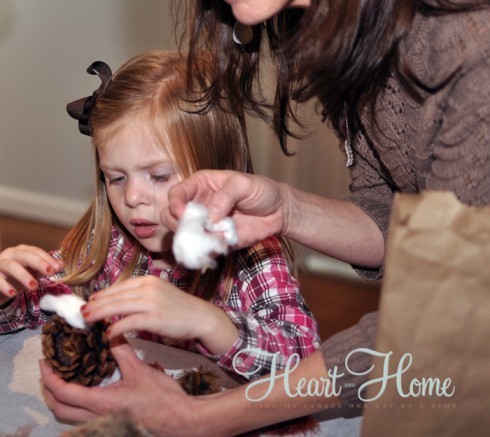
- Gently pull apart the cotton balls and tuck the cotton into the pine cone spaces around all spaces. A better way would be to fill the glue inside the spaces and then insert the cotton inside.
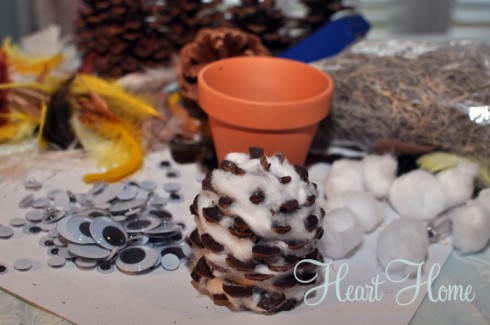
- Glue two whole cotton balls on the top of the pinecone for the owl’s eyeballs. Press the balls a little bit.
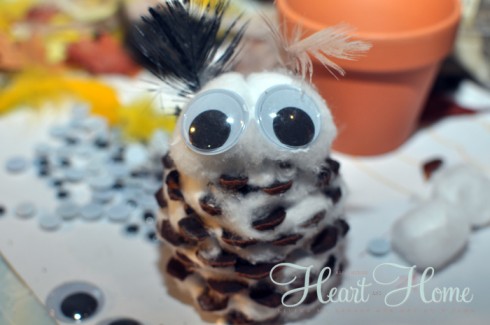
- Glue the innocent and cute wobble/google eyes onto the cotton balls and glue a couple of small feathers to his little head.
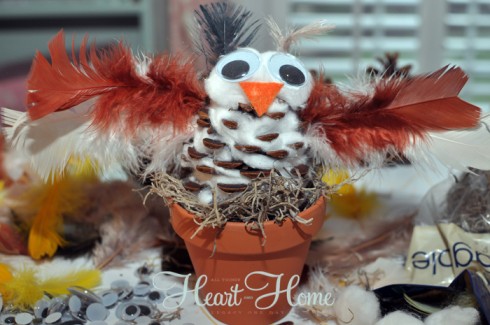
- Glue some bigger feathers like wings on both sides and spread out. If you want your owl to be in flight…oh! And don’t forget to glue his tiny orange nose in a triangle!
- Or glue some smaller feathers to the side of the owl if you’d prefer your little owl to sit still!
Step 3: Preparing Owl Nest
- Tuck some moss in the clay pot to make a comfy nest and place our owl over it.
Step 4: Preparing Sign Boards
Then, if you want, make a little sign with the text written as Hoo Loves You? or any other you want.
- Cut a small piece of cardboard, write the text, attach a pipe cleaner with it, and insert it in the nest.
Finished
It was fun and reminded me of all those years Mama used to plan crafts for us every Thanksgiving…
Sheer bedlam…laughing-talking over one another…
Just being family.
This day was a very good day.
Leave a Reply