
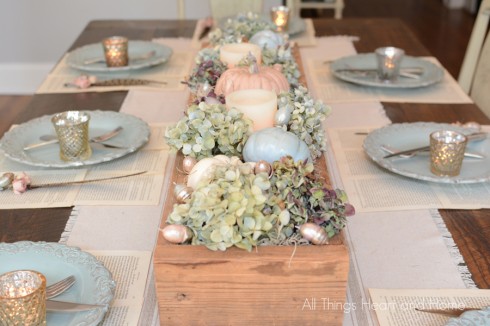
Autumn calls all home members and relatives together to our favorite spot – the dining table. So, I needed to put together this easy, shabby chic fall table decor & makeover idea, which I shall share with you with step-by-step instructions.
It is going to consist of a long fall table centerpiece filled with leaf bales, candles, acorns, and painted pumpkins in a wooden box. You will also find a great idea to embellish the plate and a fast mat guide. So, I call it a complete transformation suitable for this foody season!
It sounds simple but looks very appealing, and I am sure the guests will love that setting.
Like most things I do, this table is easy to put together, and most of what you see here are things you already have, especially in autumn!
How to Prepare Fall Table Decor Centerpiece & Serving Place?
Below are step-by-step instructions on how to prepare fall table decor centerpiece and serving place in shabby style:
Materials & Tools Needed:
- Open Wooden Rectangular Box
- Fake Acrons
- Artificial Leaf Bales
- White Pumpkins (choose pumpkins with the smooth surface as possible)
- Pillar Candles
- Paint Brushes
- Chalky Paints
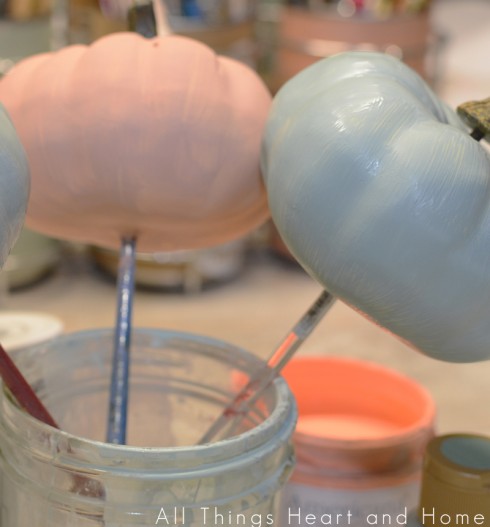
Step 1: Painting The Pumpkins
Acrylic chalky paints are best for painting the pumpkins. I used two colors in muted shades of orange and cyan-blue. You can change any bright color to a neutral one by mixing a tad of white color. Here is how to paint pumpkins for the centerpiece:
- Wear an apron and pass a long pencil through the center of each pumpkin, leaving some outside down to hold it properly.
- Wash the pumpkin to remove any dirt, and properly dry every bit of water after washing.
- Evenly coat a thin layer over the whole pumpkin using a paintbrush or spray.
- Acrylic dries quickly, so you can apply several coats in no time.
- Silvery paint is perfect to give a beautiful shimmer over other colors. So, you can mix a little in each color.
- When they are dry, add a bit of Glamour Dust in Silver to give them a tad of glitter…
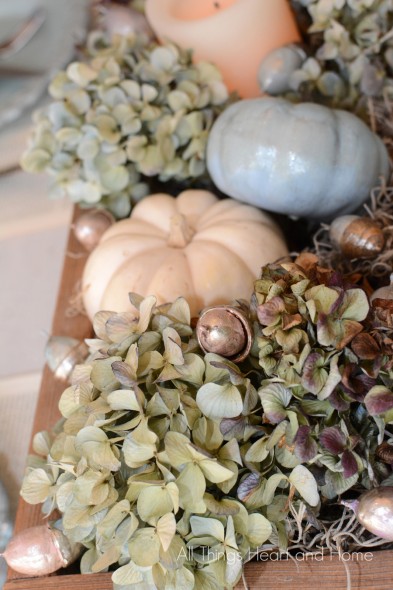
Step 2: Paint The Acrons
Because I loved the shimmery finish so much, I painted a bunch of fake acorns in orange! These took no time at all, and they are so pretty.
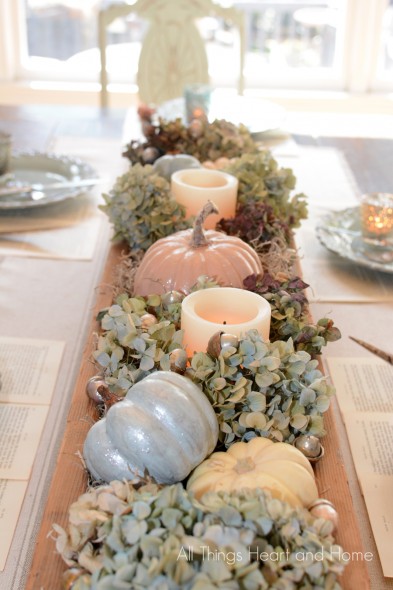
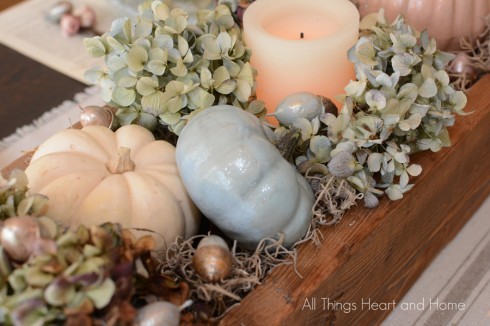
Step 3: Assemble Centerpiece
To assemble the centerpiece, take the wooden rectangle box and place it right in the center of the dining table. Now fill it with the leafy artificial bales. Displace some leaves to make space for the pumpkins and plastic cable and place them, too. The acorns will come in the last over the leaves.
Last Step: Prepare Serving Places
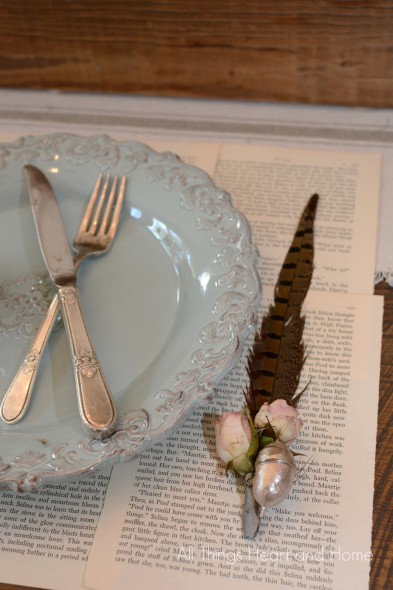
For easy placemats, I taped together some pages from an old book and added a tea light in mercury glass at each plate setting.
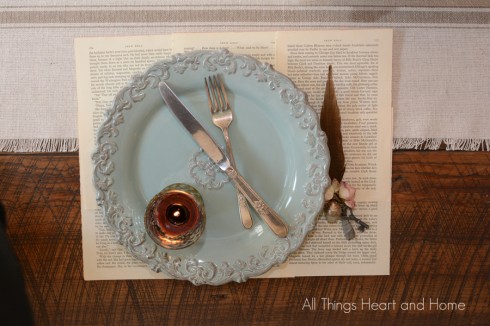
Since Thanksgiving is the official kick-off of the Christmas holiday, why not send your guests home with a little Christmas ornament!? These can be made by using floral wire to connect a feather, an acorn, a tiny key, and some dried sweetheart roses (I got the roses a few weeks ago from the grocery store! They dry out in no time and are perfect for a shabby chic party favor) Use Tape to cover the wire.
Even if your menu is the same year after year, it’s nice to do a little something different with your table setting…
Leave a Reply