
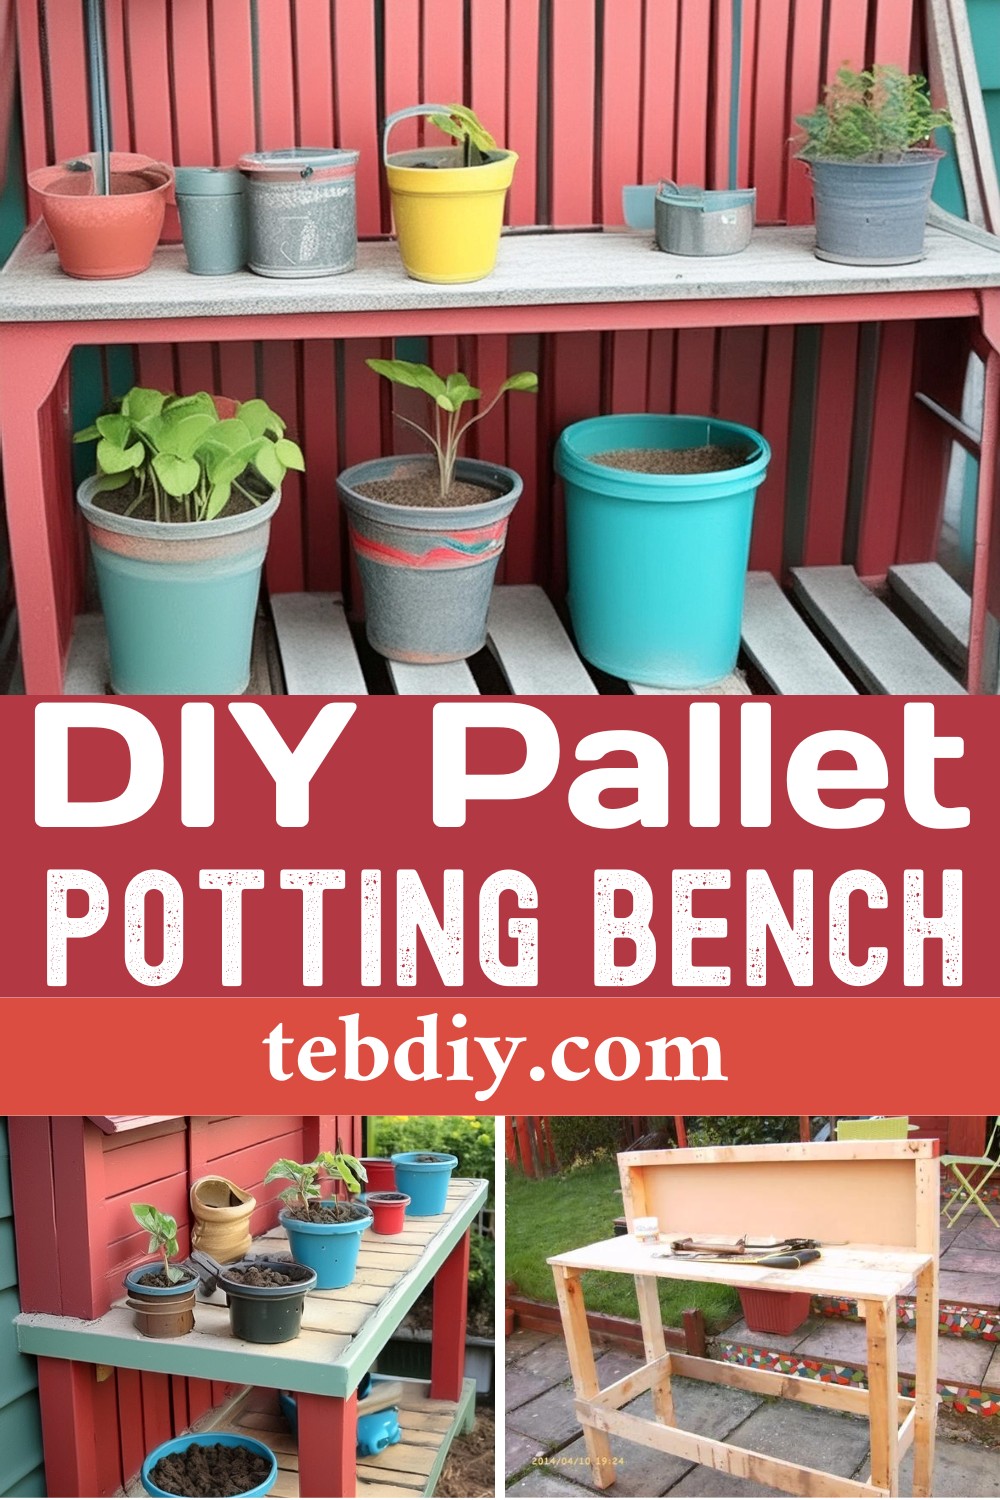
Here is a richly detailed pathway to transform a humble pallet into a functional and rustic potting bench, which will not only serve as an essential addition to your gardening setup but also a proud testament to your DIY skills. This project redefines recycling by giving a second life to materials that you might already have lying around in your shed or can easily acquire. The sheer satisfaction of creating something with your hands that’s both useful and attractive cannot be overstated. So, gear up for an exciting journey from pallet to potting bench, a perfect weekend project!

DIY Pallet Potting Bench Plan
Materials:
- A large pallet, approximately 8′ x 4′, used for drywall transportation
- 5 posts, each measuring 4ft x 2in x 3in
- Miscellaneous scraps of board, wood, and offcuts
- 3 x 4ft laminate floor boards
- Pieces from an old fence
- Shed and fence paint (2 tones)
- Nails and screws
Tools:
- Old broken garden fork (for breaking down the pallet)
- Sandpaper
- Saw
- Hammer
- Screwdriver
- Scroll saw (optional for decorative cuts)
- Rope and skateboard (for transporting the pallet, creative but optional)
Step-By-Step Creation Process
Acquiring The Pallet
Start by sourcing a suitable pallet. The one used here was discovered near a local community hall undergoing renovations. It’s a hefty piece, so plan for its transport. You may need to employ a bit of ingenuity here—think of using an old skateboard and rope to roll it home if necessary.
Break Down
Carefully disassemble the pallet. An old garden fork can be surprisingly efficient for popping planks without causing damage. Once freed, each plank deserves a good clean and thorough sanding down to prepare it for the build.
Preparing The Frame
With the pallet dismantled, you’ll have a collection of planks and posts at your disposal. Cut down 2 of the posts to 3 feet while keeping the others at 4 feet. The 8-foot planks should be halved to 4-foot lengths. Be prepared; you’ll likely be removing around 60 nails in the process.
The Build
Now comes the assembly. This process is simple and swift. Utilize the prepared posts and planks to form the frame, supplementing with other wood scraps as needed. The frame should be both nailed and screwed together for sturdiness.
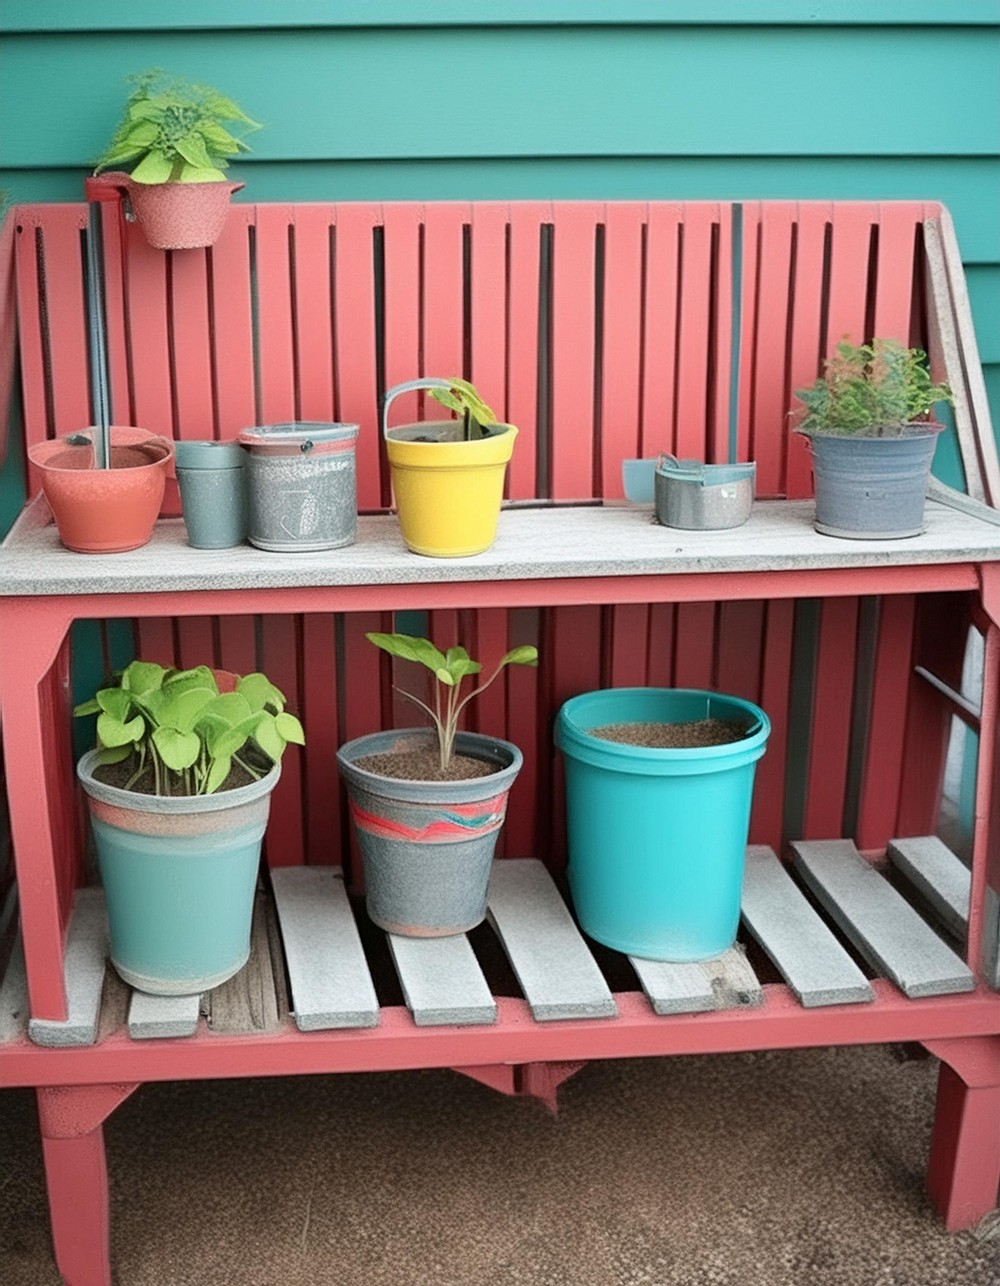
The Work Surface
For the potting bench’s top surface, repurpose 3 laminate floor boards found around your shed. They need to be trimmed to fit but will provide a smooth and easily cleanable worktop, perfect for dealing with all manner of potting tasks.
Adding the Lower Shelf
Incorporate a shelf below the worktop using wood from an old fence for added storage and convenience. This not only increases the functionality of the potting bench but also adds a charming element of upcycled design.
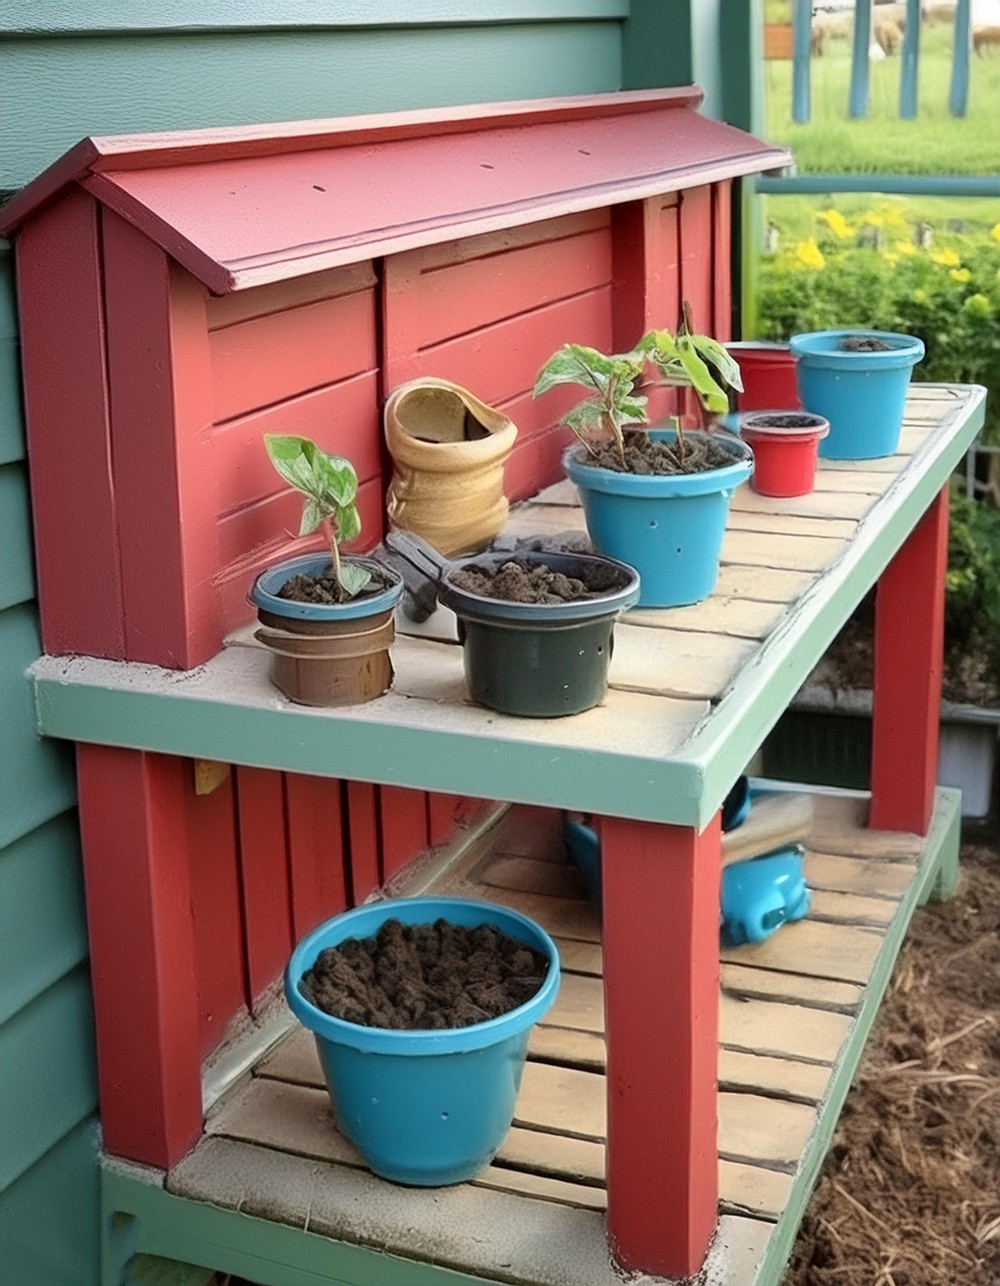
Decorating Your Bench
Finish your bench with a two-tone paint job that complements your outdoor space. Consider using a scroll saw to create ornate shapes on the bench’s side or bottom rail for an extra touch of craftsmanship, although this is optional.
The project concludes with the possibility of additional enhancements, such as adding an eye-level shelf or hooks for garden tools, depending on your specific needs and creativity.
This potting bench project exemplifies the beauty of upcycling and DIY prowess. It’s a practical, cost-effective undertaking that rewards you with a unique piece of garden furniture embodying both functionality and personal design flair.
Leave a Reply