
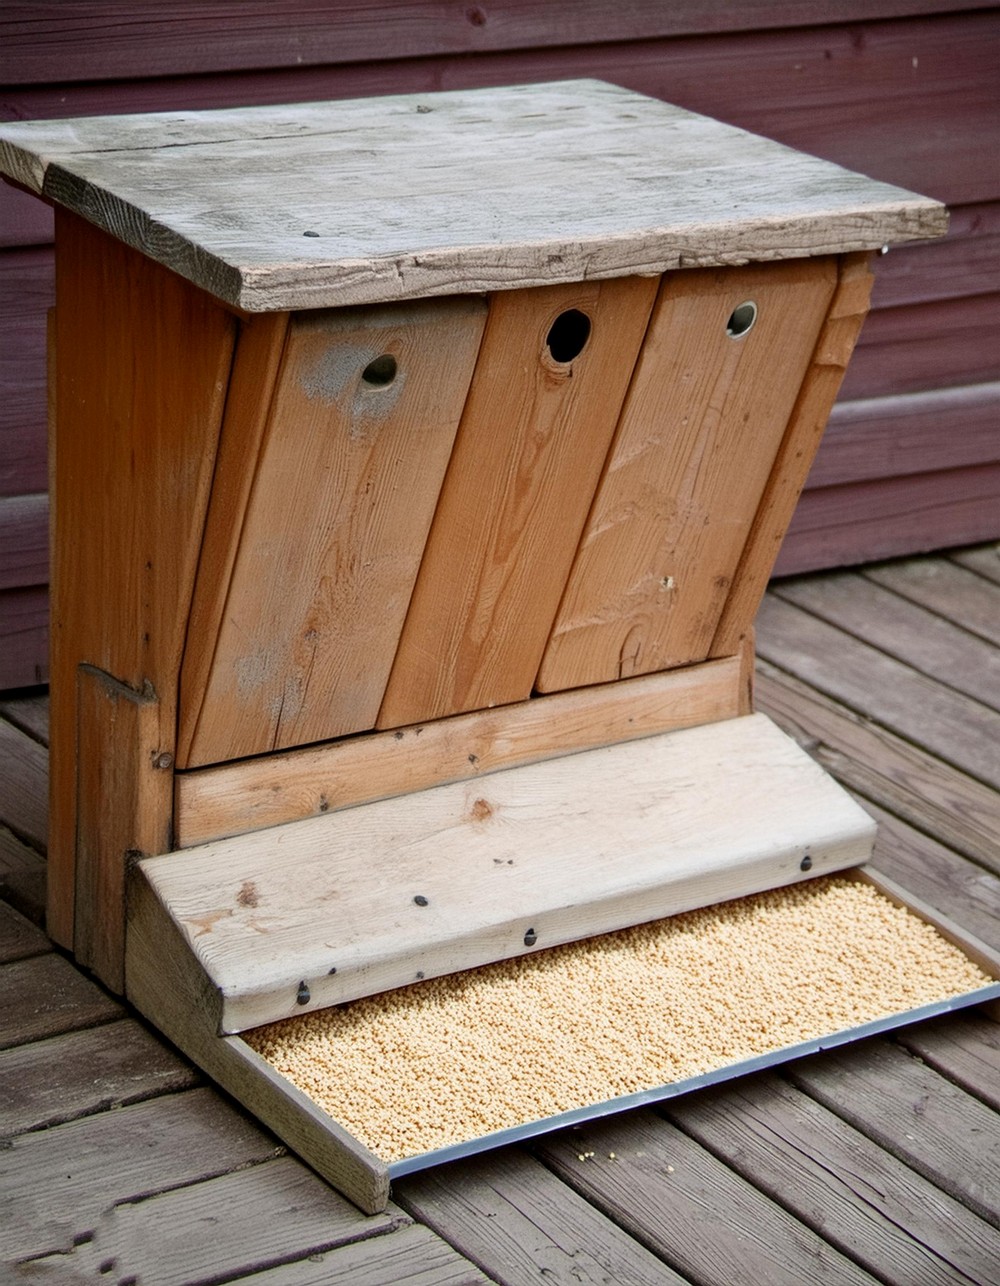
Hey there, awesome garden lovers and chicken keepers. Be ready to add a fun touch to your green space with a homemade Treadle Chicken Feeder. Not only is it a neat project, but you’ll also have the coolest feeder on the block! We’ve laid it all out for you in simple steps that you can follow easily. Your clucking friends will surely be proud when you serve their meals in a nifty feeder you built with your own two hands. Plus, you’ll have a blast making it and give your garden an extra sprinkle of charm. So, without wasting any time, let’s make feeding time a delightful event for your feathered pals!

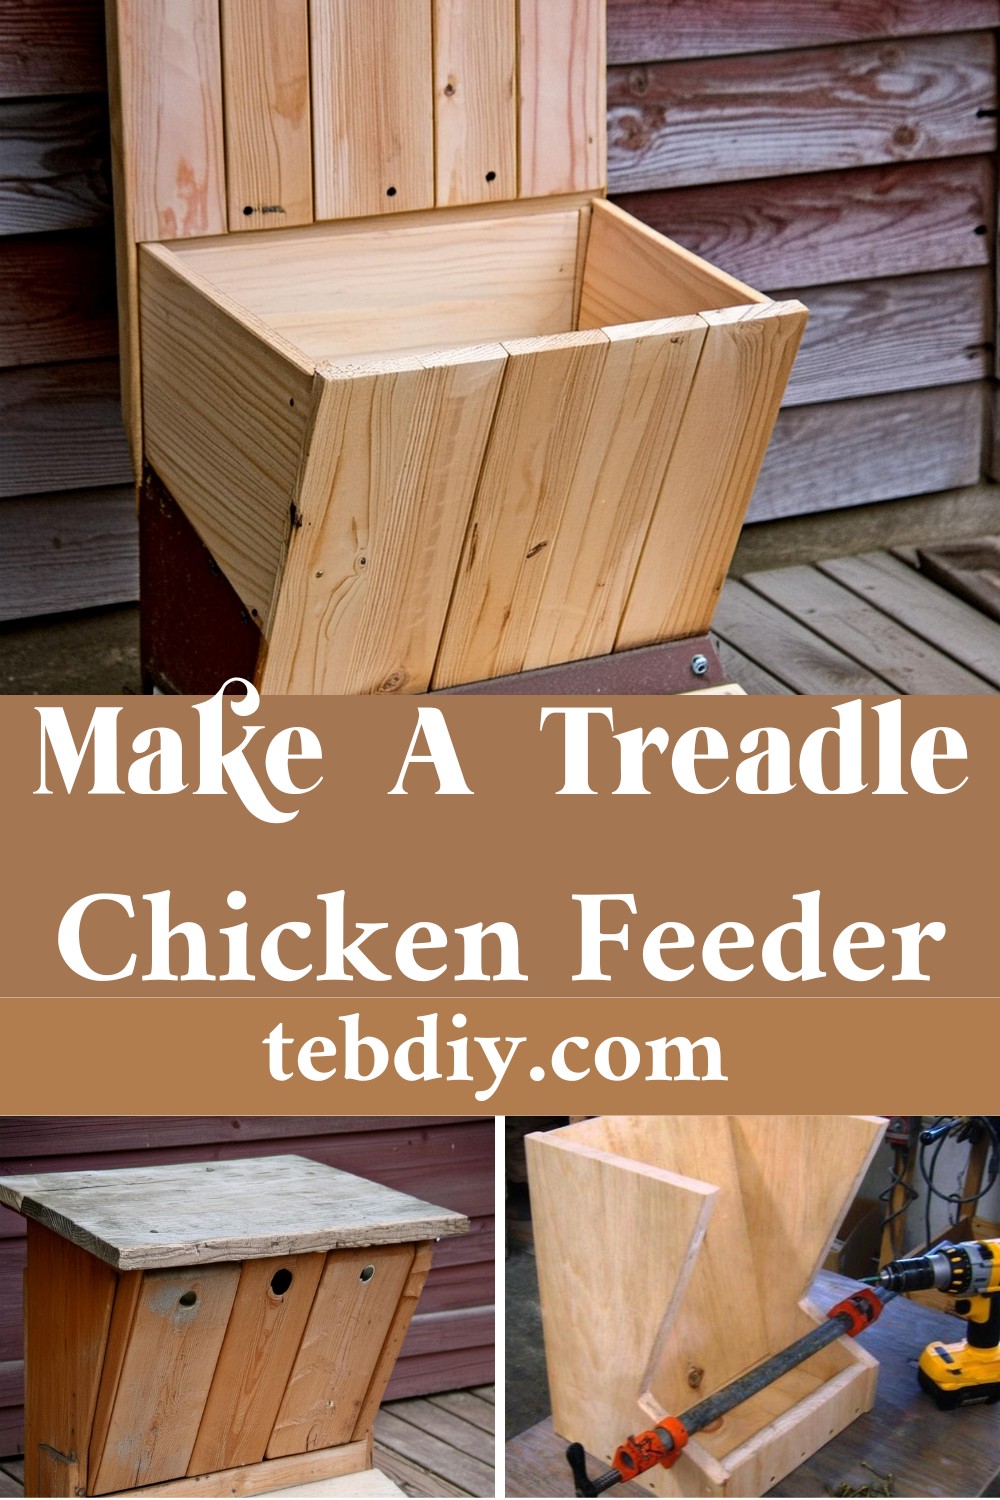
DIY Treadle Chicken Feeder
- Cedar Board: 1 x 12 (11.5″) x 10′
- Plywood: 5/16″ x 6″ x 30″
- Wood Screws: 1 1/2″ (1/4 lb.), 3/4″ (1/8 lb.)
- Kreg Screws: 1 1/4″ (1/4 lb.) [Optional]
- Hex Bolts: 1/4″ x 20 (4), with Nuts (4) and Washers (12)
- Hinges: 90 degree (2)
- Sandpaper
Tools Needed
- Table Saw
- Belt Sander or 120 grit sandpaper and a block (320 grit for finish sanding)
- Tape Measure
- Pencil
- Miter Saw
- Band Saw
- Power Drill with DeWalt 9/64 Tapered Bit with Plug Cutter for Pilot Holes
- Router with Round-over Bit
- Kreg Pocket Hole System [Optional]
- Screw Gun
- Clamps: Bar Clamps and a Gripping Clamp
Step-by-Step Guide
Cutting the Feeder Pieces:
- Start by cutting your cedar board according to the provided layout for the various feeder pieces.
Employ a band saw to cut the two side panels following the specified dimensions. Drill counter-sunk holes on these as indicated for the 3″ front piece. - Assembling Sides, Base, and Front: Using clamps and 1.5″ screws, connect the two sides, base, and the 3″ front piece.
- Utilize a miter saw to cut a 15-degree angle on the top and bottom edges of both panels.
- Set the front panel in place, ensure it’s flush, and attach. Drill pocket holes in the back panel and fasten it to the side panels, ensuring the top edges align.
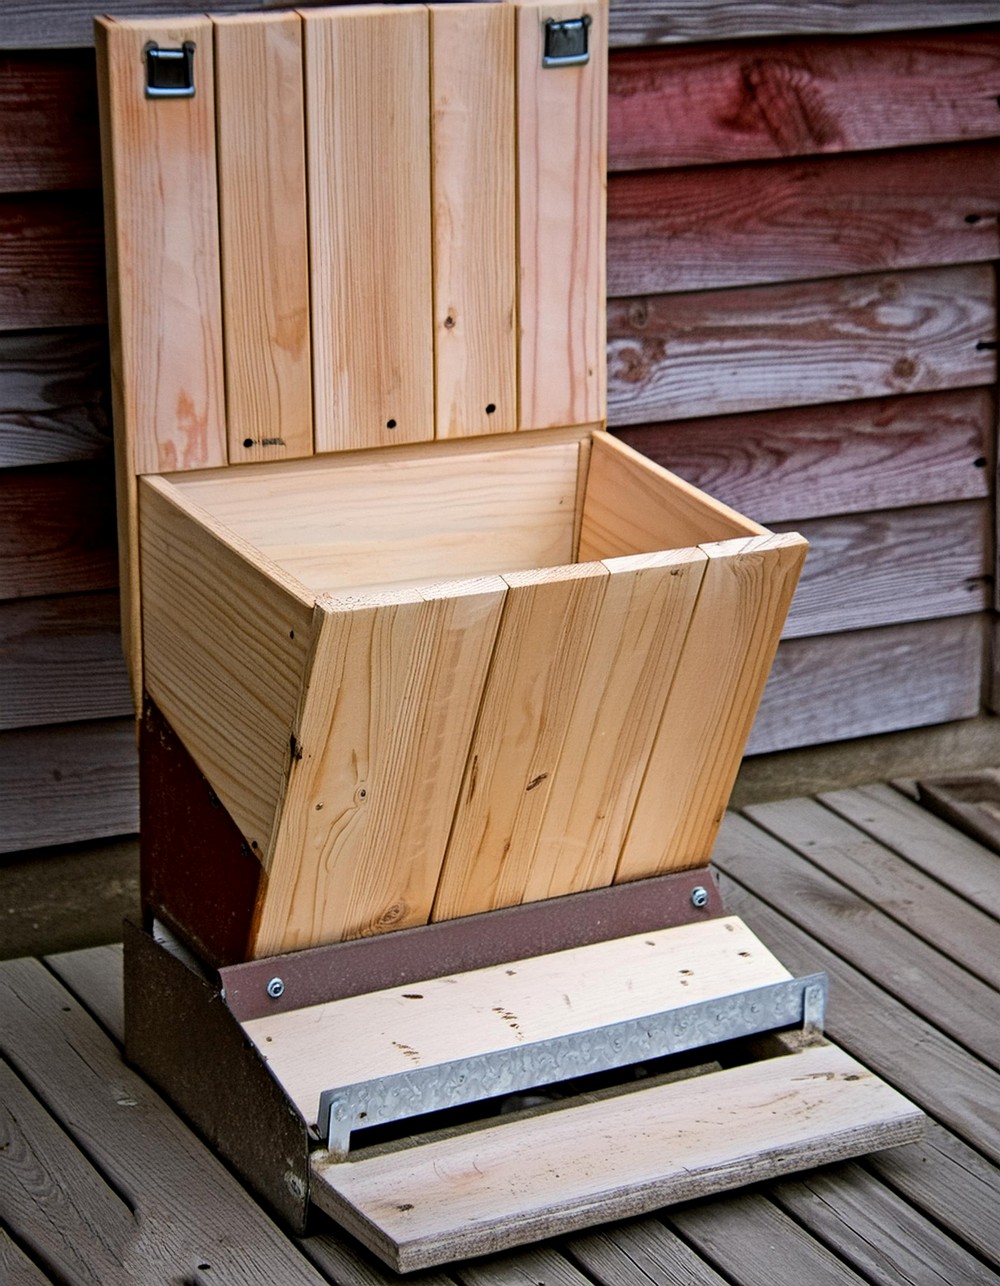
Preparing for the Lid and Treadle
Cut another piece from your cedar with a 30-degree angle and attach it as a front brace to the side panels. Attach the top piece with the two 90-degree hinges to the side panels.
Crafting the Treadle Linkage and Lid
From your cedar material, cut the necessary pieces for the linkage arms, ensuring dimensions and angles match the instructions.
Accurately drill the required linkage holes in the arm pieces.
Assembling Lid and Treadle Linkage
Drill pilot holes for the fulcrum/pivot in the side panels. Assemble the upper and lower linkage arms with the provided bolts and ensure movement is smooth. Using 3/4″ screws, secure the lid to the upper arm and the treadle board to the lower arm. Adding a Counter Weight: Cut a counterweight piece, drill pilot holes, and attach it to the lid.
Finishing Touches:
Apply lubricant to the linkage moving parts to ensure smooth operation. Add or adjust counterweights to achieve the desired treadle movement. Avoid applying any sealers that could be harmful to birds.
Leave a Reply