
Beaded chains are an absolutely delightful way to accessorize and elevate any outfit. They come in various colors, materials, and sizes, making them versatile. With their intricate craftsmanship and detailed designs, these chains truly showcase the beauty and creativity of those who create them. Whether worn as a simple necklace or paired with charms and pendants, the DIY beaded chain deserves praise and admiration. We try making one by yourself in the tutorial below, and surely you’ll enjoy this tutorial.
DIY Beaded Chain

Materials
- Beads
- Fishin Line
- Claw Clasp
Making Process:
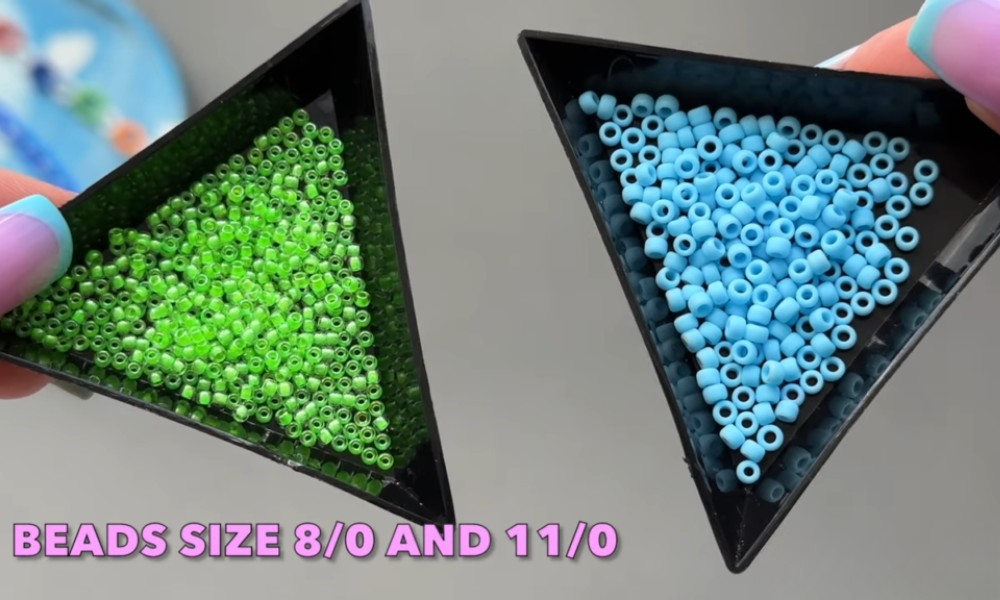
Start by gathering the beads in green (size 8/0) and sky blue size (11/0) on hand.
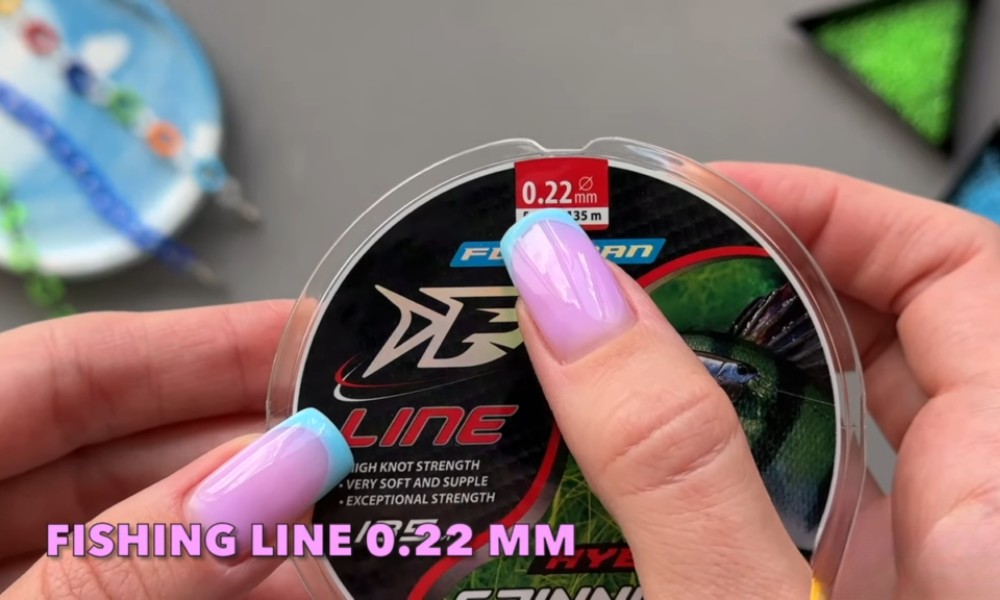
Prepare the Fishing Line: Cut the fishing line to a length of 110 cm to ensure ease in handling.
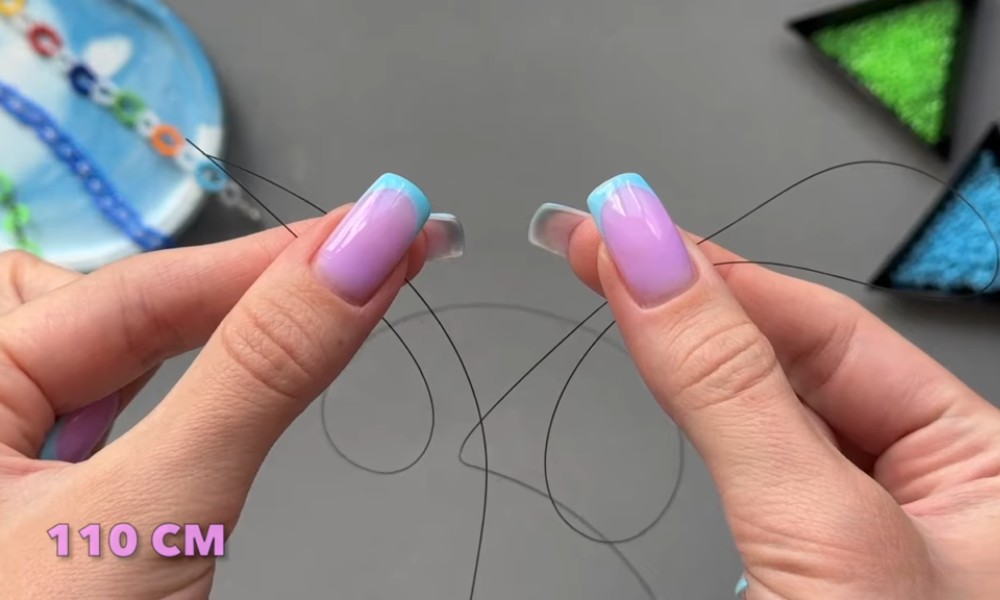
Cut the fishing line into length of 110 cm and try to keep it simple and avoid cluttering.
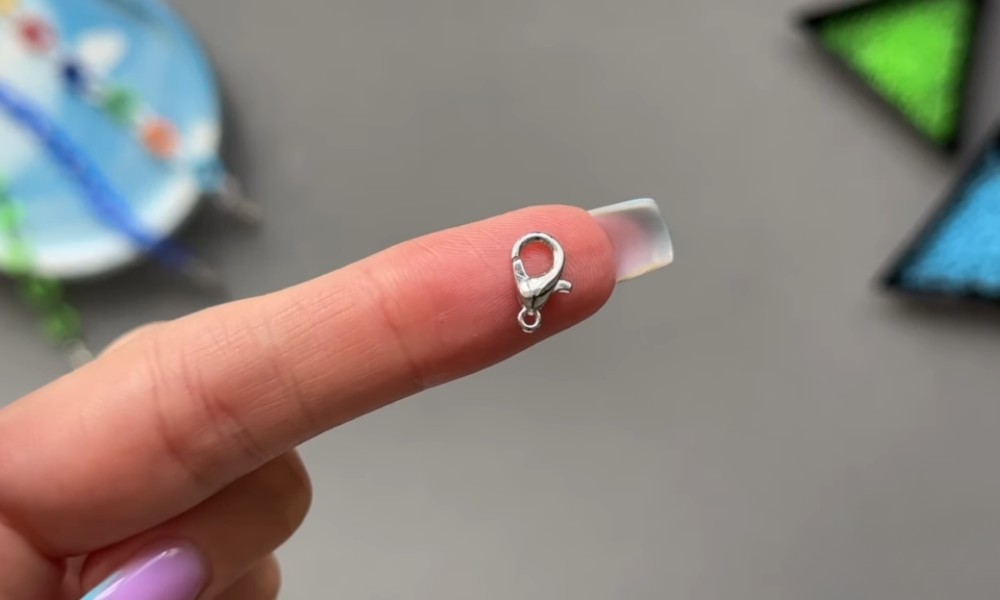
Then, get the claw clasp on hand and pass the fishing line through its smaller hole.
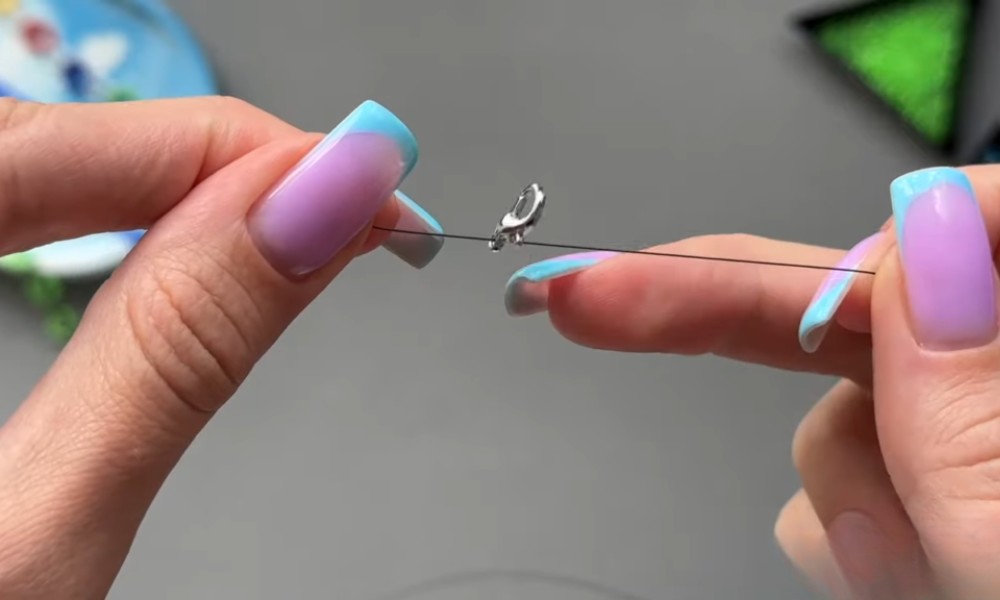
Thread the Claw Clasp: Pass the fishing line through the smaller hole in the claw clasp, positioning it approximately in the center of the line.
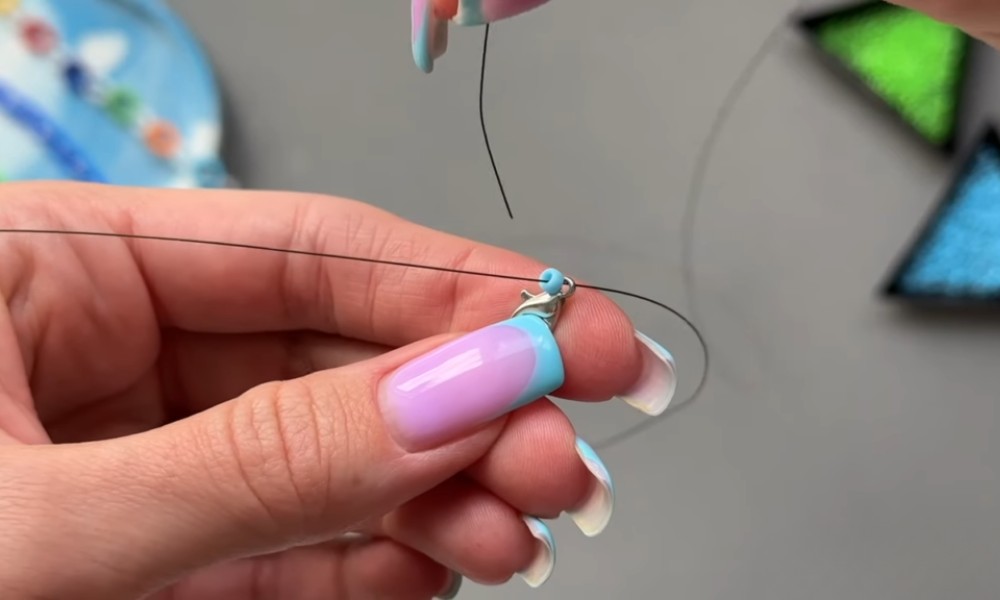
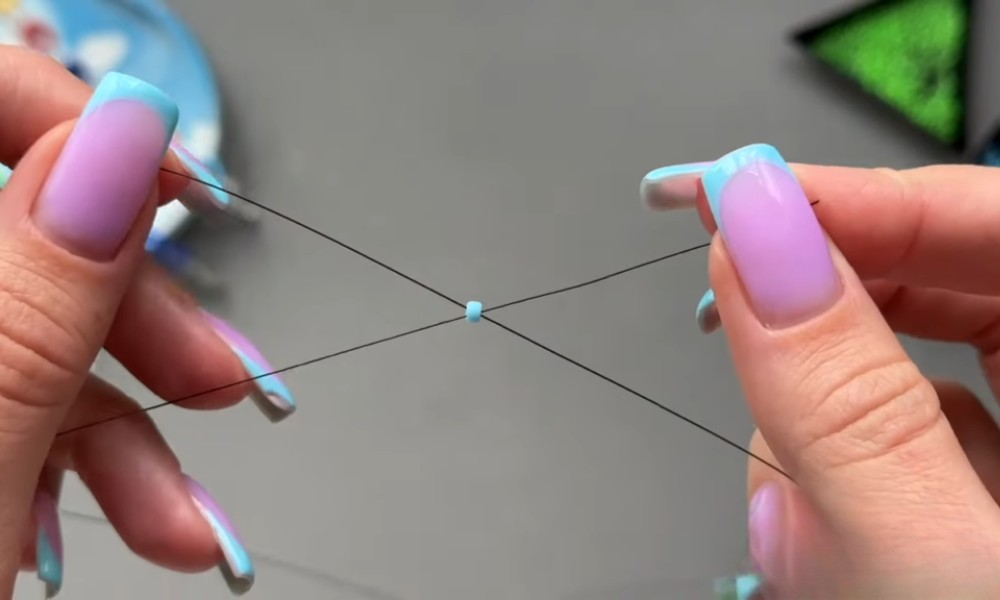
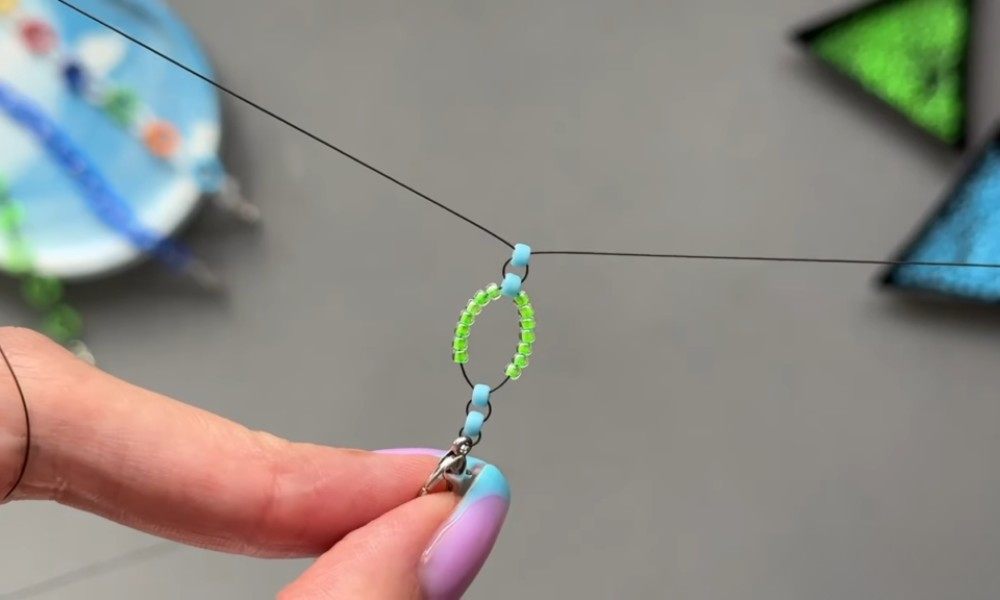
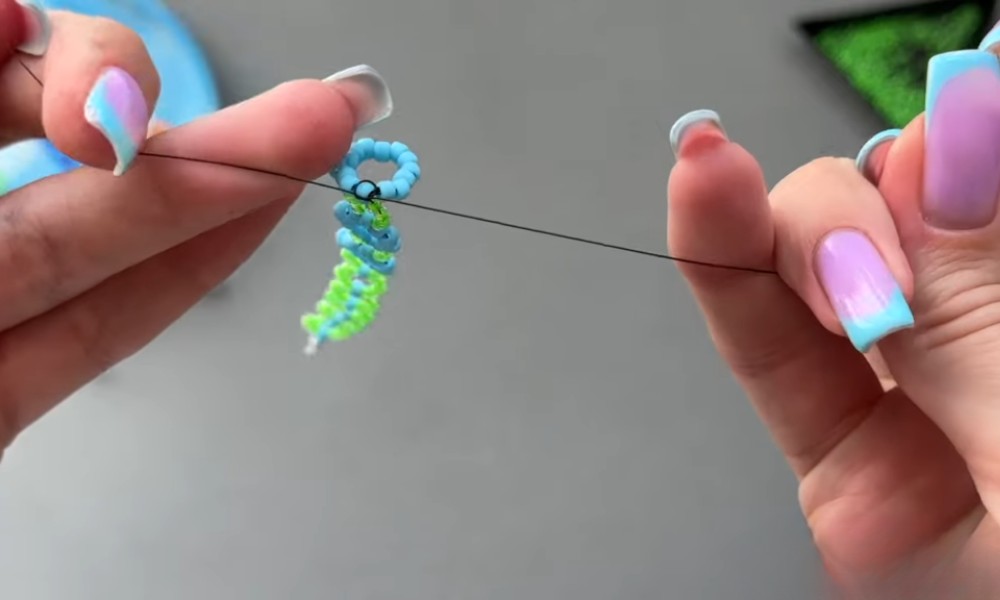
Attach the First Bead: String a sky-blue bead on one side of the line and run the line back through it to create a knot-like structure. This bead should rest directly above the claw clasp.

Then you have to slip the knot up to the bead till it stands over the claw clasp, as shown in the image above.
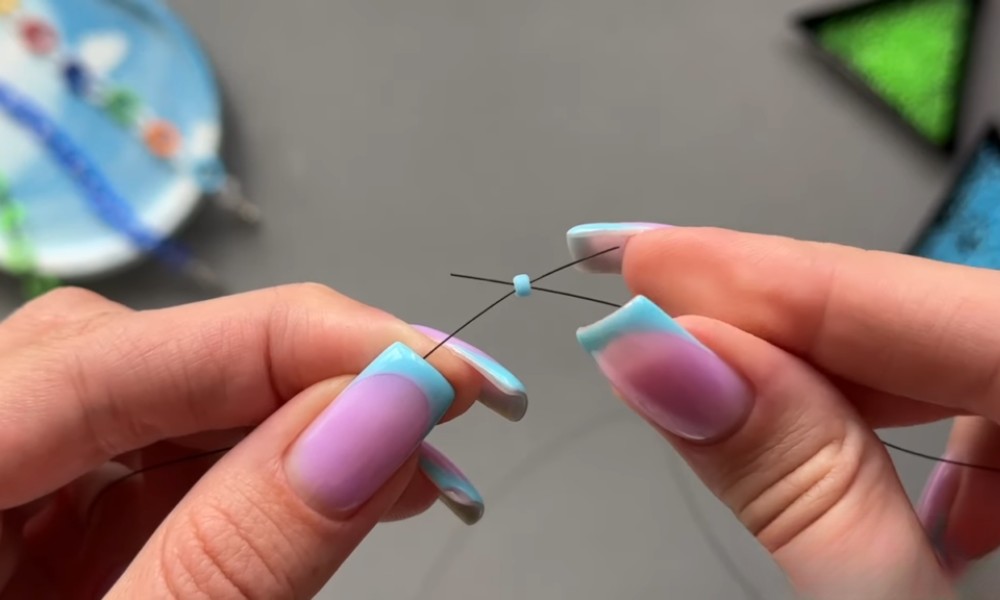
Formulate the Pattern: Next, string both ends of the fishing line through another bead, repeating the knot process. This creates the fundamental repeatable pattern for your beaded chain.
Same as we do in the previous process.
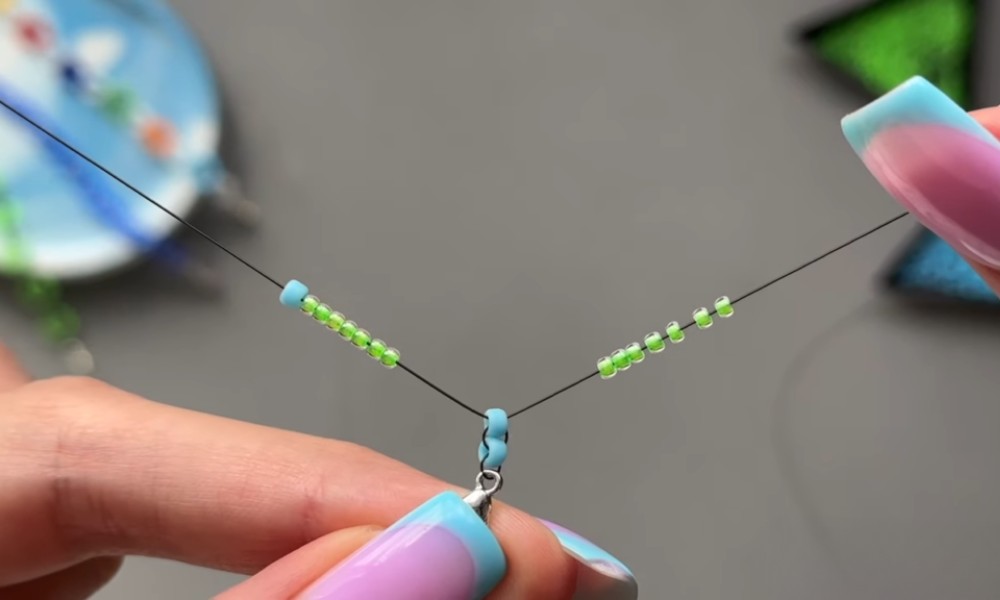
Introduce Green Beads: Now add an even number of green beads to both sides of the line. The total count of beads will determine the size of the ensuing links in your chain.
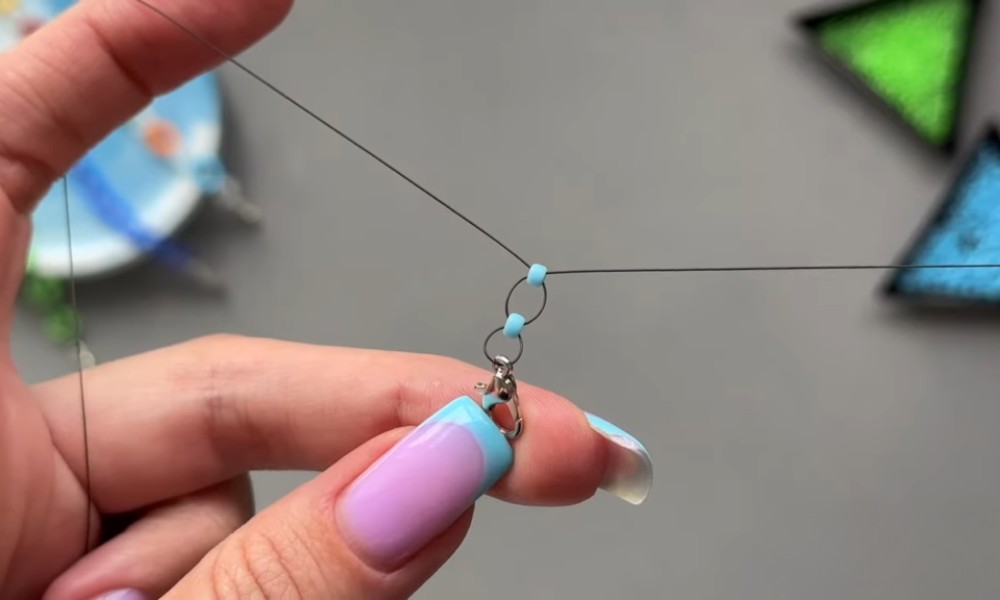
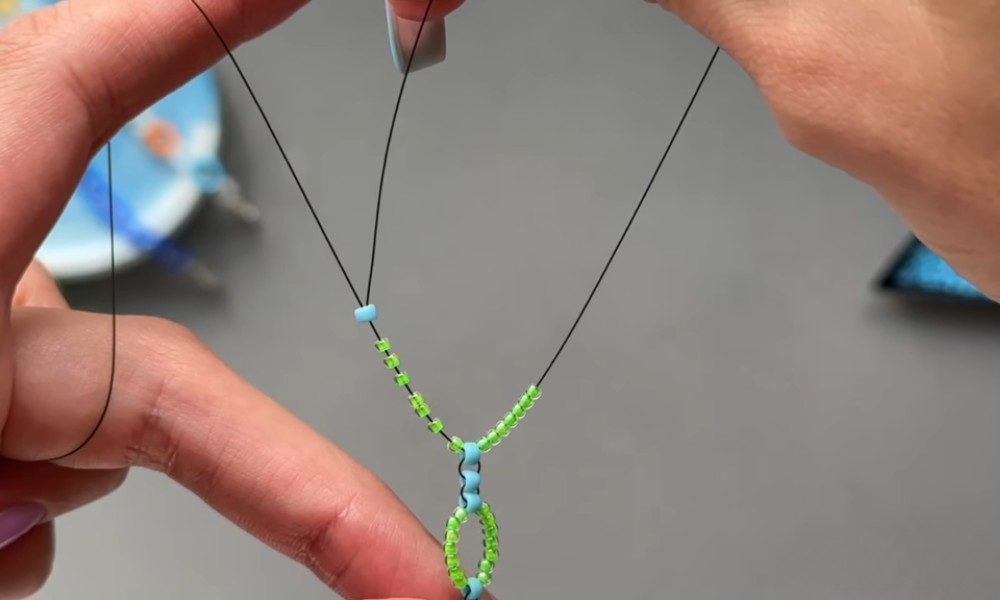
Pattern Continuation: Introduce a blue bead on either side, sliding it down to meet the green ones. Once in position, pass the other end of the line back through the blue bead. This step gives the chain distinct demarcations separating each green bead link.
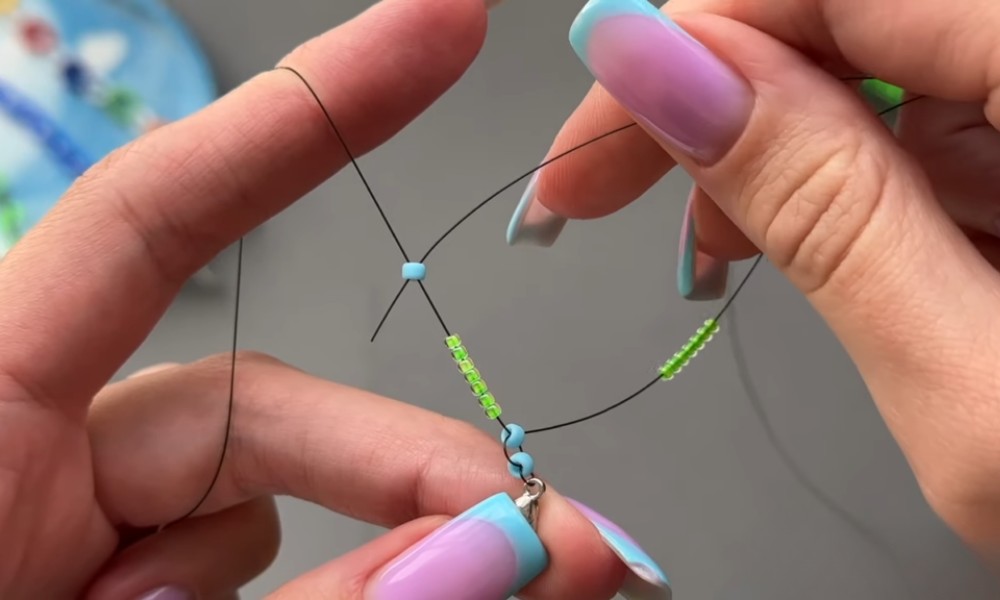
Complete First Link: Pull the fishing line from both ends, completing your first beaded chain link.
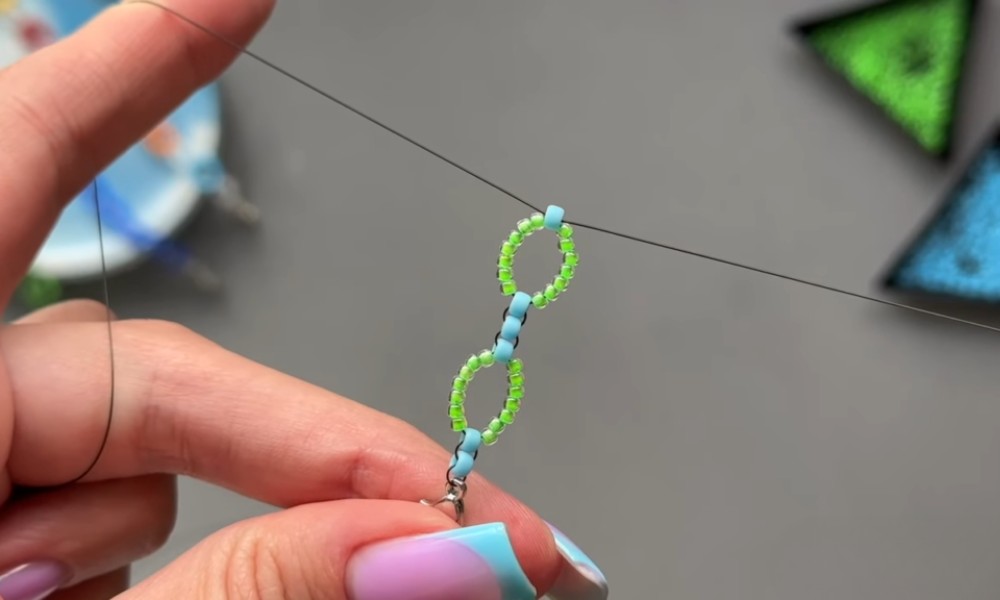
Chain Progression: Continue this process, adding alternating blue and green beads, forming the chain with uniform links.
When two blue beads stand over each other, repeat the same process of adding green beads on both sides of the fishing line and repeat the whole process again.
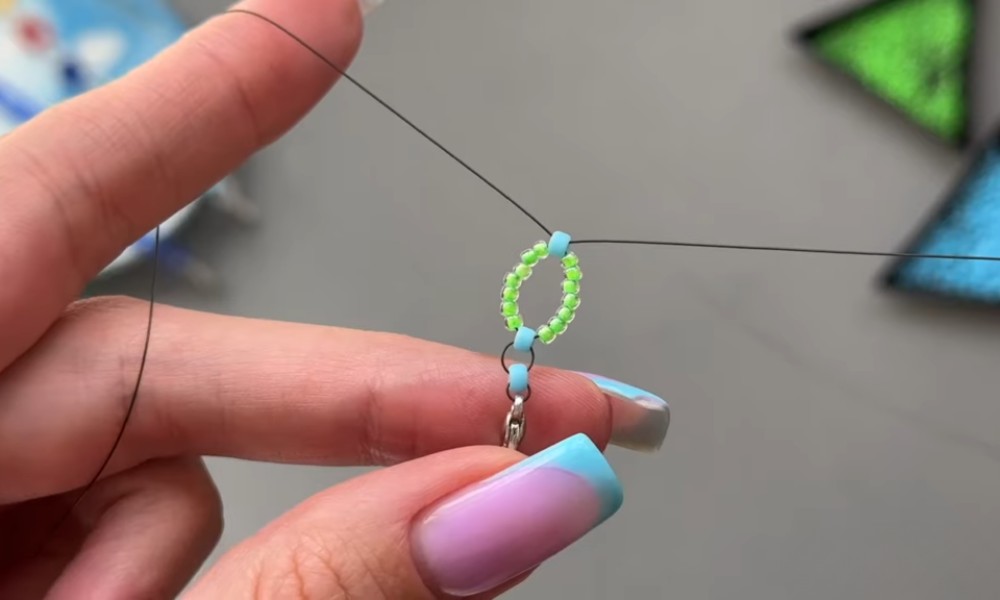
Add a Stylish Touch: To accentuate your chain’s visual appeal, introduce two sky-blue circles in the middle of the chain, then, alternate with a series of blue beads akin to how the green ones were strung.
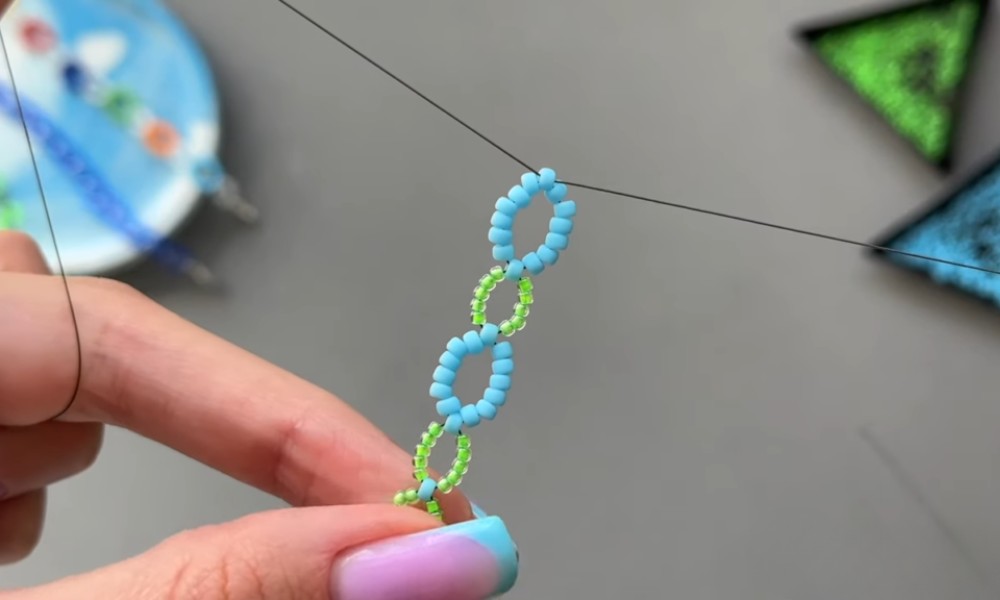
End Chain: Close the sequence with a sky blue loop. Trim off any extra fishing line for a neat finish.
Finalize the Chain: Lastly, open the claw clasp and thread it through the first bead in your chain and then close the clasp.
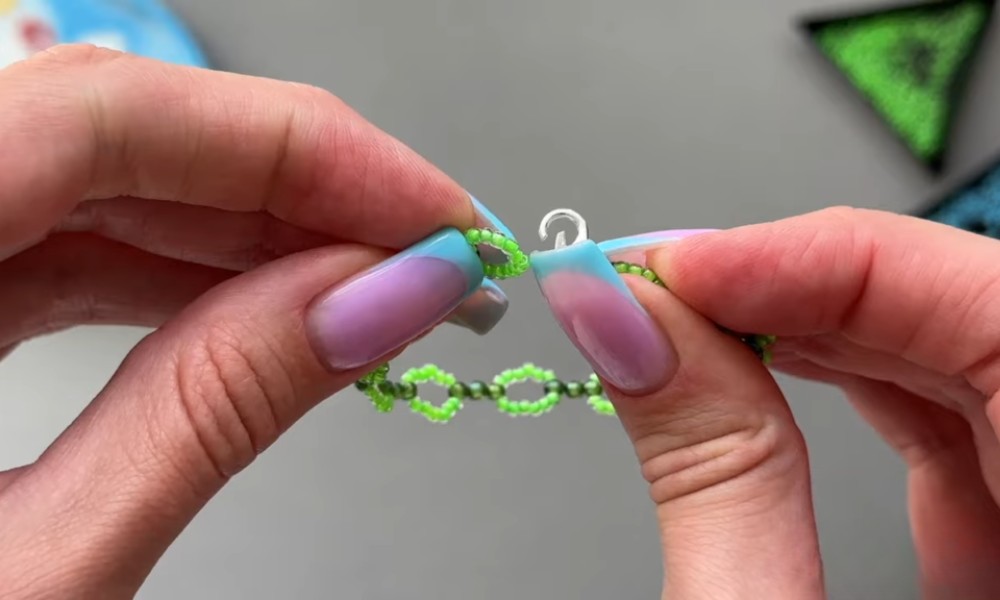
Then open the claw clasp and make it pass through the first hole of your chain, and you’re done.
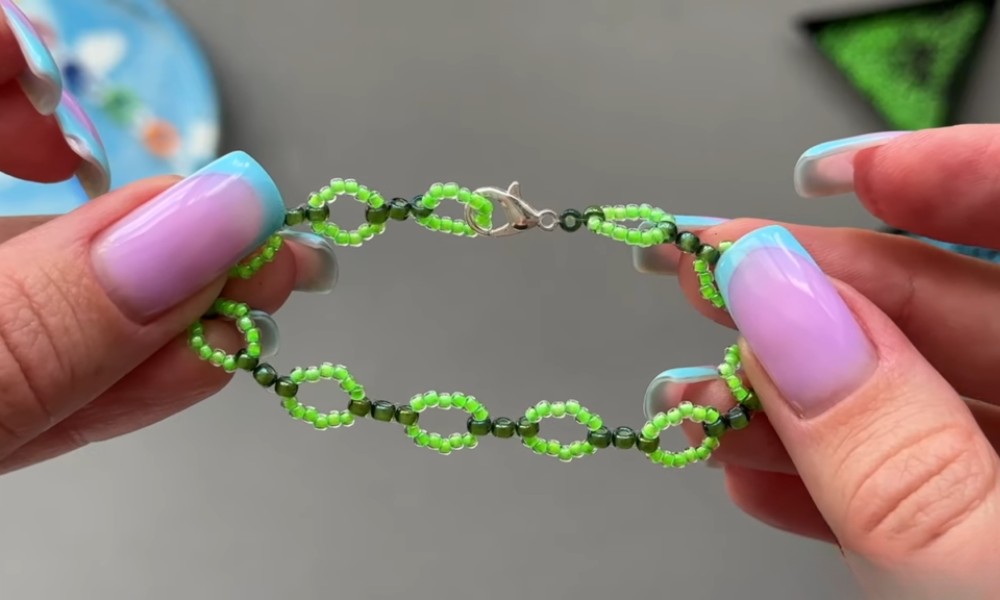
Voila! Your customized beaded chain is complete. Enjoy this easy-to-make, charming accessory to enrich your jewelry collection.
Leave a Reply