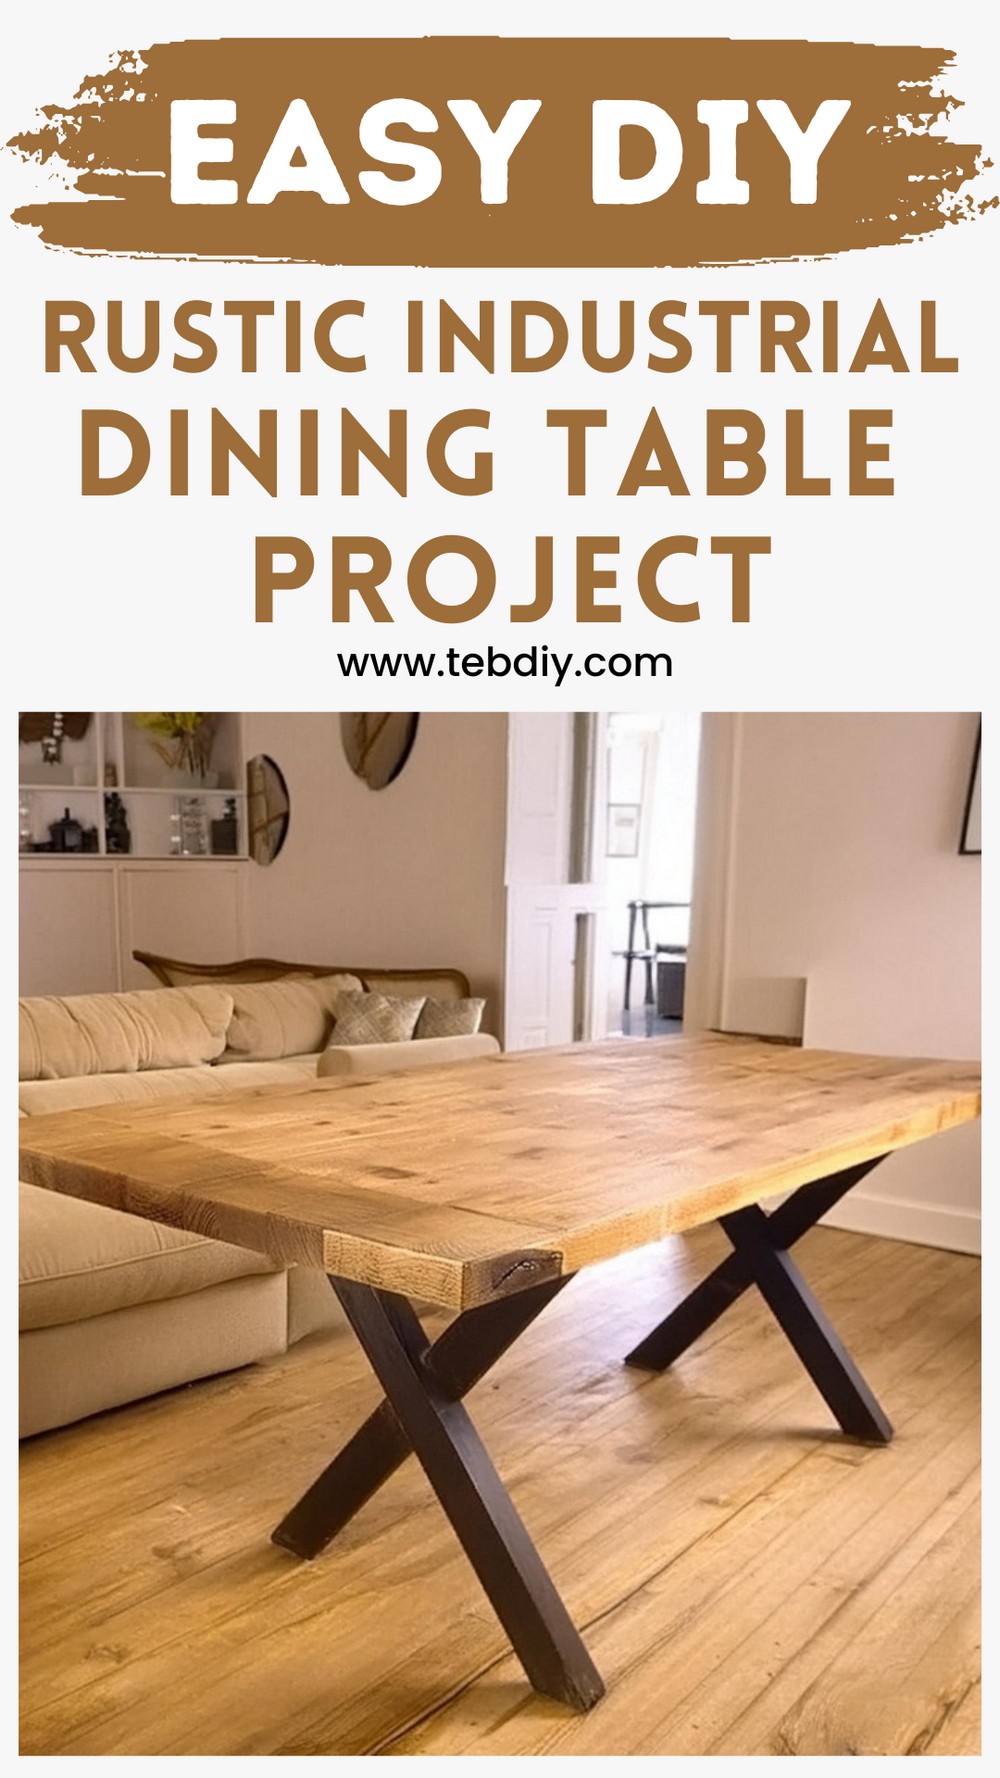
Discover the charm and elegance of our Rustic Industrial Dining Table, a masterpiece crafted with care, dedication, and an awareness of the environment. Every inch of this table tells a story, beginning with its origin from 100% reclaimed timber, transforming what has once discarded decking into a beautiful centrepiece for your dining space. So, what’s more, by choosing this beautiful wooden table, you contribute to the welfare of nature and add a touch of royalty to your room!
Materials List
- Reclaimed timber (specifically old decking used here, but scaffold boards are a suitable alternative)
- Wood glue
- Epoxy resin (for filling gaps)
- Osmo Oil (for finishing the table top)
Tools Used
- Crowbar/Wrecking bar
- Nail punch
- Moisture meter
- Thicknesser (optional, a handheld plane can also be used)
- Belt sander and orbital sander
- Biscuit jointer
- Sash clamps and ratchet straps
- Planer
- Various grit sandpapers (60 grit to 1200 grit for resin finish)
Step-by-Step Guide
Step 1: Preparing the Wood
Begin by removing any debris from your wood, such as screws and nails, which might be embedded within. Employ a larger crowbar or wrecking bar for stubborn pieces, and use a nail punch for nails that break off. Ensuring that no metal pieces are left behind is crucial for the safety of your tools.

Step 2: Sizing it Right
Once cleaned, decide on the dimensions of your table and cut the wood accordingly. You may choose to cut now or after joining the boards. Using a mitre saw is recommended for clean, straight cuts.
Step 3: Surface Cleaning
Each piece of wood must be planed and sanded to remove dirt and smooth out the surface. Starting with a thicknesser for the bulk of the planing is efficient, followed by the use of a belt sander, progressing from 60 grit to 240 grit sandpaper.
Step 4: Joining Pieces Together
Using a biscuit jointer, create even grooves along the edges of the wood for biscuits that help align and join the pieces together. Once cut, proceed to glue the boards, ensuring a flat surface to avoid any irregularities.
Step 5: The Gluing Process
Apply wood glue and use clamps to securely hold the pieces together. Sash clamps for width and ratchet straps for length work well. Ensure the setup is on a level surface to avoid a wobbly table.
Step 6: Additional Sanding
After the glue sets, sand the tabletop again to achieve a perfectly smooth finish, preparing it for gap filling.
Step 7: Filling Gaps with Epoxy
Prepare to fill any gaps or imperfections with epoxy resin for a flawless surface. Make sure to tape off the underside to prevent leaks and apply the resin evenly, using a blowtorch to remove any bubbles.

Step 8: Final Finishing Touches
Once the epoxy has cured, plan and sand the entire surface once more, paying special attention to resin areas with fine-grit paper. Finish the tabletop with several coats of Osmo Oil for protection and a beautiful sheen.
Step 9: Attaching the Legs
Select or craft the steel legs that match the aesthetic of your table. Ensure they are securely attached to handle the weight and daily use.
Step 10: Enjoying Your Masterpiece
With the construction complete, you now have a beautiful, rustic industrial dining table that is not only a functional piece of furniture but also a conversation starter, reflecting your dedication to craftsmanship and sustainability.
This project is a testament to the beauty of recycling and creativity. Every meal enjoyed at this table carries the satisfaction of having made it yourself, adding a unique and personal touch to your home.


Leave a Reply