For kids, starting with a low-maintenance fake DIY terrarium in a jar using faux moss is a nice idea. So tinies wouldn’t have to worry about keeping itty bitty plants alive. Therefore, I am here with this faux DIY Terrarium that is quick and easy and requires less horticulture knowledge. It would actually capture a jungle scene with animals, fallen logs, moss, and tiny mushrooms. Anyone can do this task with a few materials and spread greenery at home.
DIY Terrarium In Jar Tutorial

Kids usually don’t have a green thumb to grow plants and even terrariums. So, you should learn how to DIY a terrarium in a jar using faux moss. Because they need zero care and still remain green, your kids would keep it with them for years. So, beginner horticulturists, keep reading this tutorial.

What You Would Need Before For Making a Faux Terrarium In a Jar?
Below are the materials that you would use to make a fake terrarium in a jar:
- Jars: You can use any transparent glass jar of any size and shape with a wide opening to build a terrarium. Clearness is necessary for live terrariums to allow the entrance of light and for the fake ones to see what is inside! From jam jars to mason, pickle jars can be used. Ensure the jar has enough space to fit the things we want inside.
- Sheet Moss: It is dead carpet moss that is preserved for decorations. Jar terrarium with preserved sheet moss can last and stay fresh for upto many years without proper care. So, it is a great option. But it is better to change the moss after 2-3 years.
- Wooden Pegs: We shall use them to make our fake mushrooms.
- Styrofoam: Here, we can embed mushrooms, and it would make the base of moss.
- Red & White Craft Paint: We shall color the mushroom head with red color and make white dots.
- Little “friends” that fit into your jars: Any small animal toys would be perfect for catching the scene of a jungle.
- Birch bark and Spanish moss for interest!
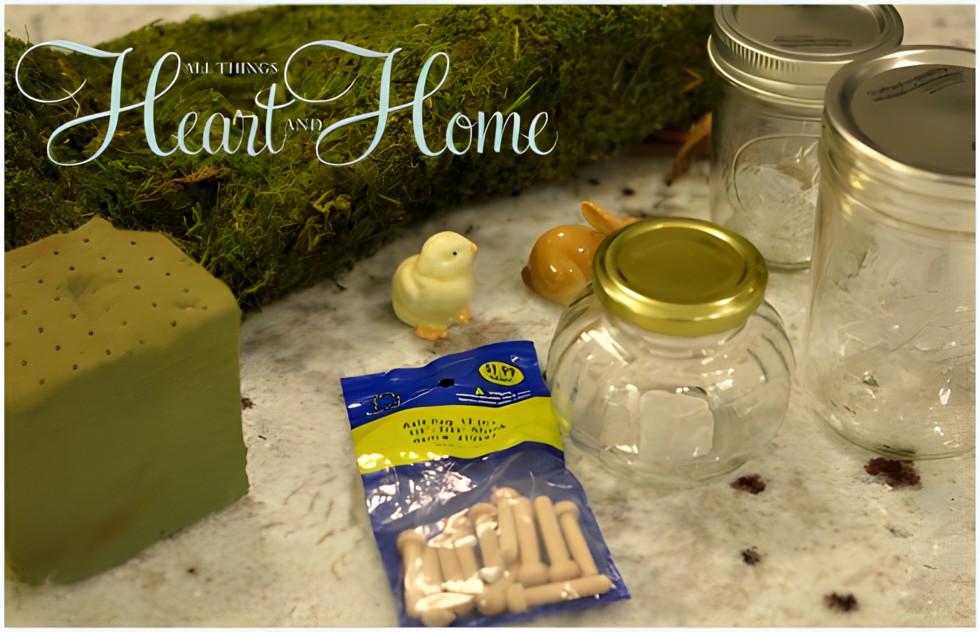
How To DIY Terrarium In Jar?
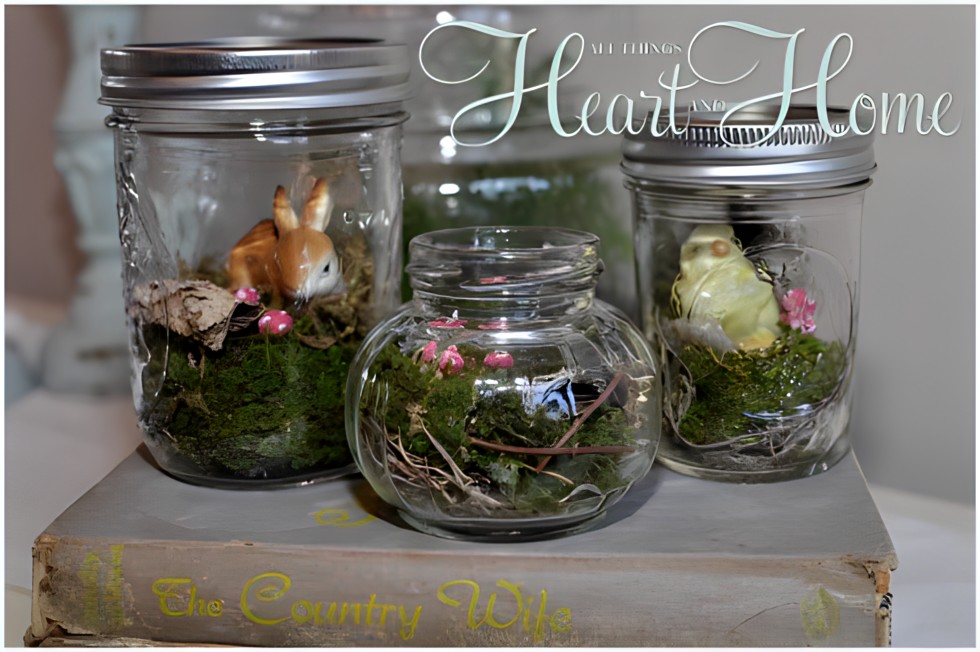
Below are the step-by-step instructions for the artificial DIY terrarium:
Step 1: Gather the Supplies And Clean Jars
After you have found all the supplies (jar, moss, peg, foam, paint, toys, bark!), take the jars and clean them perfectly for a great finish.
Step 2: Cover Styrofoam with Sheet Moss
Since sheet moss forms a flat carpet and is not very thick, it can’t provide enough height as needed, and many layers may look strange. So, take a piece of sheet, cover the styrofoam cube with it, and wedge it into the jar. Add a bit of Spanish moss if you want…
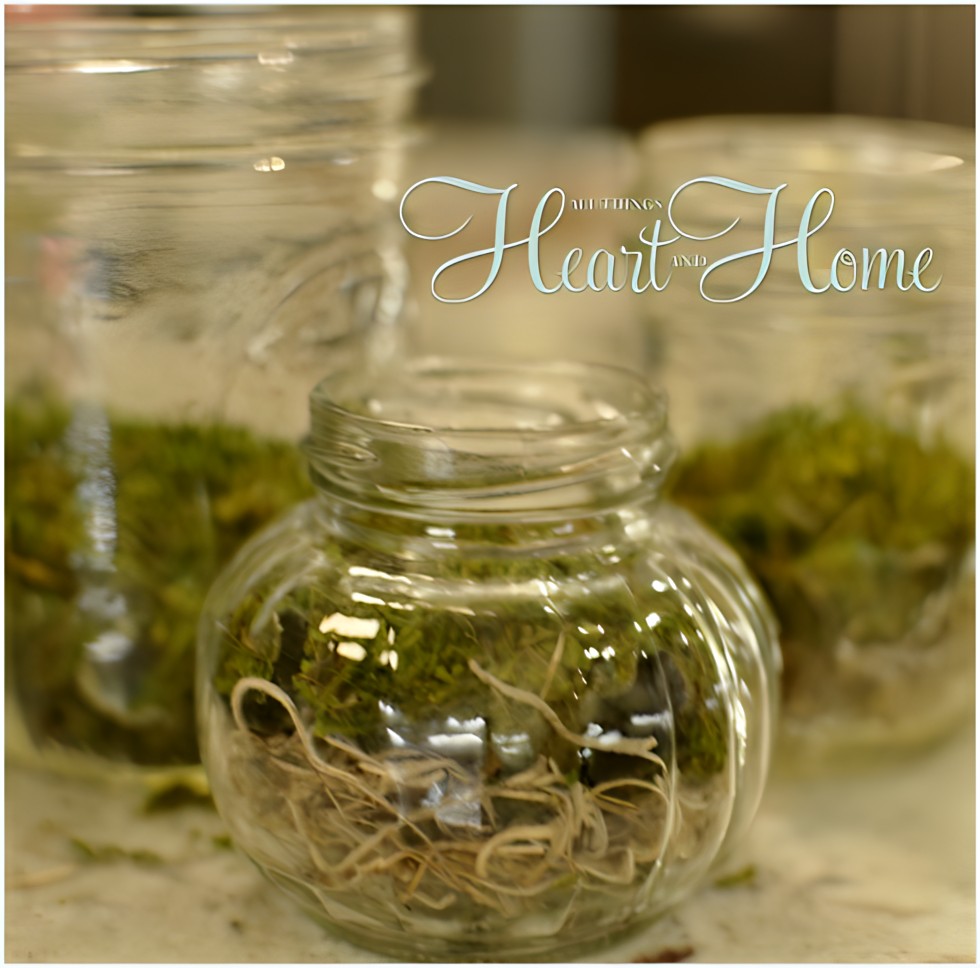
Step 3: Add Birch Bark To Make Fallen Log
A moist jungle scene is incomplete without a fallen log. So, Ellie and I used some birch bark (you can use any!), rolled it to make a tiny log, and put it into jars! Make sure the bark has a ruined look.
Fallen branches and trees serve a natural purpose, providing moisture, nutrients, and even a habitat for plants and animals!
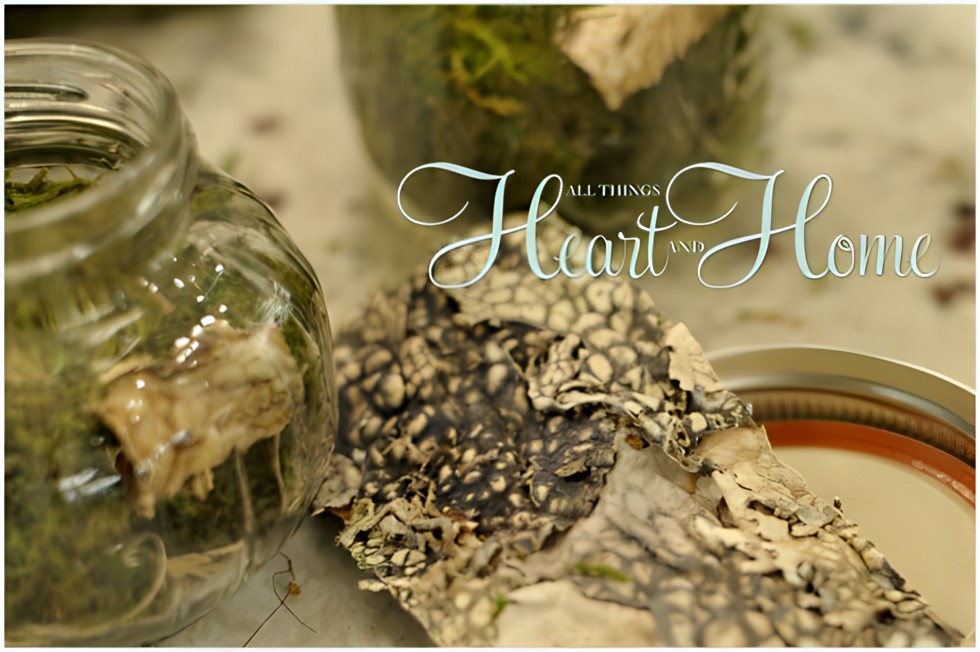
Step 4: Paint the Wooden Pegs To Make Mushrooms
Now, take the wooden pegs, paint the top red, and dot them with white. Color almost three and let them dry completely, and your mushroom will be ready! (it’s easy if you dip the top of the mushroom in red paint)

Step 5: Push Mushroom Into Styrofoam
Make a hole in the Styrofoam with a pencil, and push the wooden peg/mushroom down into the hole until the bottom of the top touches the moss!
Step 6: Decorate More With Animal Toys
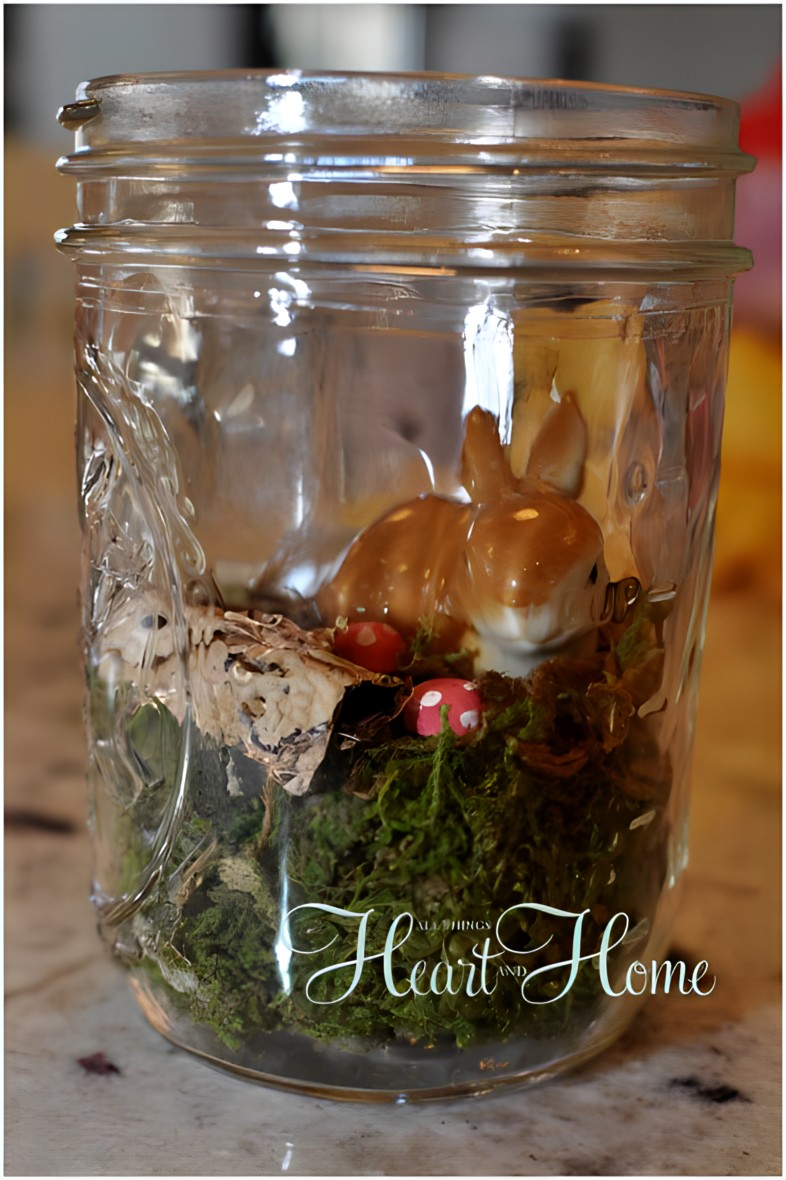
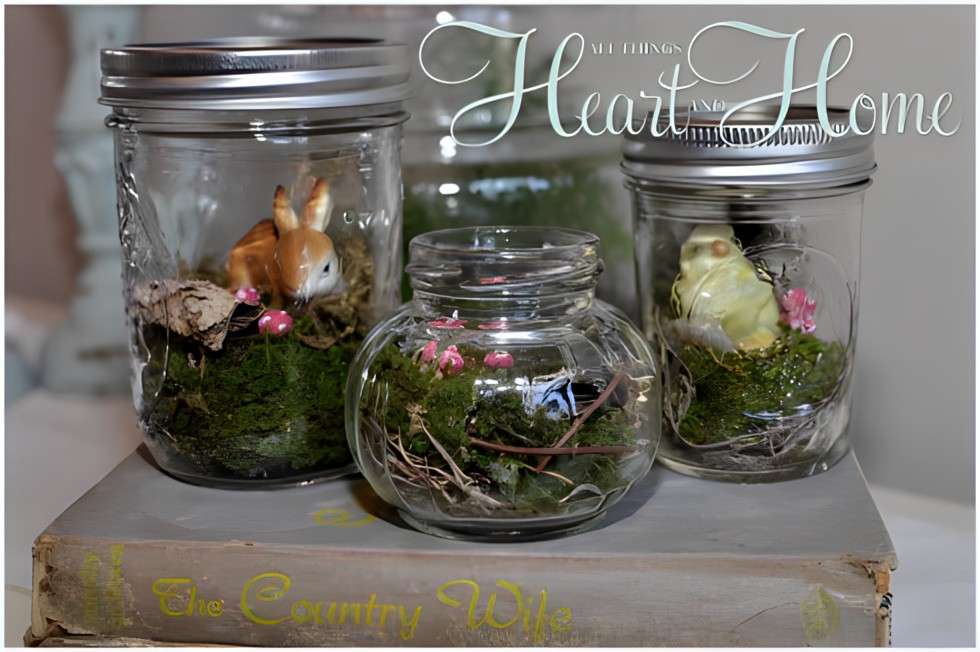
To complete the scene, get a little animal toy and put it on the moss base. We used rabbit and chicken in two and kept the third one as it was. In the end, close terrarium.

Cute huh???? Ellie took these home and decorated her bedroom!
Care Tips For The Preserved Moss Terrairam
Although the preserved moss DIY terrariums need very little care, these few things are important:
- You should keep the terrarium away from sunlight and put it in the interior, like the bedroom or living room. Try not to expose the terrarium open.
- Don’t spray water over the moss; keep it in average humidity. So, it is better to keep the lid away.
- Since keeping the terrarium open, occasionally dust by bringing it out.

Leave a Reply