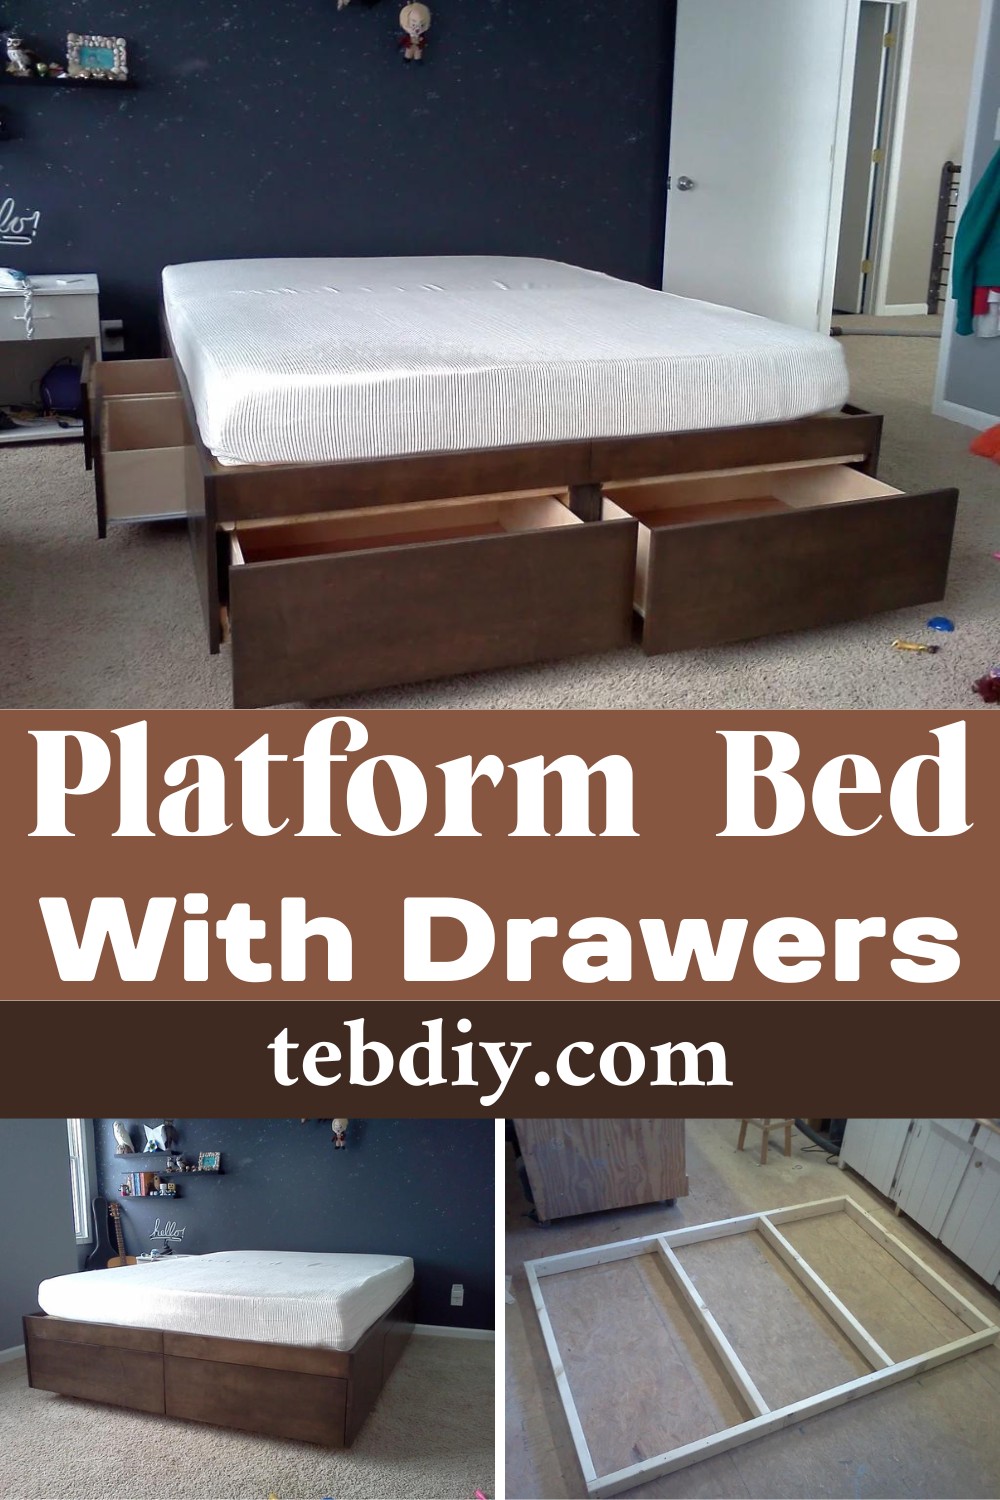
A platform bed with drawers is a smart piece of furniture that combines a bed and storage space. It looks like a regular bed, but it has drawers built into the frame underneath the mattress. This design saves space because you can put clothes, blankets, or other things in the drawers. This type of bed is great for small rooms or for people who want to keep their stuff organized and out of sight. It’s like having a chest of drawers and a bed all in one. If you have some woodworking skills, you can follow the easy DIY guide to make the exact one.
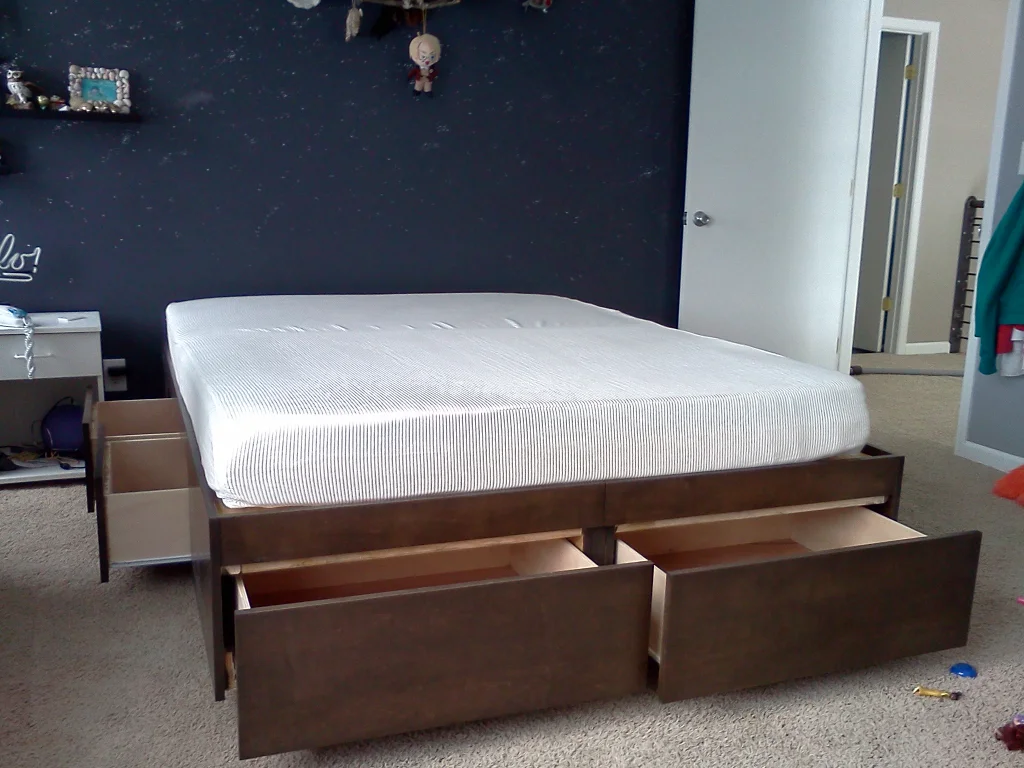
The Platform Bed tutorial presents a stylish, modern bed that cleverly includes six storage drawers underneath, ideal for saving space in small rooms. Tailored for a memory foam mattress, the design is practical and helps keep bedrooms tidy by offering extra storage instead of a cluttered room or closet. Although it appears complex and may require some woodworking skills, the bed is customizable to different sizes. It’s a great way to combine comfort with functionality and can help improve DIY skills. So, follow the DIY woodworking guide and start building!
Making Your Platform Bed With Drawers
Materials:
- 2x4s (for frame and supports)
- 3/4″ plywood or MDF (for platform, sides, and drawer components)
- Drawer Slides
- Wood Screws (various sizes)
- Drawer Handles or Knobs
- Wood Glue
- Finish (Paint, Varnish, or Stain)
- Veneer Edging (for plywood)
- Sandpaper (various grits)
Tools:
- Circular Saw
- Jigsaw
- Drill with Bits
- Orbital Sander or Sanding Block
- Measuring Tape, Ruler, or Square
- Clamps
- Kreg Jig (Optional)
- Router (Optional)
- Safety Gear (Glasses, Gloves, Dust Mask)
- Paintbrushes or Rollers
Step-by-step Process
Step 1: Getting Started, Building Base Frame
- Goal: Begin construction with the base frame.
- Materials: Utilize 2″x4″ lumber.
- Process:
- Design the bed in a modern style with flush surfaces and straight lines.
- Construct the frame 75″ long by 50″ wide for a queen-size mattress, resulting in a base that is 3 1/2″ tall.
- Level and secure the frame on a work table.
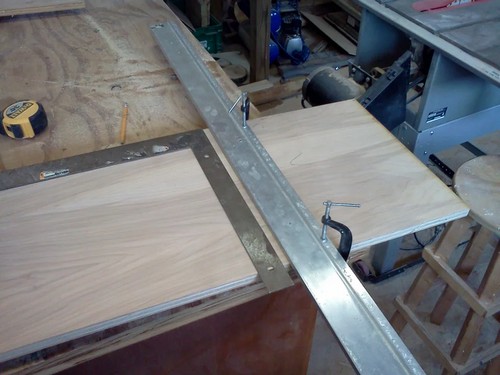
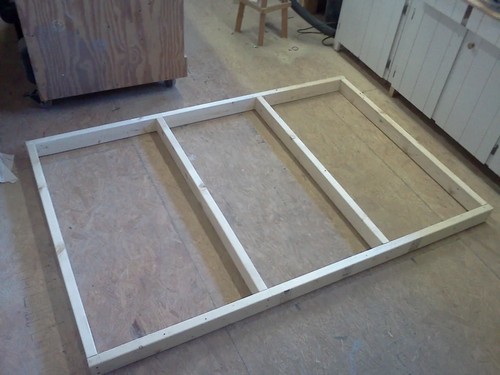
Step 2: Bed Frame Construction
- Goal: Build the main frame of the bed in two halves for easy transport.
- Materials: 2″x4″ lumber, 3/4″ plywood.
- Process:
- Cut and prepare the lumber and plywood as per the structure’s requirements.
- Create half-lap joints for the inner drawer slide on one piece.
- Assemble the frame parts, secure pieces with glue and screws, and ensure the placement of drawer dividers.
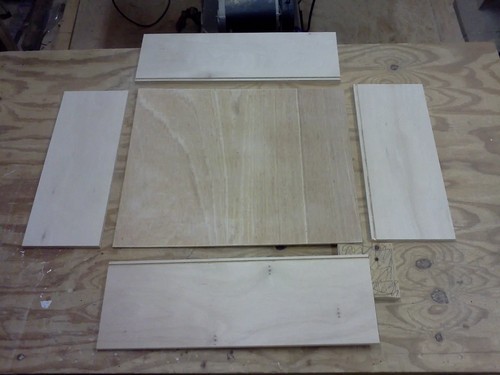
Step 3: Building Drawers
- Goal: Construct simple, sturdy drawers using butt joints.
- Materials: 1/2″ plywood for drawer boxes, 1/4″ luan plywood for the bottom panels.
- Process:
- Rip plywood into strips for the sides, front, and back of the drawers.
- Create grooves for the bottom panel to slide into.
- Assemble the drawer sides, insert the bottom panel, and secure them together.
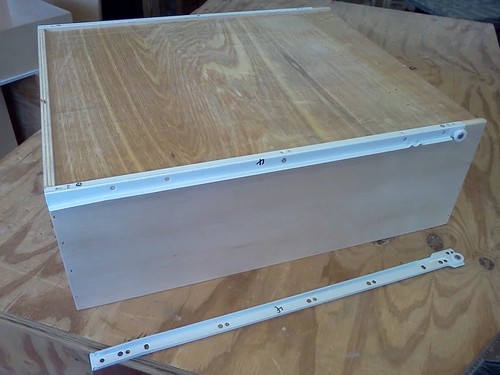
Step 4: Installing Drawer Slides
- Goal: Fix drawer slides to ensure smooth operation.
- Materials: Drawer slides and screws.
- Process:
- Attach one part of the drawer slides to the drawers and the corresponding piece to the bed frame.
- Ensure proper alignment and spacing for smooth slide operation.
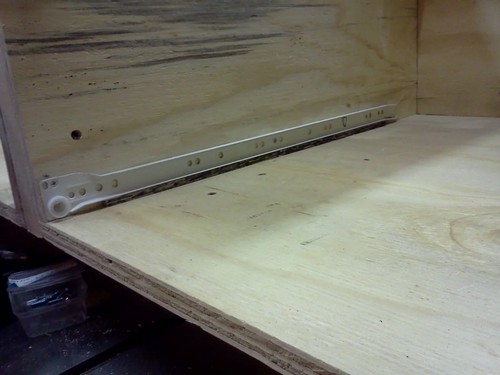
Step 5: Building and Installing Drawer Fronts and Finish Surfaces
- Goal: Finalize the bed with drawer fronts and apply finish surfaces.
- Materials: 3/4″ Maple veneered plywood for finishing, iron-on Birch veneer for covering plywood ends.
- Process:
- Cut and fit the Maple veneered plywood as per the requirements for the bed and drawers.
- Apply Birch veneer to exposed plywood edges using an iron for heat-activated glue.
- Install the drawer fronts to the drawers, ensuring a clean and attractive finish.
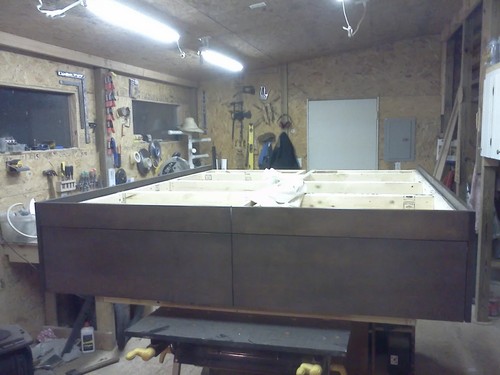
Credited by: VertDude

Leave a Reply