
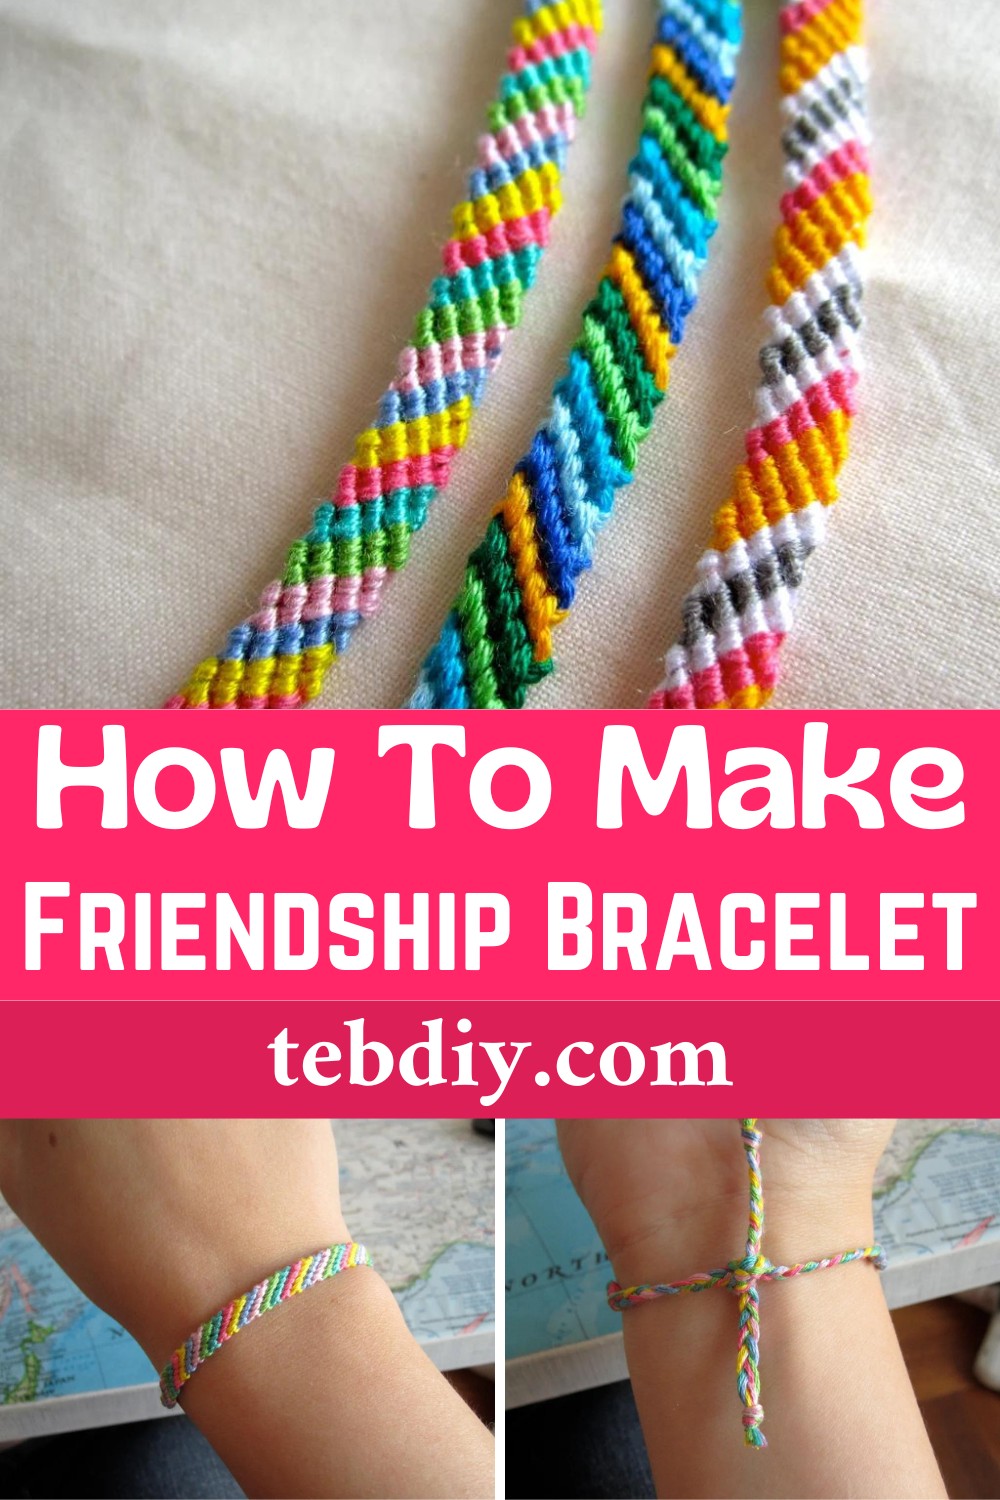
Friendship Bracelets have been a charming accessory representing love, care, and the offer of friendship for ages. Whether it’s a Rainbow Loom bracelet or any other kind, wearing one given by someone feels like carrying a piece of their affection with you. Crafting your own DIY bracelets adds a personal touch to this age-old symbol of connection. You can pour your creativity and thoughts into making something that’s not just beautiful but also carries a story and an emotion. Don’t worry if you don’t know how it’s done. We are providing the most straightforward DIY guide with clear steps and images, promising a smooth and quick crafting process!
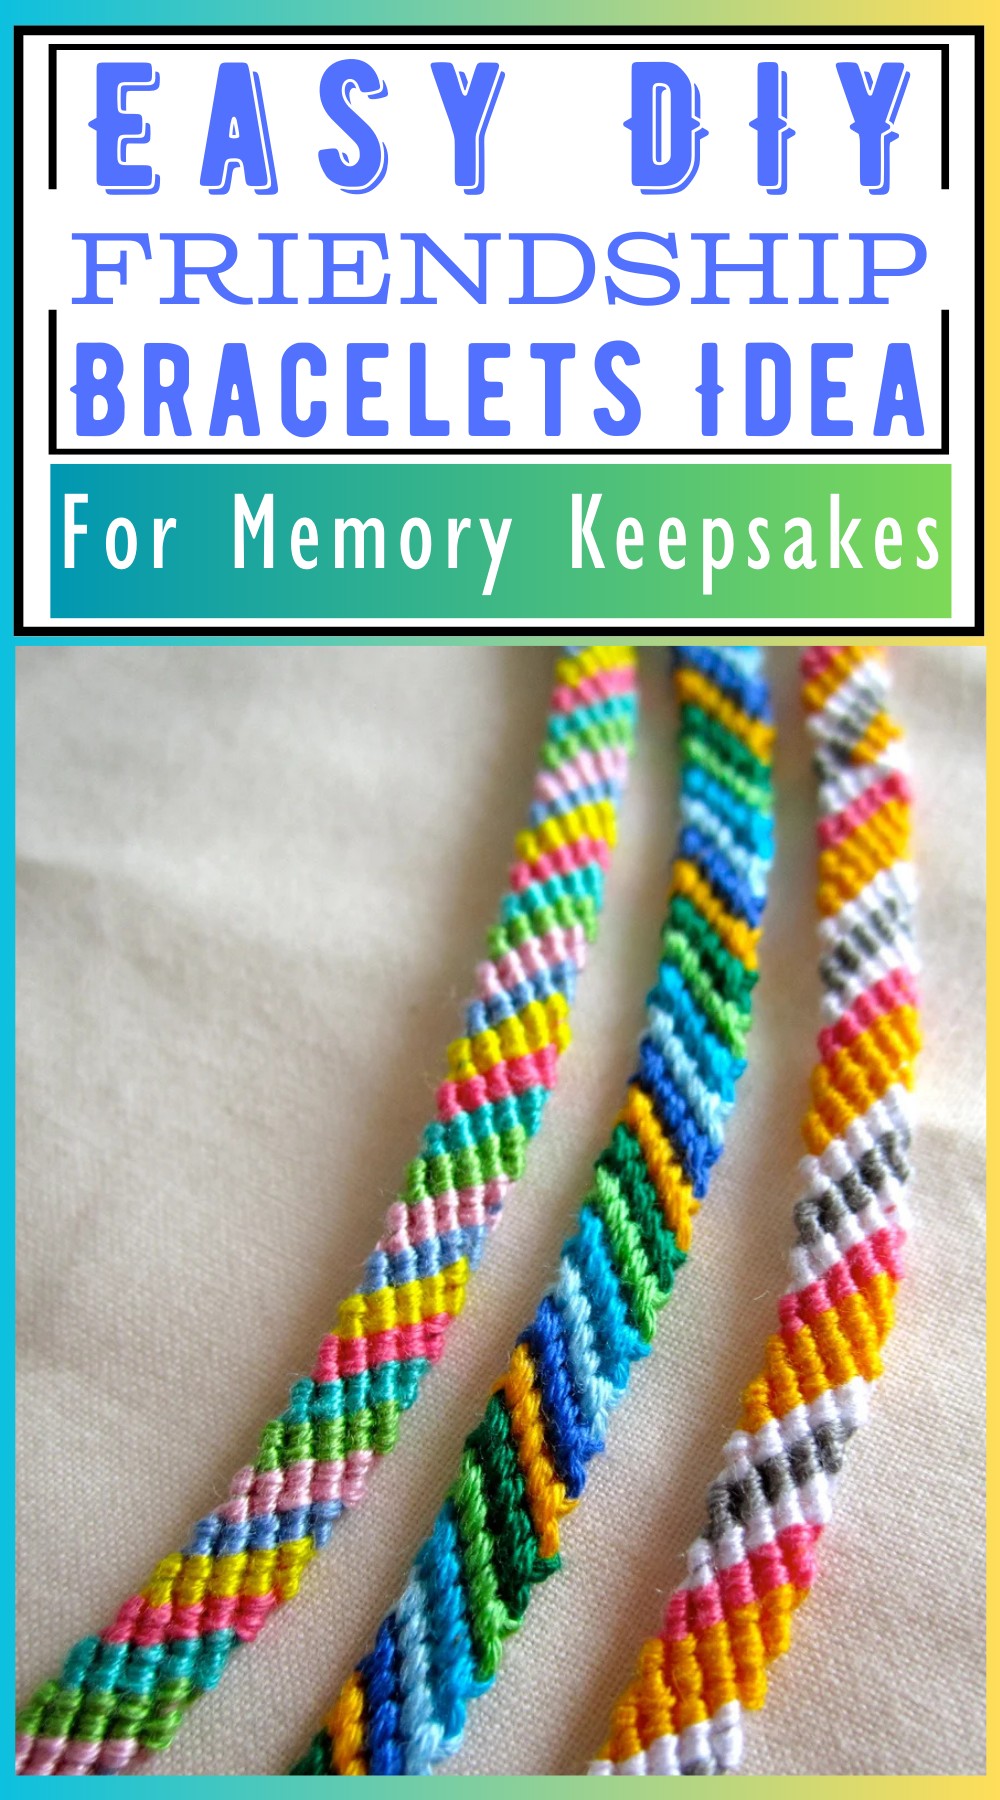
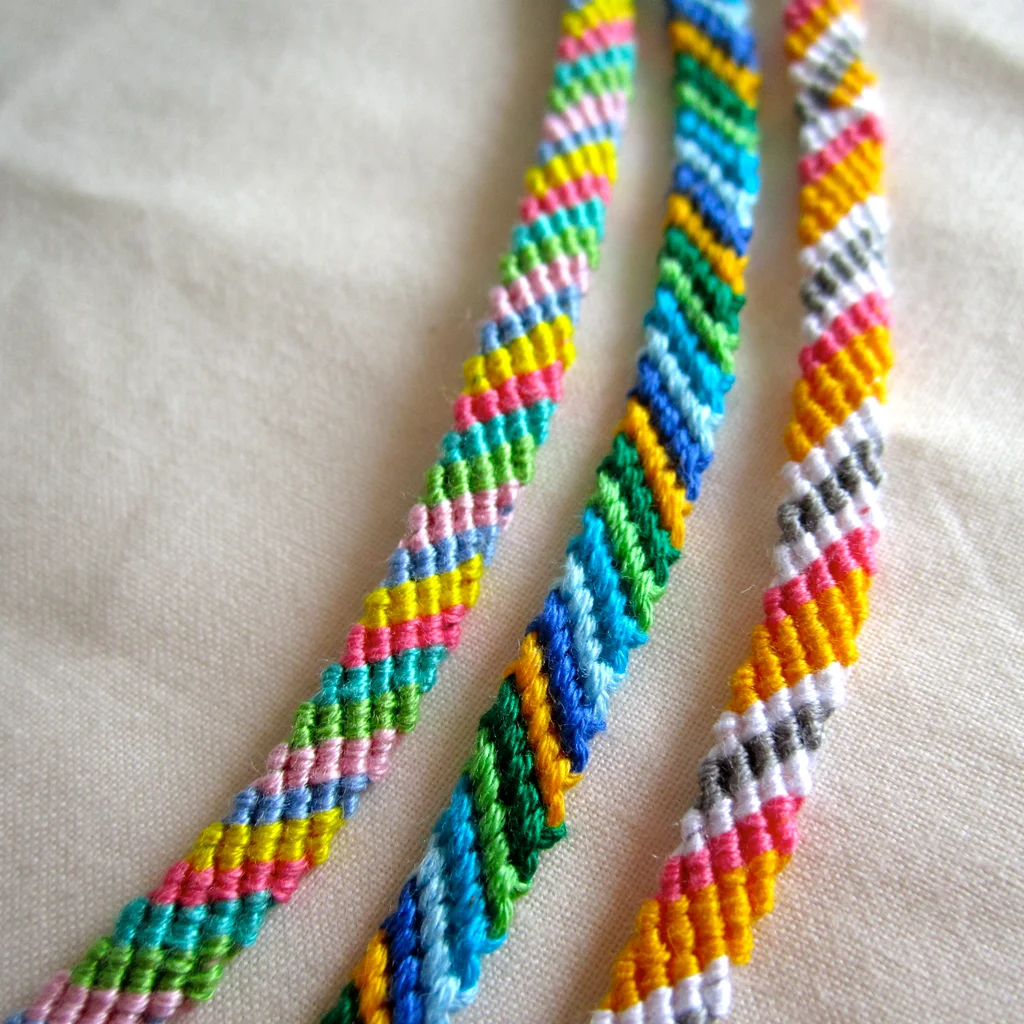
The Friendship Bracelet guide shows how to make a colourful, woven bracelet with embroidery floss, scissors, and tape or pins. You can choose various colours to create a unique candy stripe pattern. It’s simple enough for beginners, with step-by-step instructions that make crafting these bracelets a fun, low-cost activity. They’re great for personalizing gifts that symbolize friendship and are easy to carry or send. Making them can also improve fine motor skills and patience, and it’s a lovely way to express creativity and bond with friends through crafting.
Making Your Friendship Bracelets
Materials Needed:
- Embroidery floss or thin yarn
- Scissors
- Tape or pins/safety pins
Step-by-step process
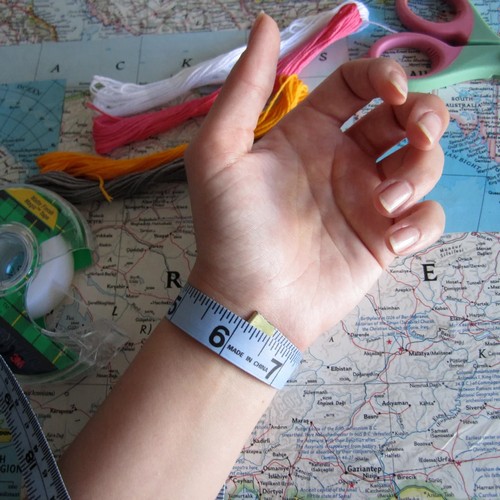
Step 1: Measuring + Cutting
- Cut pieces of floss to a length between your fingertips and shoulder (around 30 inches should work).
- Measure your wrist and multiply that by 5 to be safe. If you’re making a bracelet that is more than six strands, add another 6 inches.
Step 2: Determining The Number Of Strands
- The highest number of strands that have been recommended is eight, but six is a perfect number—dainty but detailed.
- Depending on the desired pattern, you can use two alternating colours, or each strand can be different.
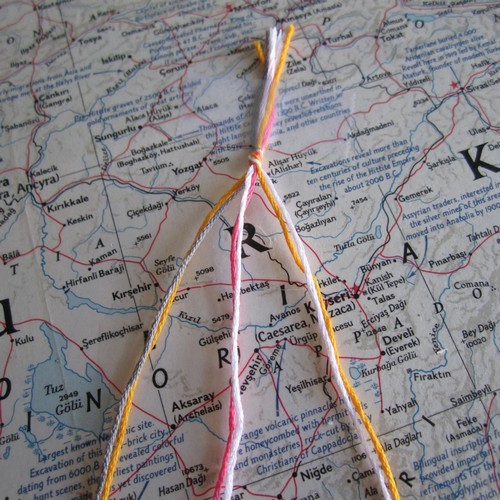
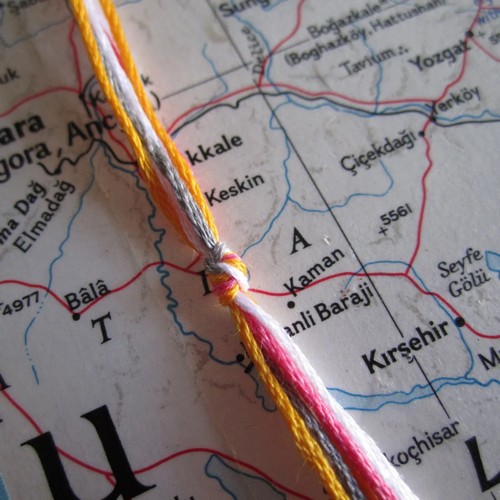
Step 3: How To Start The Bracelet
- Take your strands of embroidery floss and tie an overhand knot at one end.
- Adhere this to a tabletop or your pants or a pillow and braid three inches down from this knot. Once you’ve finished your braid, make another overhand knot at the bottom of the braid.
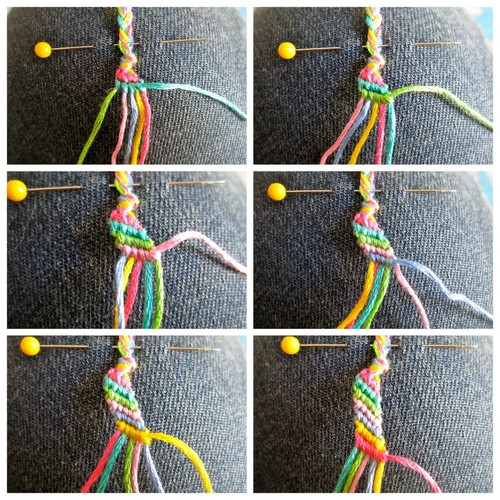
Step 4: Start the knotting
- Decide what order you want your strands to be in.
- The strand furthest to the left will create your first row. Take this first strand, pass it over the second, then behind.
- Hold the second strand taut, and pull the first strand up and towards the large knot. Make another knot by tying the first strand around the second strand again.
- Continue this move across to the right. Once you’ve knotted all the way across and reached the last strand, begin again using the first strand on the left.

Step 5: As You Go
- You have to keep making two knots on each strand and working this way until you have 3-4 inches of knotting done.
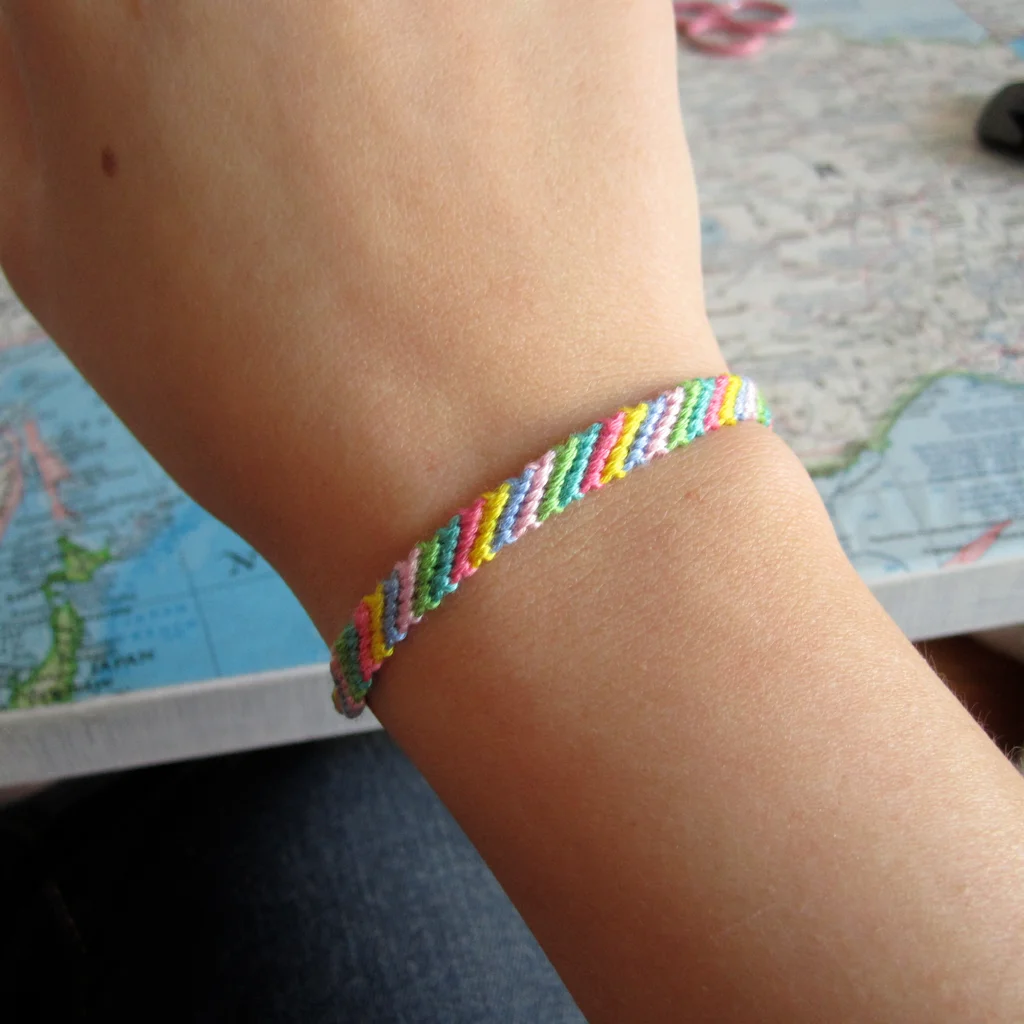
Step 6: How To Finish The Bracelet
- After you’ve done 3-4 inches worth of knotting, make another overhand knot right at the end of the bracelet. From that knot, braid three inches, and then tie another knot.
- Cut off the extra floss from both ends of the bracelet.

Step 7: Tie It On!
- Now that your bracelet is done, you can tie it on.
Step 8: Additional Steps
- If necessary, you can pin or tape the bracelet to a flat surface and, spray it with a good amount of water (soak it!), and let it dry after pulling it nice and taut. This is called “blocking” and can help the bracelet lay flat.
Credited by: jessyratfink
Leave a Reply