
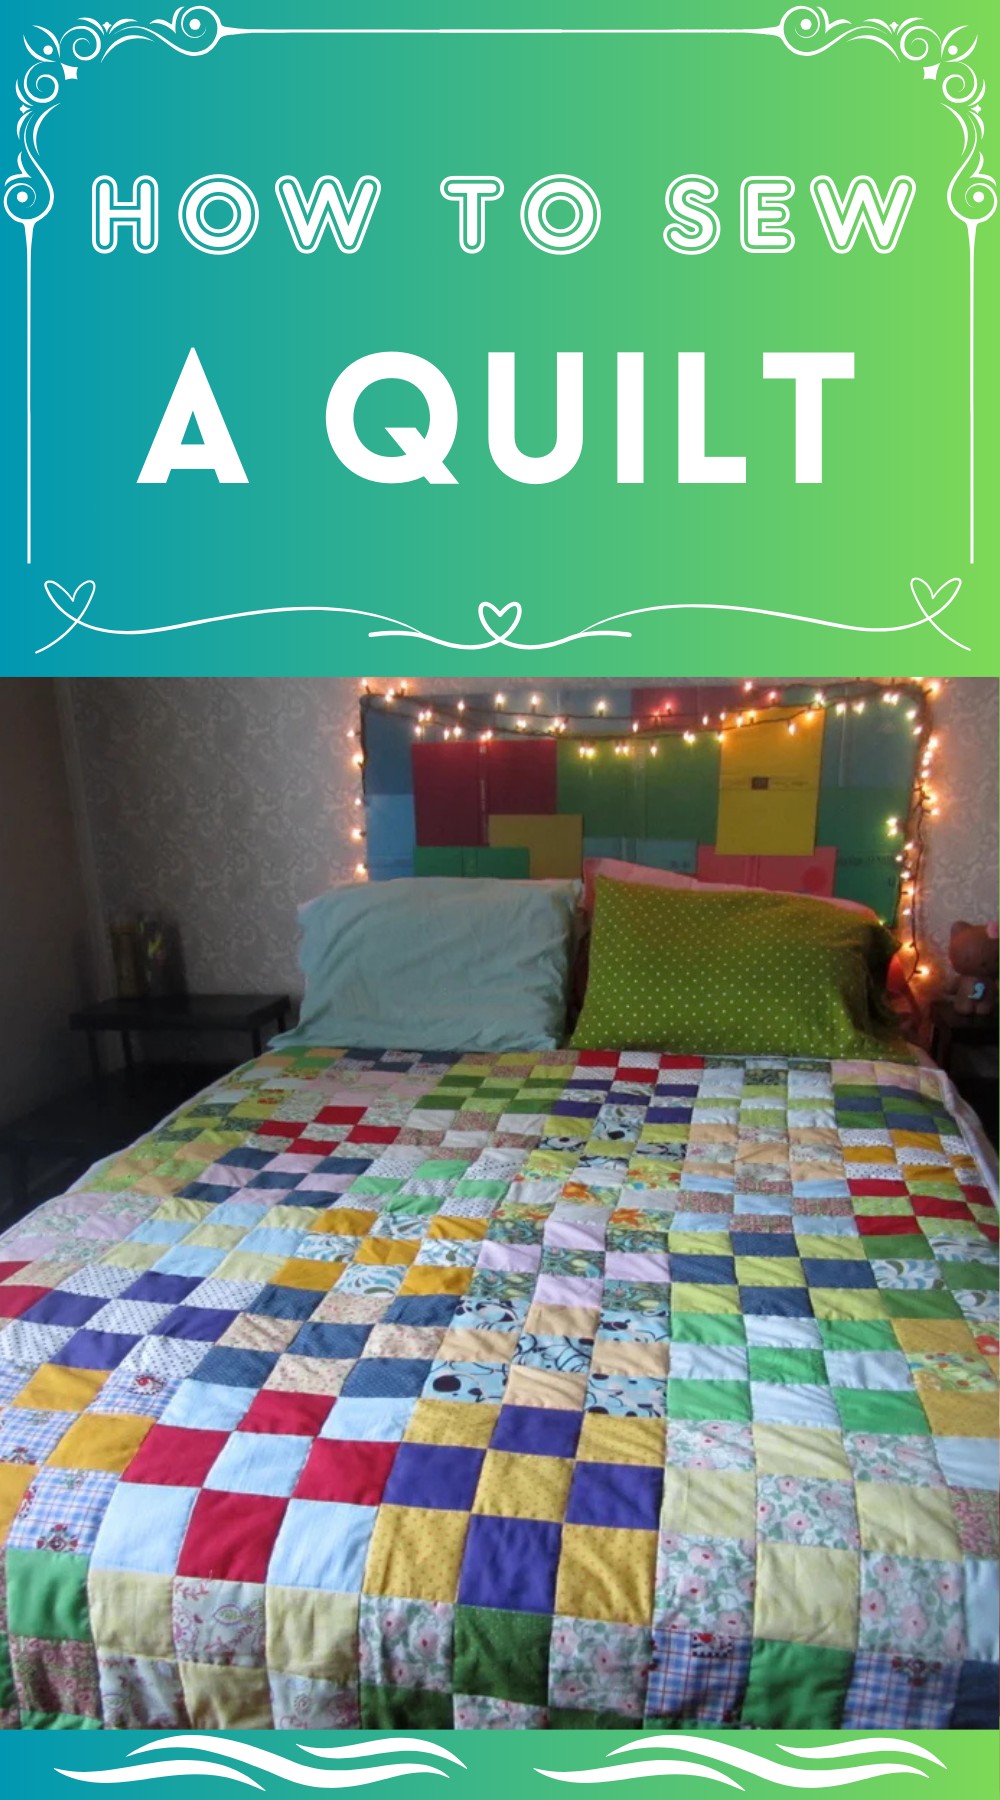
Quilts are cozy blankets that are made by stitching together layers of fabric. They not only keep you warm but can also decorate your home with their beautiful patterns and colors. Sewing a quilt involves picking out various pieces of cloth, cutting them into shapes, and then putting them together like a puzzle. The process might seem a bit tricky but we are here with the simplest DIY guide to help you. Following this will give you enough info and step by step pattern to complete this process within a few hours. So, why throw away the old fabric? Follow the easiest guide given below and start making something with your pretty hands!
How To Sew A Quilt

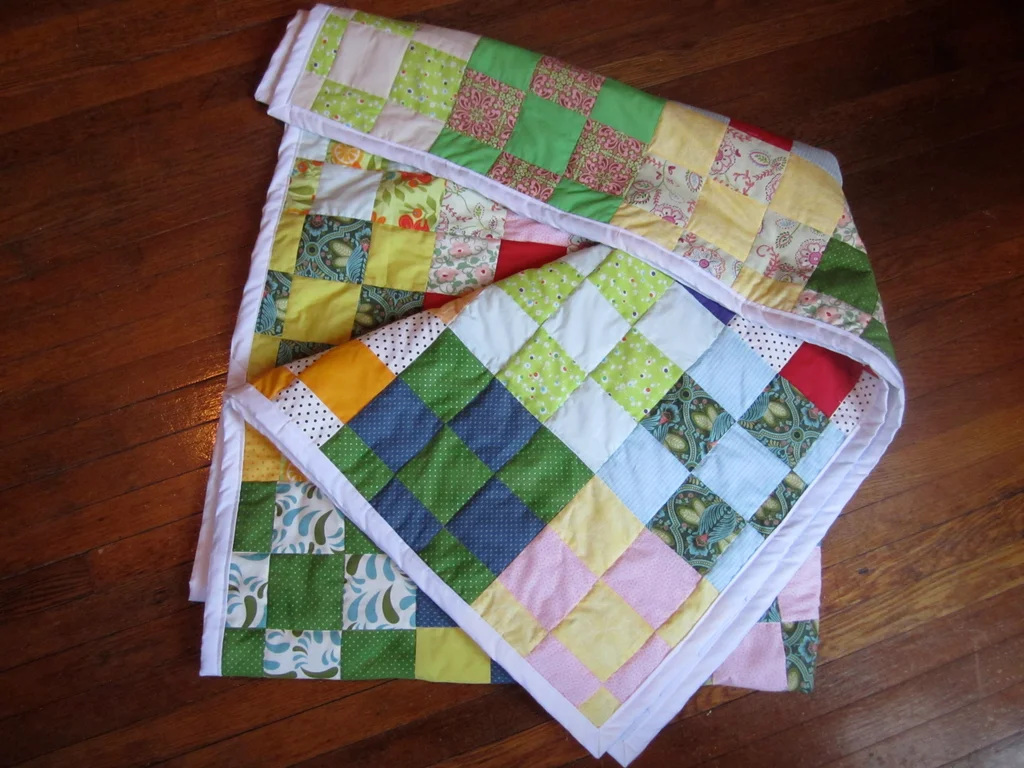
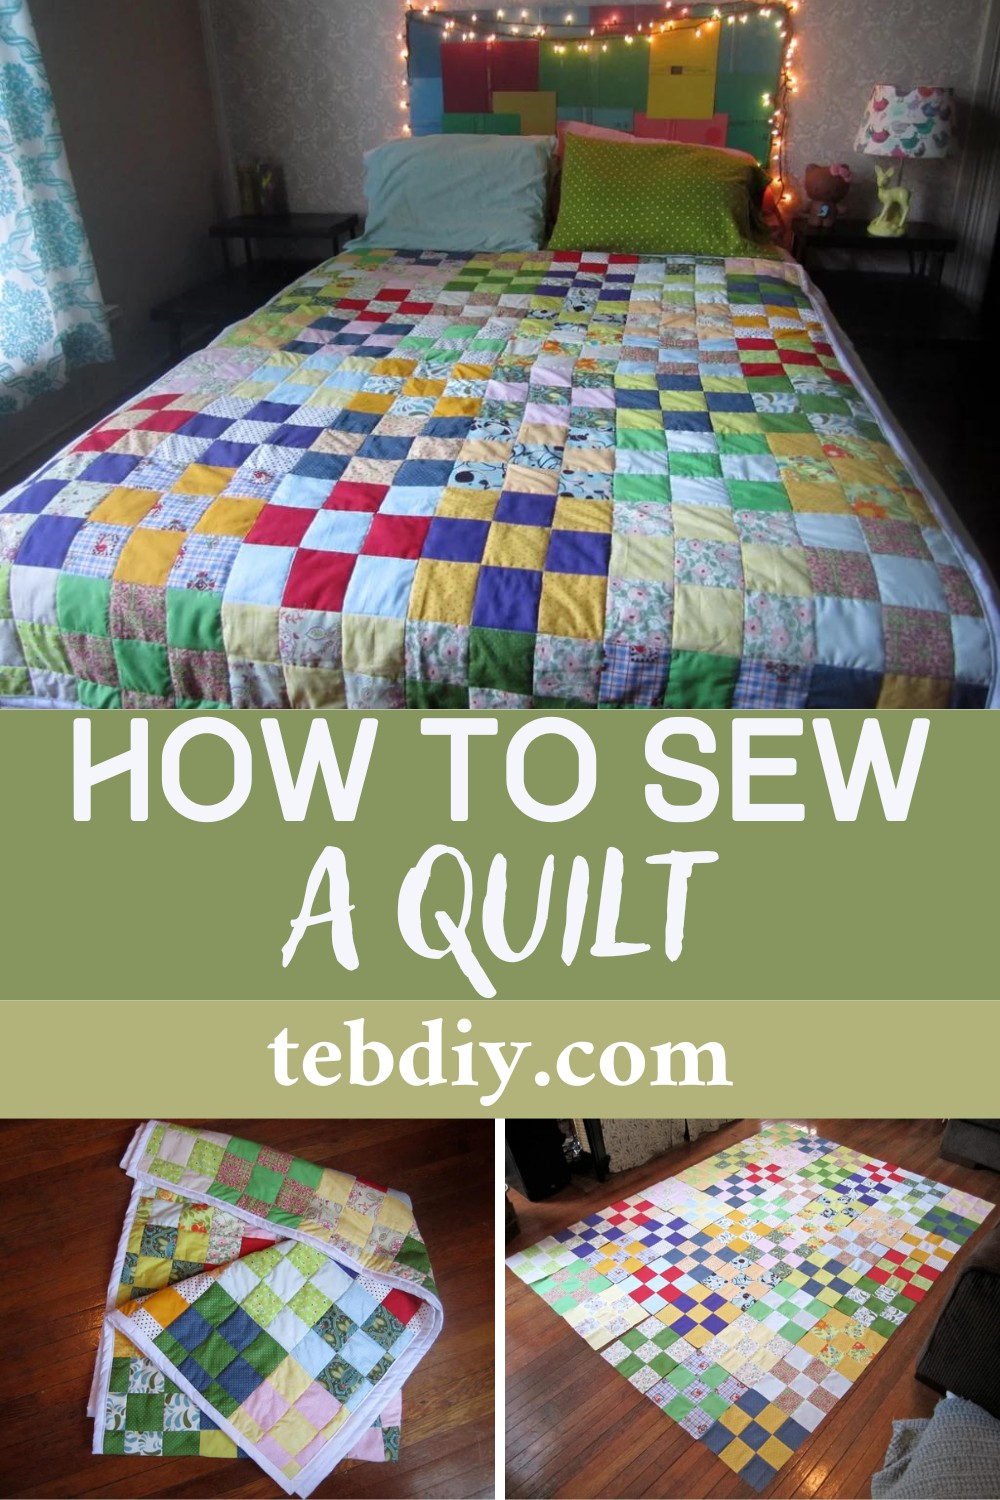
The quilt you will make, following our guide, will be absolutely wonderful! It’s like a masterpiece, with each patch of fabric fitting perfectly with its neighbor, creating a warm landscape of colors and patterns. Its beauty is only matched by its ability to provide comfort and warmth. What’s equally impressive is how our easy-to-follow guide helped you bring this quilt to life. The instructions were clear and straightforward, breaking down each step so that anyone, even without prior experience, could feel like a quilting expert.
Making Your Quilt (Easiest Guide)
Tools and Materials
You will need the following tools and materials for this project:
Tools:
- Rotary cutter and mat
- Sharp scissors
- Clear rulers (preferably 5×18 inches and 4×4 inch one)
- Bias tape maker or ready-made bias tape
- A suitable iron with an ironing board
- Seam ripper
- Walking foot for the sewing machine
Fabric and Threads:
- 100% cotton fabric
- Clear nylon thread
- White cotton thread (or a polyester/cotton mix)
- Bias-tape
Other Items:
- Batting
- Long pins
- Something to use as a thread trash bin (Mason jars work well)
Additional Note: You’d want to set up a large workspace for convenience. A big table, extra chairs or pulling out an ironing board for additional surface can work well.
Step by step Making Process
Quilting Steps
Quilting can be understood and executed much better by knowing a few basic definitions related to it:
- Backing: This is the bottom part of the quilt, typically made of solid fabric, often white.
- Batting: The middle of a quilt that offers cushiness – can be cotton, polyester, or wool.
- Quilt Top: The finished top layer is formed by piecing fabric blocks together.
- Quilt Sandwich: The term used for the three layers – top, batting, and backing.
- Square: Your units for building the quilt. They are small pieces of fabric sewn together to make a more substantial square fabric piece.
Now, let’s start piecing this quilt together:
Step 1: Choosing Your Fabric
For this project, 100% cotton is best. You will need a total of 432 squares, each measuring 3.5 inches for a queen-size quilt, and the squares will form 48 blocks, each 10.5 inches when sewn. You can dive into wild variety with a scrap quilt or maintain consistency with just two colors throughout the quilt.
Step 2: Selecting the Batting
Batting determines the quilt’s look, feel, and warmth. You have the choice between cotton (the most breathable), polyester (warmer but may bunch over time), and wool (heavy and moisture absorbent).
Step 3: Choosing Your Backing Fabric
A simple solution for the backing fabric is a flat sheet of the same size as your quilt. Thrift stores or clearance racks are excellent places to find these.
Step 4: Cutting Your Squares
Make sure your fabric is wrinkle-free before cutting. Use a rotary cutter or scissors to cut 4×4 inches of fabric strips and further into squares.
Step 5: Blocks And Pattern Combinations
Once you have your squares assembled, think about the color combinations for the blocks. You need 4 of one color and 5 of another for each block.
The rest of the site was not included, but presumably, the next steps are sewing squares into blocks, then blocks into rows, and finally, the rows into a complete quilt top. Followed by preparing your quilt sandwich (top, batting, bottom) and then the quilting part (stitching through all the layers).
Lastly, the binding is done, enclosing the raw edges of your quilt.
Leave a Reply