
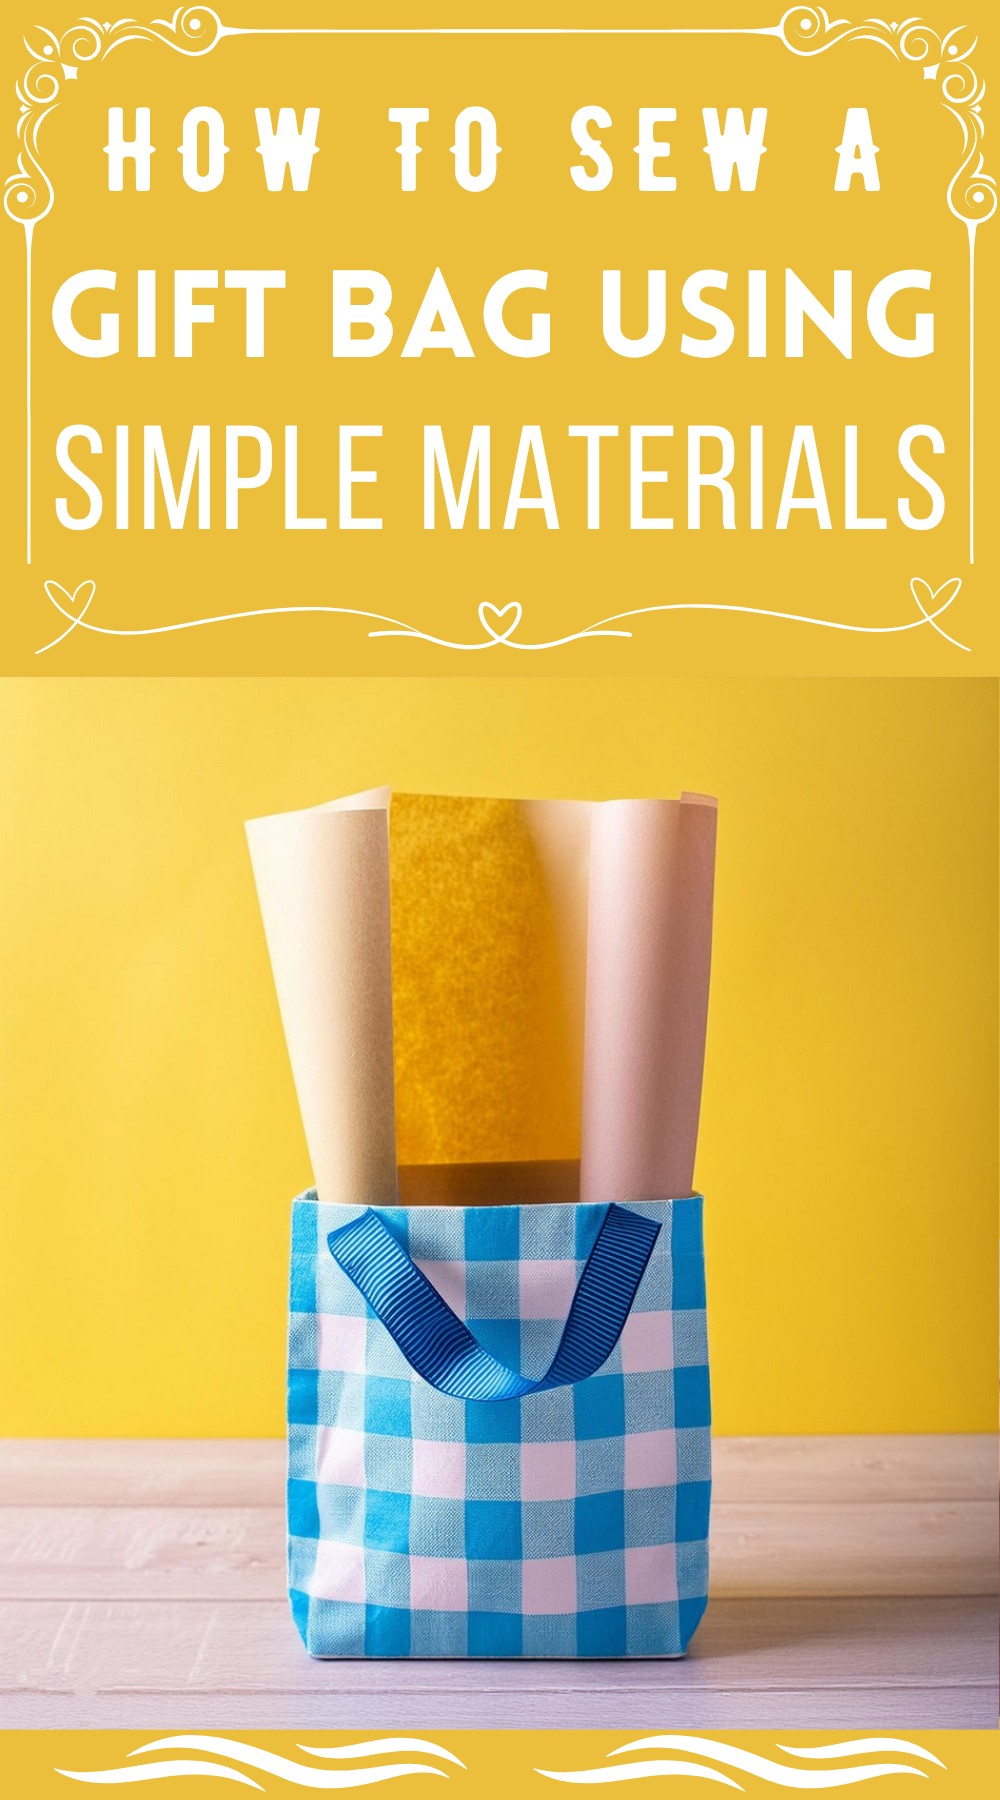
Do you love the idea of personalizing your gifting experience? How about trying your hand at sewing a gift bag? It’s a project suitable for beginners and experienced crafters alike. This homemade, reusable bag we’re about to make can elevate the gift-giving experience manifold! It not only carries the item you’re gifting but becomes a cherished keepsake itself, a lasting reminder of the thought and love you put into your gift.
How To Sew A Gift Bag

What makes it even more wonderful is that it requires little time. Within under an hour, you can transform your creativity into a tangible, beautiful bag. Begin with this delightful project to make a lovely gift bag tailored to you, especially for your loved ones!
Materials:
- Fabric, cut to 21″ x 9″
- Crafting weight fusible interfacing, measuring 2½” x 6″
- Two 10″ pieces of ribbon
Tools:
- Iron and ironing board
- Sewing machine or serger
- Pins
- Pinking shears (optional)
- Marker (optional)
Step-by-Step Guide
Step 1: Fold and Press the Fabric
Begin by folding your fabric in half lengthwise with the wrong sides touching. Utilize your iron to flatten this fold crisply, creating a visible crease. Unfold the fabric afterward, presenting the wrong side facing upwards, ready for the next step.
Step 2: Place the Interfacing
Carefully align the fusible interfacing right at the heart of your fabric’s fold line, ensuring it’s centered perfectly. This little pad is the secret behind the bag’s solid base, so precision matters. You might want a marker here to help with alignment. Once satisfied, fuse the interfacing onto the fabric with your iron.
Step 3: Serge the Sides
Now, refold the fabric lengthwise, this time with the right sides kissing. Secure this position with pins before sewing straight along the edge on both sides. Opting for a serger here not only quickens the process but enhances durability and finish.
Step 4: Square the Corners
Here’s a step where the bag begins to take shape – squaring the corners. Manipulate the bottom corners, squishing the bag’s base (where your interfacing rests) and aiming to point those corners up. Sew adjacent to each side of the interfacing and, for a neat finish, trim off the excess corner tips with a serger.
Step 5: Hem
With pinking shears, trim along the top edge to prevent fraying. Fold this edge downwards by approximately ½”, pressing it to memorialize the fold. Run a topstitch along this hem to secure it in place.

Step 6: Sew the Handles
Approaching the finale, cut the ribbon ends diagonally for a polished look. Flip your bag to its rightful side, placing each ribbon atop the bag, ensuring symmetry. Pin them securely, then stitch them to affirm their position. Voilà, your gift bag stands ready!

Leave a Reply