
Old, faded window blinds look bad, don’t they? But if you do not have enough money to buy new ones, some effort and a coat of paint can give them the same refreshed look. So, learn how to paint wood window blinds in this tutorial I brought, especially for beginners. It will be a cheap makeover project everyone can do in one sunny afternoon, and I will help you completely. So, let’s get started!
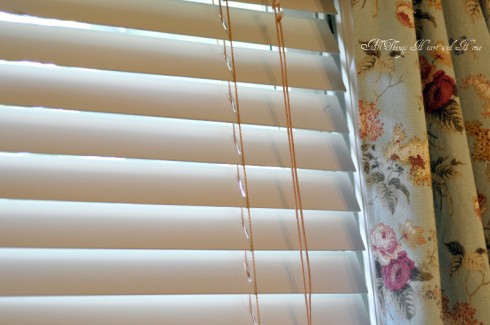
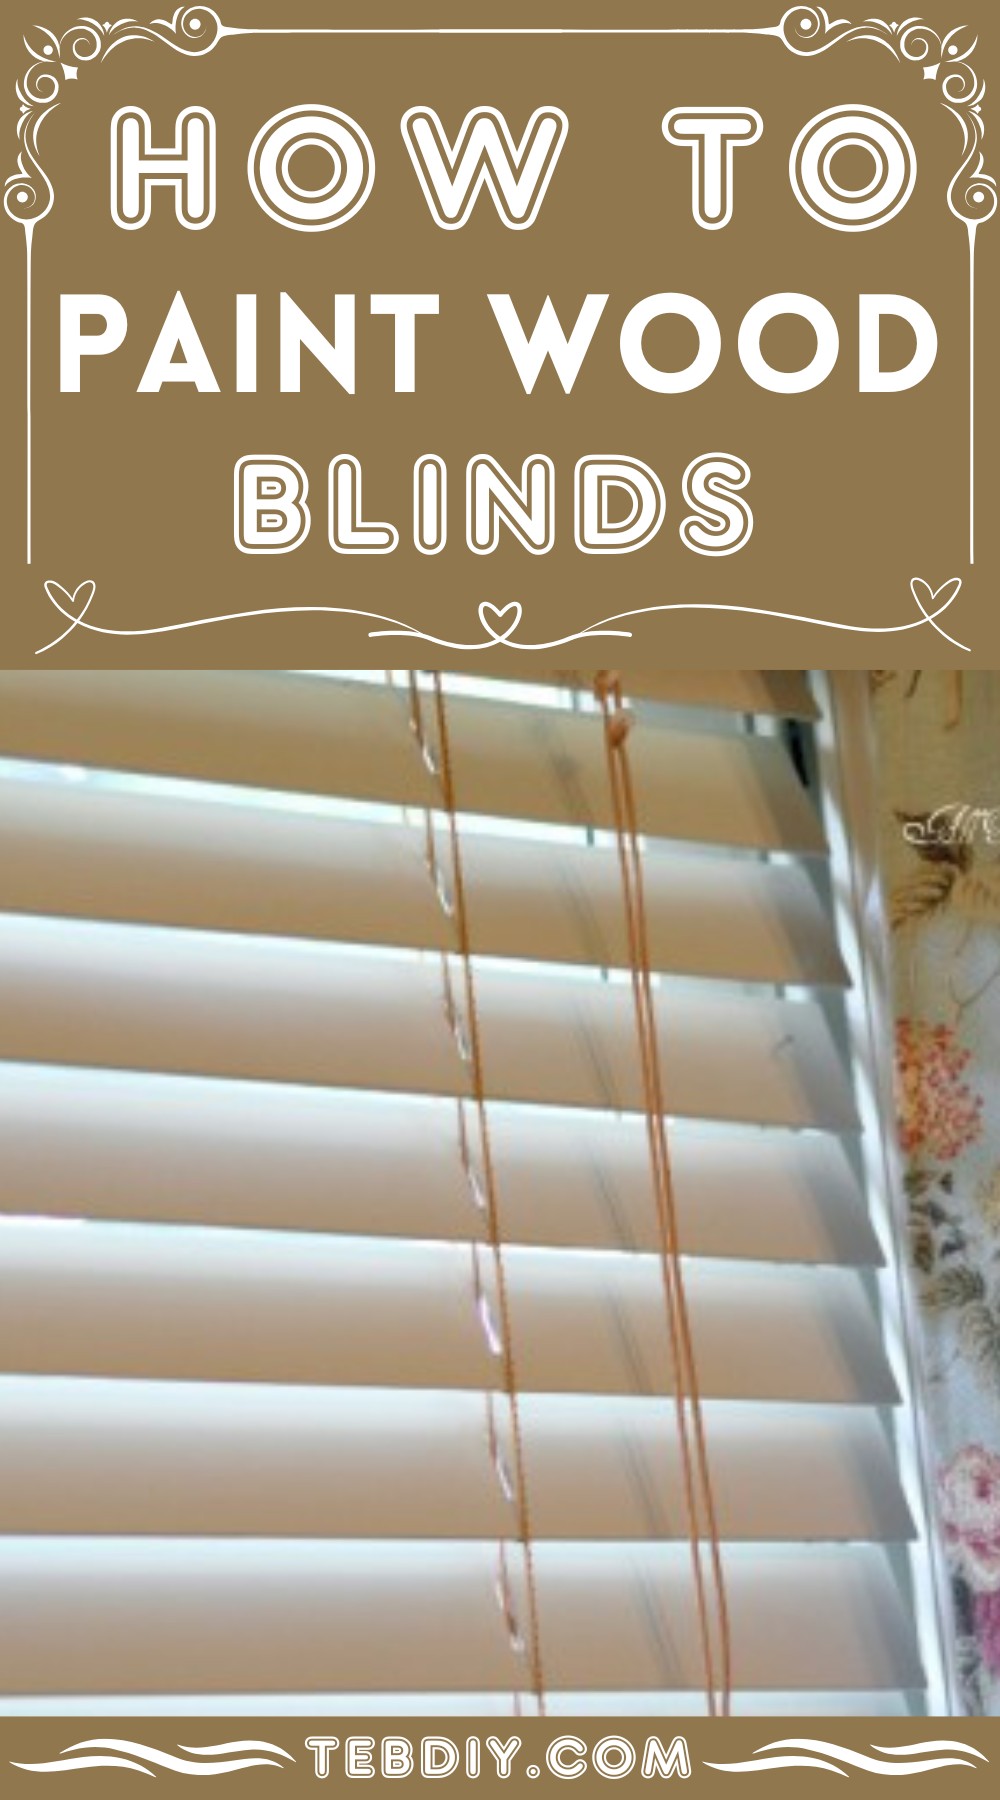
Blinds Before…
How to Paint Wood Window Blinds?
Supplies You Will Need
- Plastic Sheet
- Wash Cloths
- Spray Paint Gun or Paint Brushes
- Primer
- Acrylic Paints
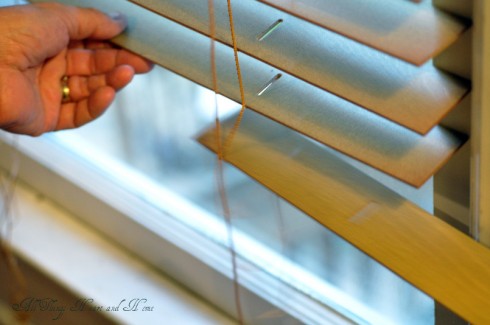
Step 1- Remove the Slats From the Blind
There will be a knot at the bottom rail of the blind with a wooden cap holding it all together. This has to be removed so the 2 cords that run through all of the slats can be removed.
After you pull the cords up and out, the slats are left positioned in little hammocks. Slip all the slats out of its hammock one by one. Try not to tangle or break up the cords.
Step 2- Dust & Wipe Blind Slats
Never wash wooden blind slats. Instead, soak a washcloth a little bit and wipe each slat with it. This step will help the paint to stick to the actual surface and not to the dirt.
Because faux blinds are made of vinyl, which is plastic, you can wash them with mild, warm water and detergent.
Step 3- Sand the Slats (Optional)
The sleek, smooth surfaces are enemies of new paints. So, you can lightly use the sandpaper to make slats a little rough so that the new paint may adhere well.
Now…our blinds are 20 years old, and they do not have a shiny finish. The Husband did not sand them one bit.
Step 4- Lay Each Blind Slat Over a Plastic Sheet
Find an open space where enough sunlight may enter, like a backyard or lawn. Here, lay down a plastic sheet and then each slat, separated by some distance from the other slats.
Step 5: Coat Primer
Apply a thin layer of primer to each slat before the final paint. It will help the final paint adhere to the surface very well. After one side, turn the slats and do for the other and leave primer to get dried. However, you will not need that primer if you have the primer + paint in one can.
Step 6: Coat Final Paint
Fill the spray gun with the acrylic paint in the color you want, and start spraying each slat along the whole length evenly and quickly. Don’t coat too much paint at once. After one painted side has dried, turn the slats and paint on the other side.
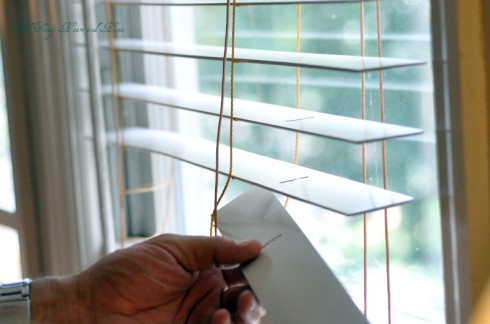
Step 7: Insert Back Blinds After Drying
When the slats are dry, tuck them back into their tiny hammocks and run the 2 cords from top to bottom back through the holes…tie off the cord, and Wala!
Step 8: Seal The Blinds
This step is optional, but for blinds that will be exposed to sunlight, heat, or moisture, a sealer can add extra protection and extend the life of your paint job.

Do you find it helpful? Tell me in the comments.
Leave a Reply