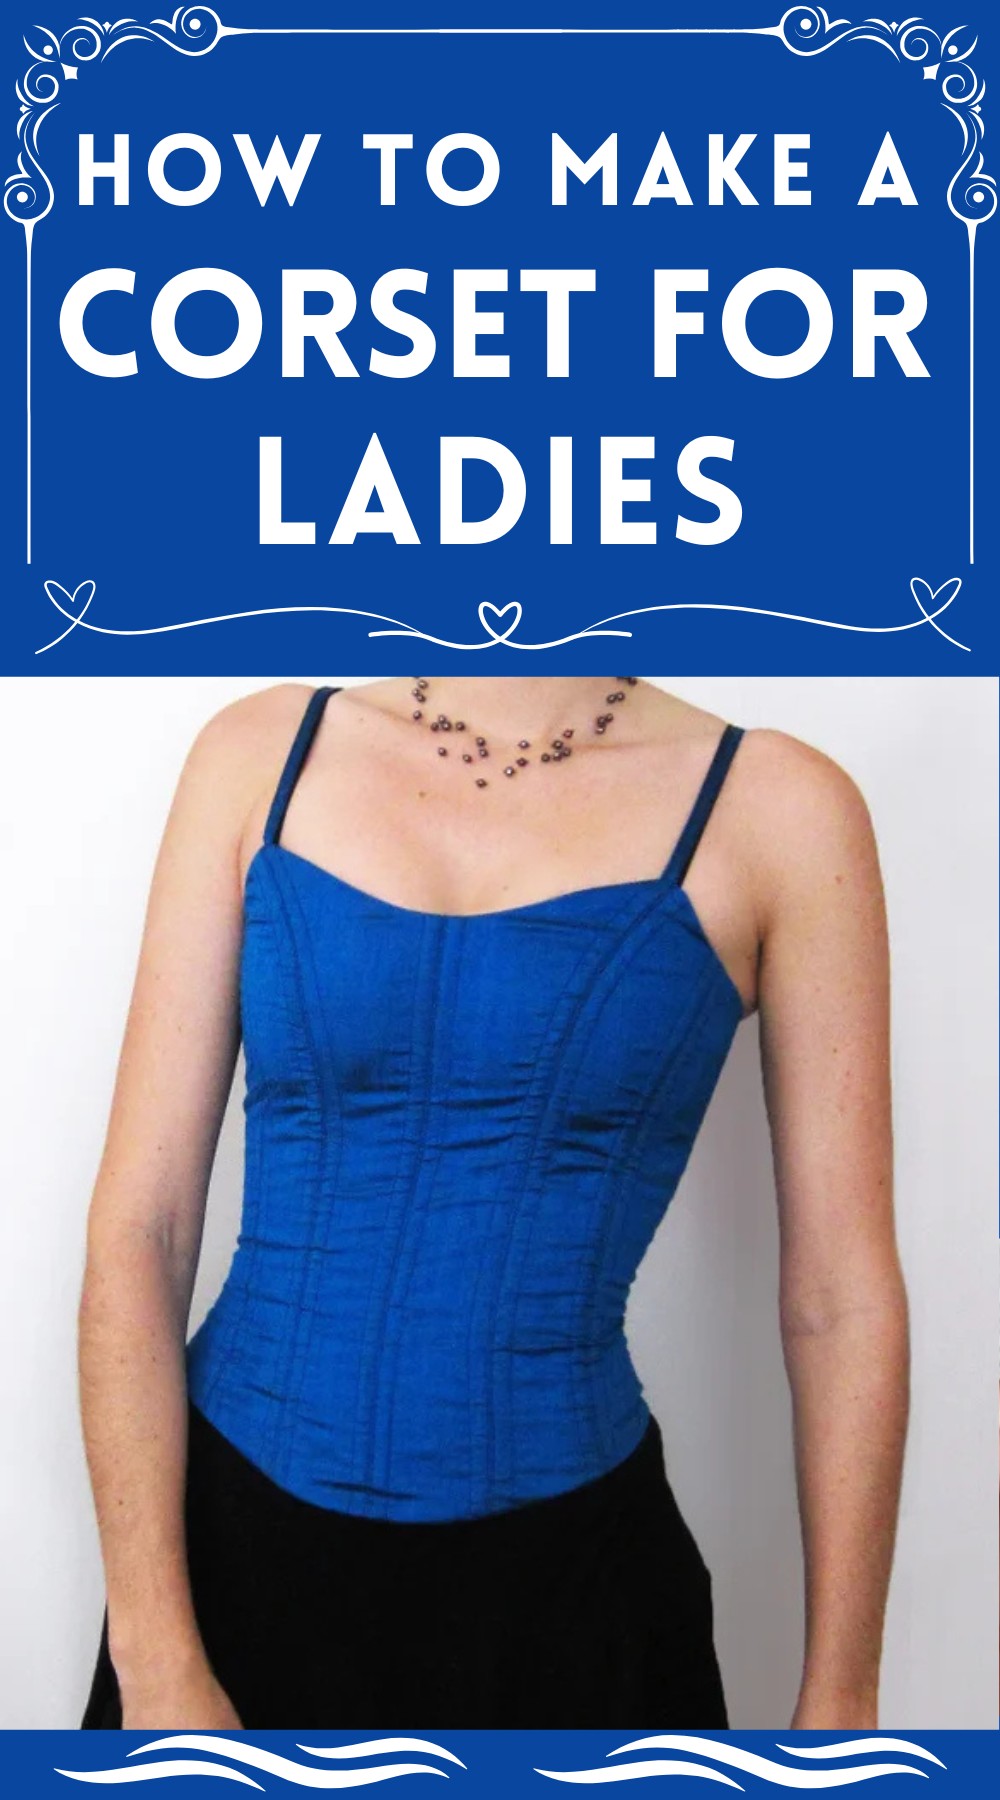
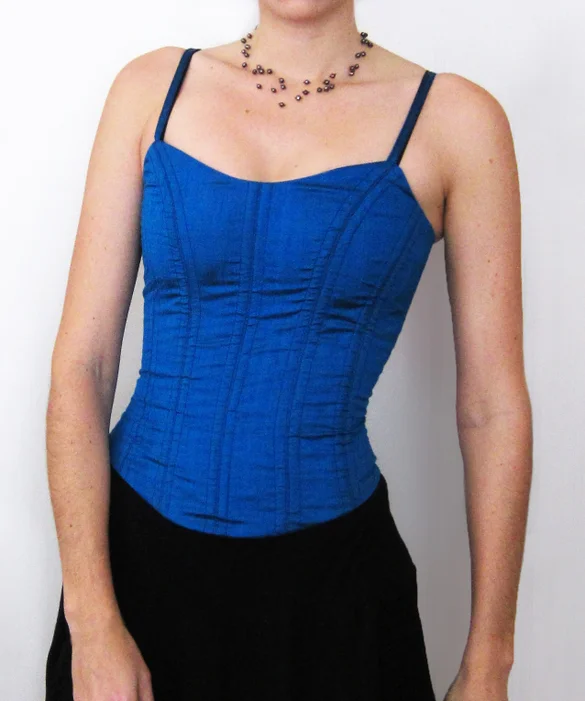
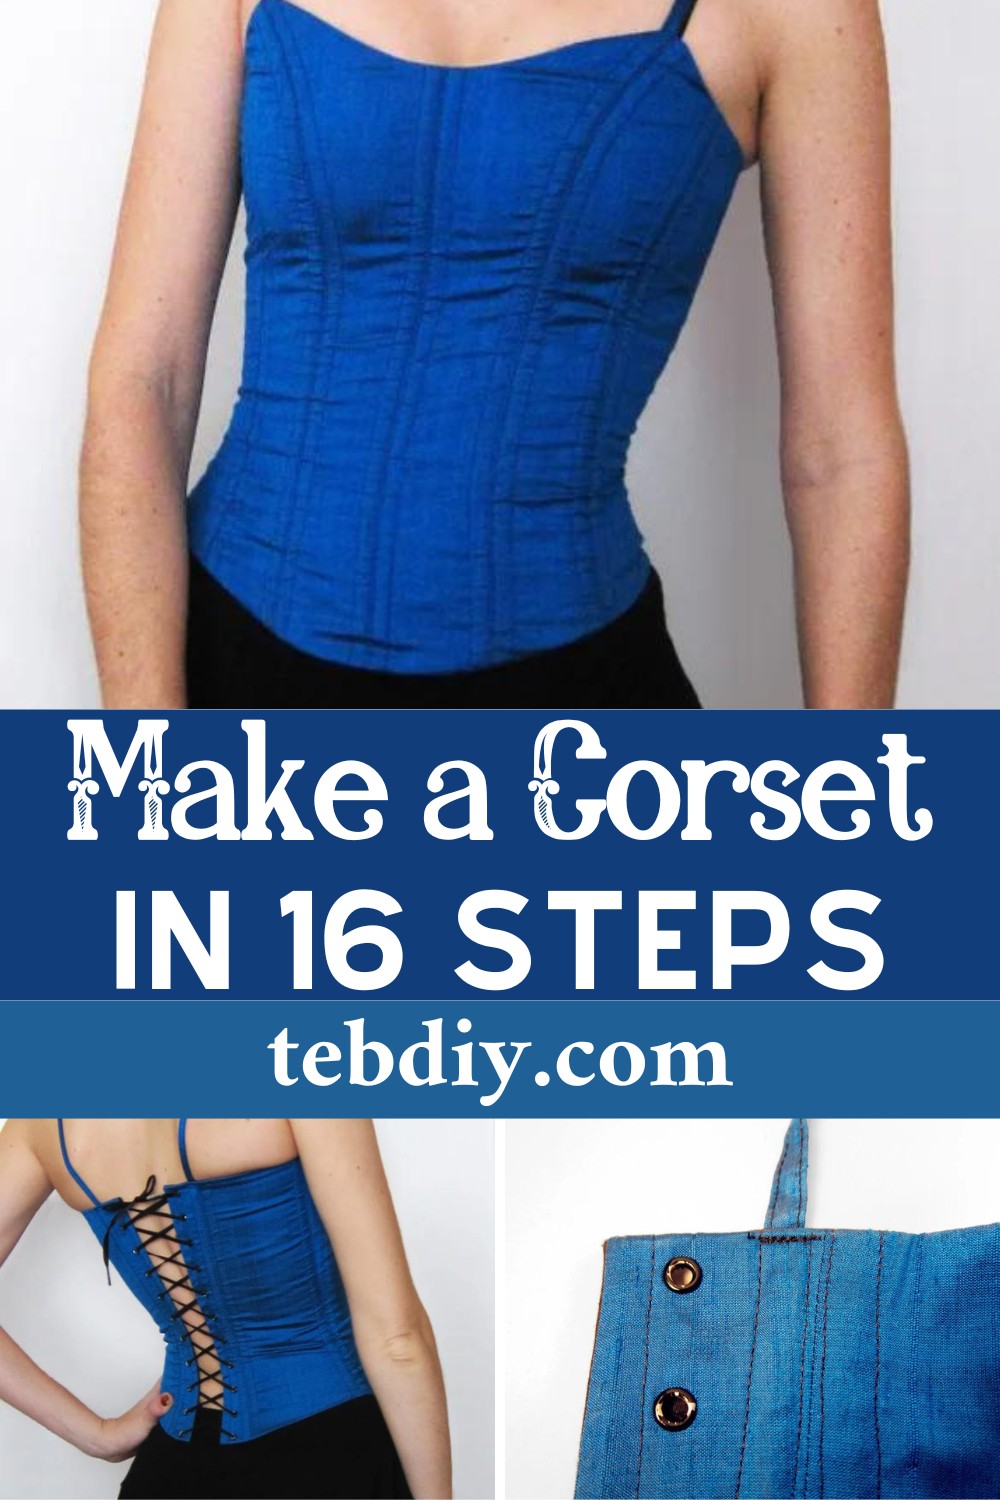
Making your corset is an exciting idea, It’s great to make your waist look tiny and gives you a classic curvy shape. You can wear it with lots of different outfits, whether it’s a fancy dress for a night out or a fun costume. Sure, the thought of making one might sound a little scary at first, but with some help along the way, you’ll find it’s a fun project. Plus, whether you’re doing it to have the perfect fit for a big event or just to try your hand at making clothes, making a corset is a cool way to mix your creative side with some hands-on skills and add your personal touch.

How To Make A Corset

Materials:
- Outer fabric (Choose something sturdy. Raw silk is recommended.)
- Lining fabric (Coutil is ideal, though any robust, non-stretch woven cotton will suffice.)
- Interfacing
- Spiral/steel boning (20 pieces for this design)
- Eyelets
- Lacing
Tools:
- Eyelet tool/Hammer
- Sewing machine
- Rotary cutter and mat
- Fabric/leather punch (optional)

Step-by-Step Creation Process
Pattern Selection
- Ponder the silhouette you desire, how much (or little) you wish to cinch your waist, and whether your vision leans more towards historical accuracy or modern flair.
- For those without access to a dress form, drawing inspiration from online resources or opting for store-bought patterns can serve as a solid starting point. Remember, creating a mock-up is crucial for adjustments before committing to your final fabric.
Understanding Boning
- Boning is the skeleton that gives a corset its structure. Avoid the temptation of plastic boning found in craft stores—it’s prone to warping.
- Instead, opt for steel or spiral boning, with the latter being ideal for curved seams. Purchasing pre-cut bones saves time and ensures a smoother process, aiming for bones about 3/4″ shorter than your seams to prevent undue stress on the fabric.
Prepping Your Fabric
- Cut your chosen outer fabric and lining fabric according to your pattern, remembering to double up for symmetry and including a hearty seam allowance for strength.
- Don’t forget to cut and attach interfacing to the back panels—this lends extra support for those eyelets later on.
Step 4: Sewing It All Together
First, assemble the panels of both the outer fabric and lining, pressing the seams well to avoid any puckering down the line. Precision at this stage sets the tone for the overall look and fit of your corset.
The Marriage of Outer and Lining
Place the outer and lining panels right sides together, stitching along the back panels before turning everything right side out for a neat finish.
Channeling for Boning
This step is where the real magic happens. Sew channels along the seams for your boning, ensuring alignment and accuracy for a smooth, professional finish. Trim excess fabric for a clean edge.
Edging Perfection
- Choose between a clean edge finish or bias binding for your corset’s top and bottom edges.
- If opting for a clean edge, additional facing pieces will be cut and sewn for a seamless look.
Strap Construction
Should you choose to include straps, this is the moment to craft and attach them, providing additional structure and style to your corset.
Insertion of the Boning
Slide your boning into their respective channels, taking care to distribute them evenly and avoid any potential fabric damage.
Final Touches – Eyelets and Lacing
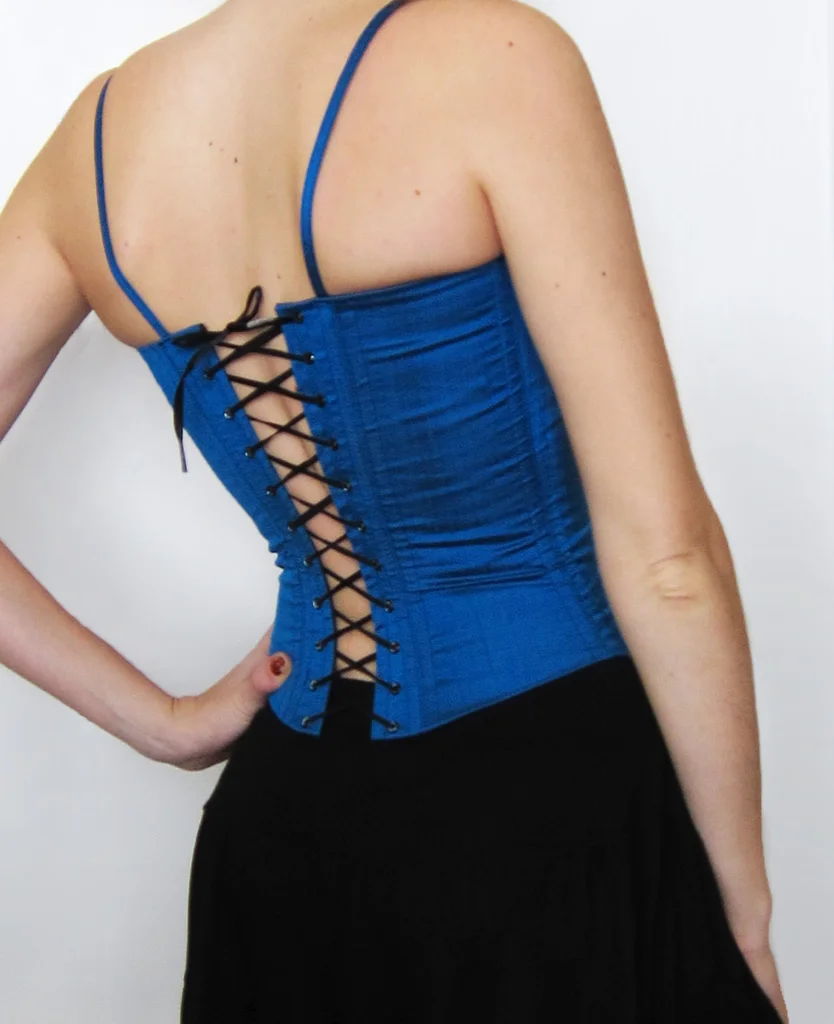
- Mark and create holes for your eyelets, placing them with precision and securing them firmly. Lace your corset, making any necessary adjustments for fit.
- Optional touches like a modesty panel can be added for functionality and flair.
The Grand Finale
With all the elements in place, your corset is now ready to be the star of your wardrobe. Adjust the straps, finalize any trimming, and relish in the accomplishment of creating a beautiful, customized corset all by yourself.


Leave a Reply