Paper snowflakes capture the beauty and uniqueness of winter’s most iconic symbol, the snowflake. These child-friendly DIY creations allow us to bring the magic of a snowfall indoors, where they can be admired up close. With just a sheet of paper and following the easy guide we given below, you can create a six-pointed wonder that dances as gently as a real snowflake. The easy DIY process of making them is fun, involving careful folding and imaginative cutting, resulting in a delicate piece that carries your personal touch. So, come and explore the art of creating paper snowflakes in different styles and designs with us!
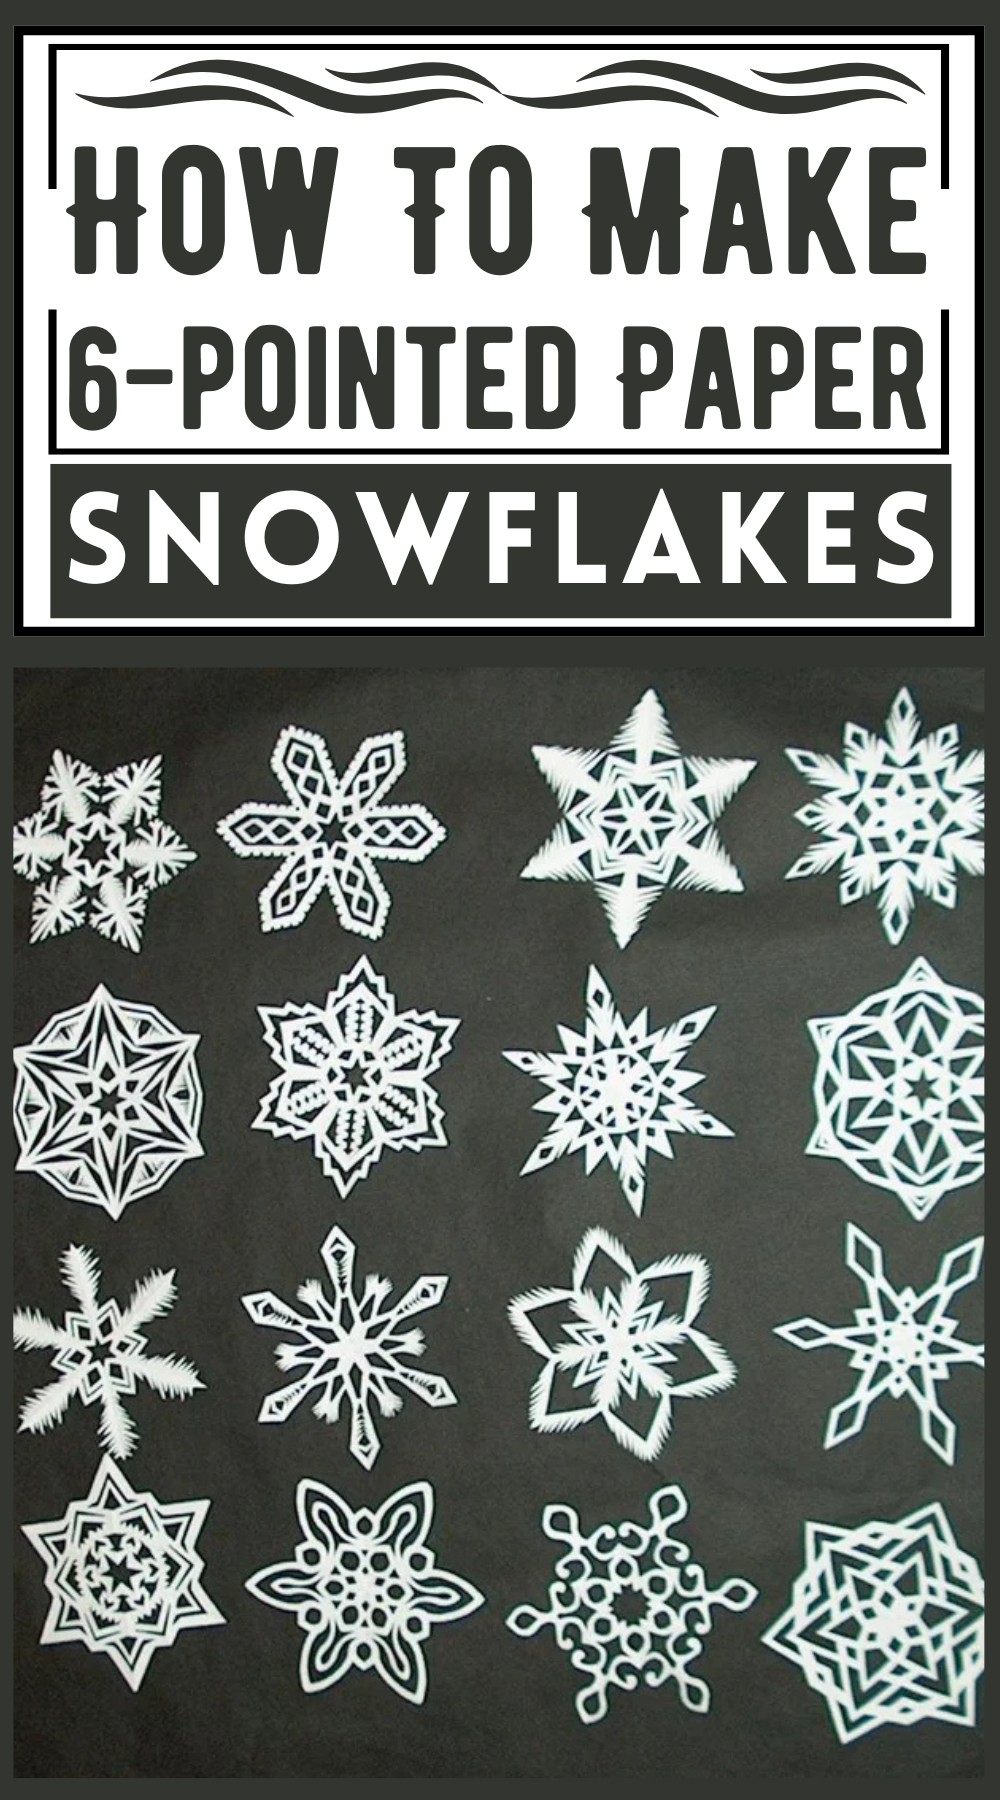
How To Make 6-pointed Paper Snowflakes
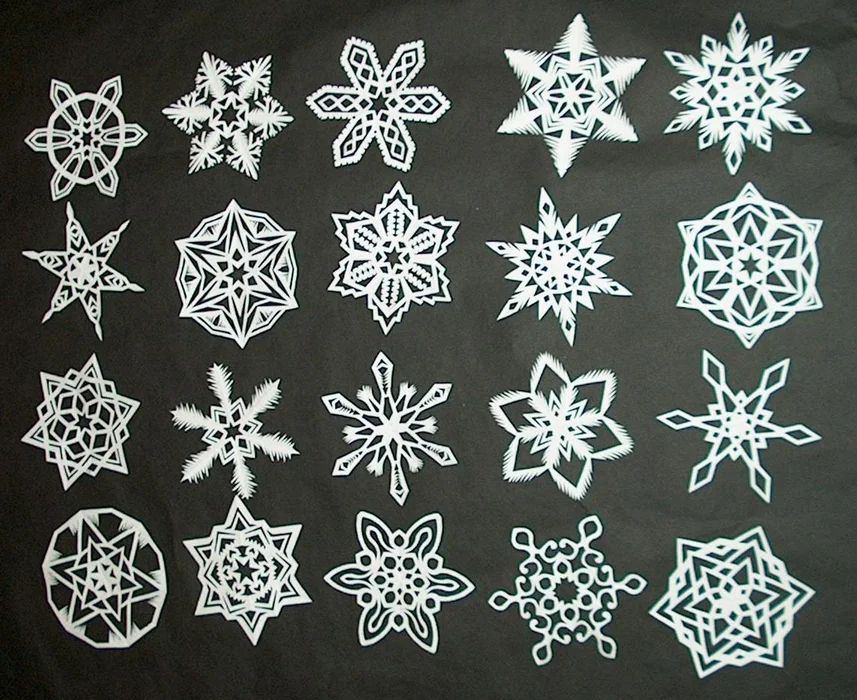
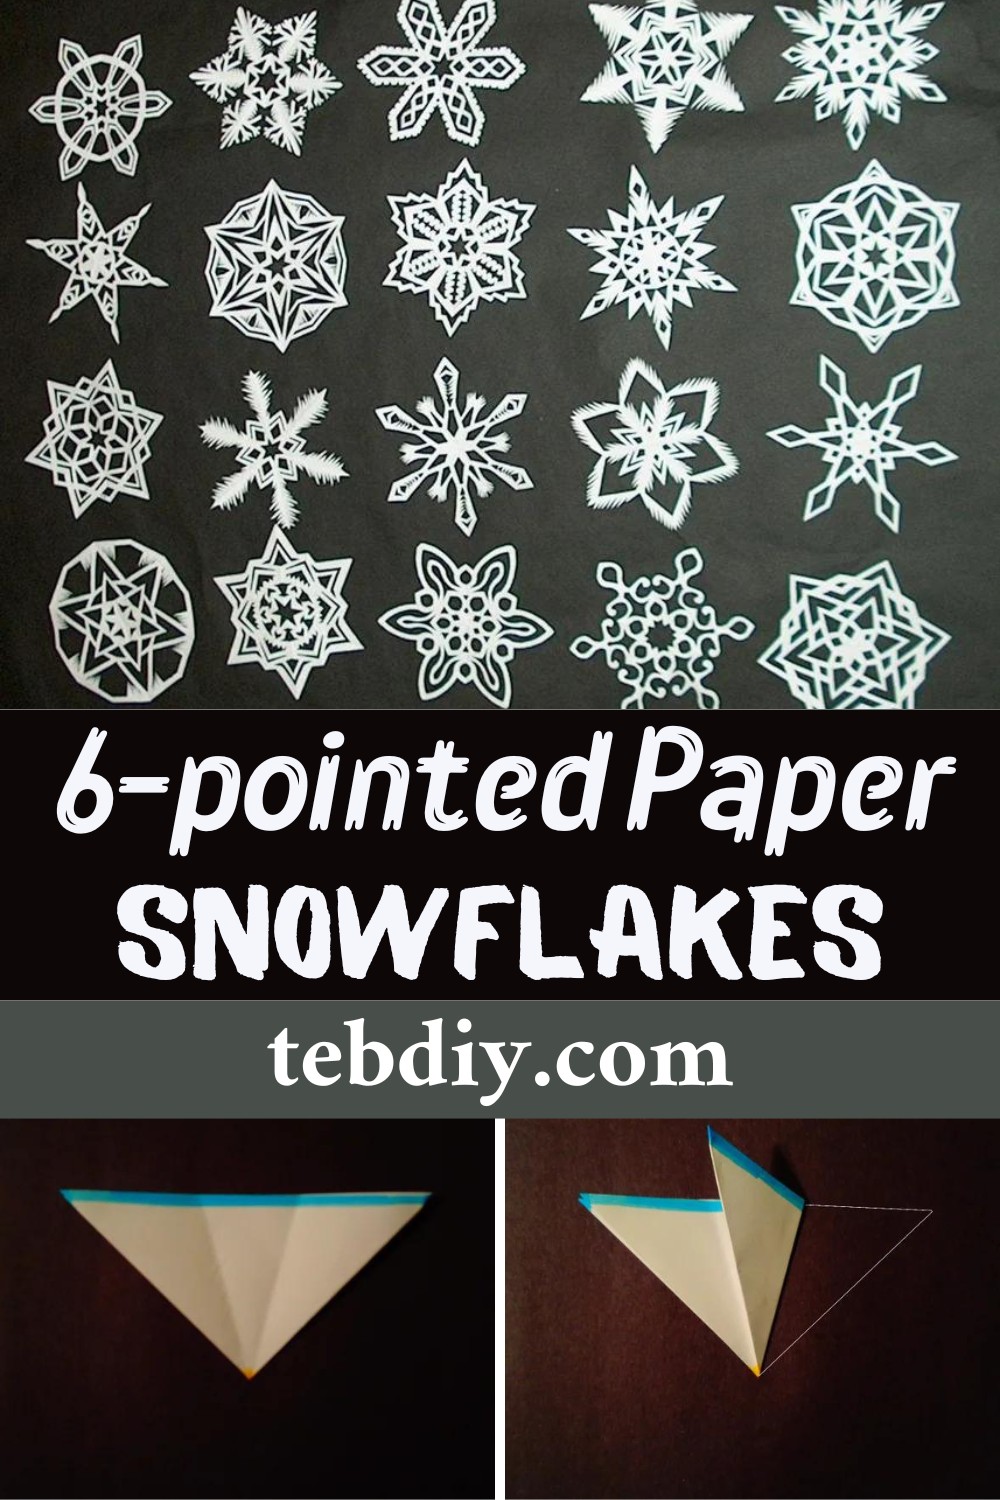
Paper snowflakes are like magic something as delicate and pretty as the real thing! Each snowflake is unique, and that’s what makes making them so special. You’re the artist, and with a few small changes, you can make all sorts of different designs, from simple stars to complex icy patterns. Whether you string them up for a snowy party decoration or stick them on your windows to celebrate winter, these 6-pointed paper wonders are a cool way to make any place look a little more joyful and wintry.
Making Your 6-pointed Paper Snowflakes
Materials:
- Paper (Plain white copy paper is suggested, but you can also use fancy or wrapping paper if preferred.)
- Scissors (Sharp scissors are recommended; some may choose to use an X-acto knife for more delicate work.)
Optional:
- Protractor (if you want precise angles)
- Ruler or something with a straight edge (for initial square cut)
- Iron and two pieces of plain paper (to flatten snowflake afterward)
- Double-sided tape (for attaching snowflakes to surfaces or windows)
Step-by-step Procedure
Step 1: Start With a Square
- Begin with a square piece of paper. If you’re using standard 8.5″x11″ copy paper, fold one corner down to form an isosceles triangle and trim off the excess paper at the bottom to create a square. Optionally, you can cut the paper in half to make two squares for smaller snowflakes.
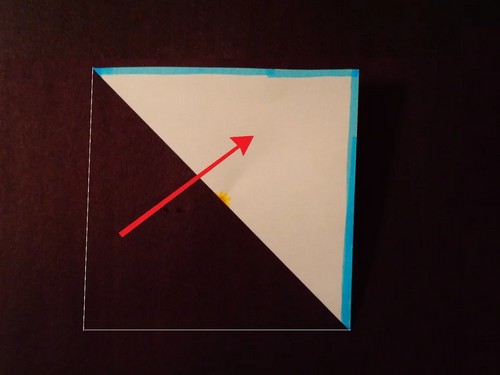
Step 2: Fold in Half Diagonally
- Fold the square of paper diagonally to make a triangle. A helpful tip is to mark the center of the paper for reference.
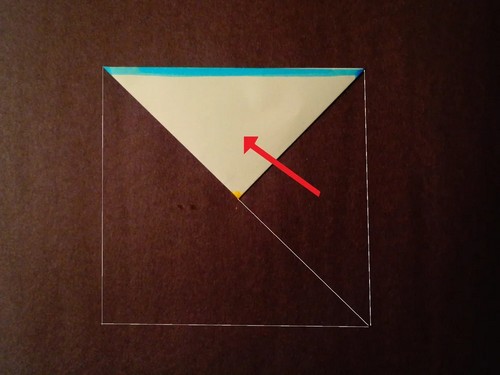
Step 3: Fold in Half Again
- Take the triangle from Step 2 and fold it in half again to form a smaller triangle.
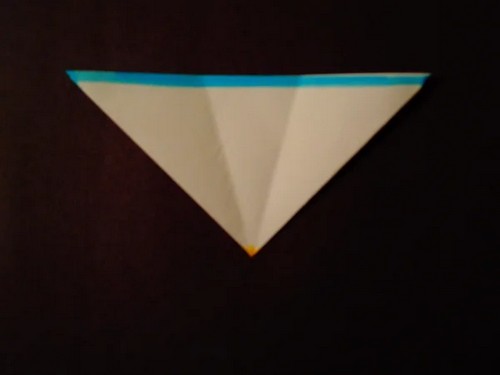
Step 4: Fold One Third
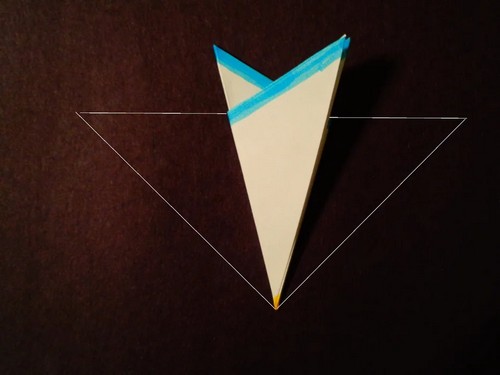
- Imagine your triangle divided into three equal parts. Fold the right third over. This might take estimating, but for precision, each third should ideally form a 30-degree angle.
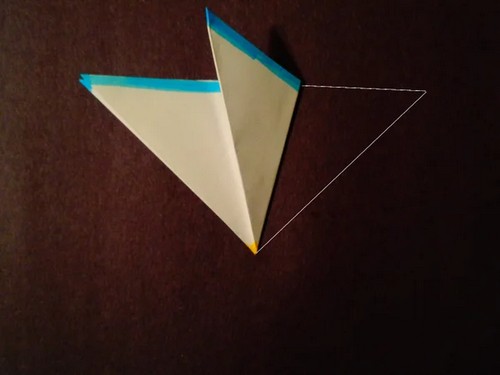
Step 5: Fold Again
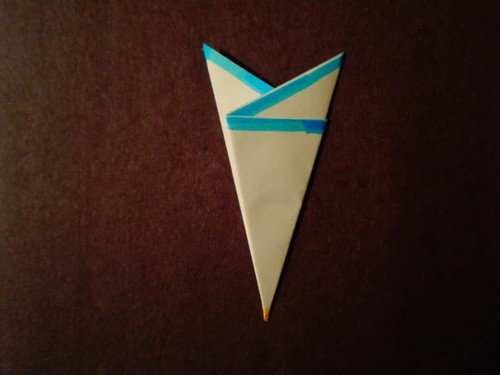
- Now, fold the left “third” over, trying to align all folds as closely as possible for symmetry.
Step 6: Cut the “top” Off at an Angle
- Flip the folded paper to see the back. Cut the top off at an angle – this defines the pointiness of your snowflake’s arms. Ensure all layers are cut equally for a balanced look.
Step 7: Shape It!
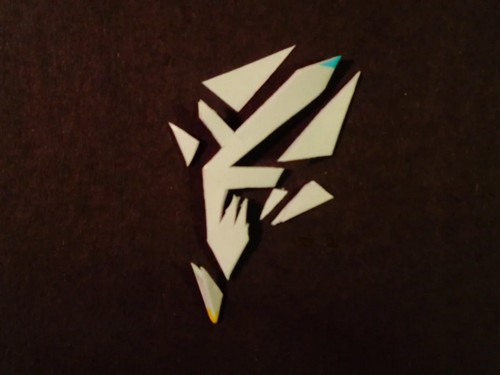
- Here’s where creativity comes in! Start cutting away from the sides into the folded paper. You can begin with simple designs like triangles and then experiment with other shapes. Remember not to cut entirely through from one side to the other to avoid splitting the snowflake.
Step 8: Unfold to Reveal!
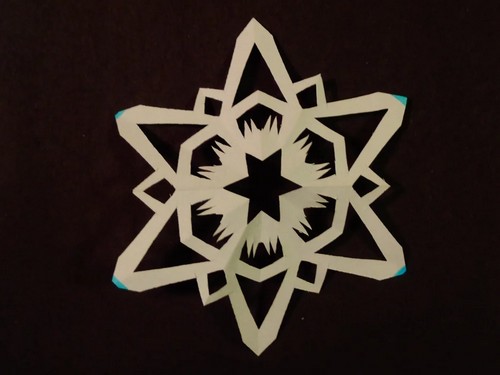
- Carefully unfold the paper to reveal your snowflake. For a flatter snowflake, you can press it inside a book or lightly iron it between two sheets of plain paper (no steam and let it cool before handling).
Additional Tips:
- Keep scissors sharp and hands clean for the best outcome.
- Use materials that suit your preference. Tracing paper and an X-acto knife can be used for more intricate designs.
- Practice makes perfect, especially for estimating thirds in Steps 4 and 5.
- Creative cutting in Step 7 leaves a unique design – avoid leaving large areas uncut for the most delicate results.
- To hang or stick your snowflakes, consider double-sided tape or threads for a floating effect.
Decorating and Enjoying Your Snowflakes:
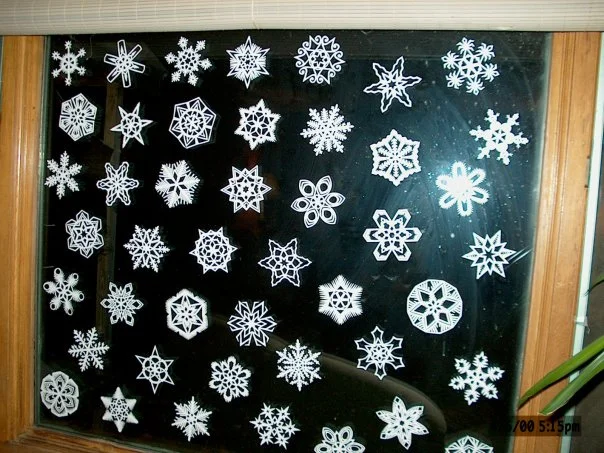
- These snowflakes can adorn windows, hang from ceilings, or even decorate gifts. Using different types of paper or adding sparkles can give them an extra touch.

Leave a Reply