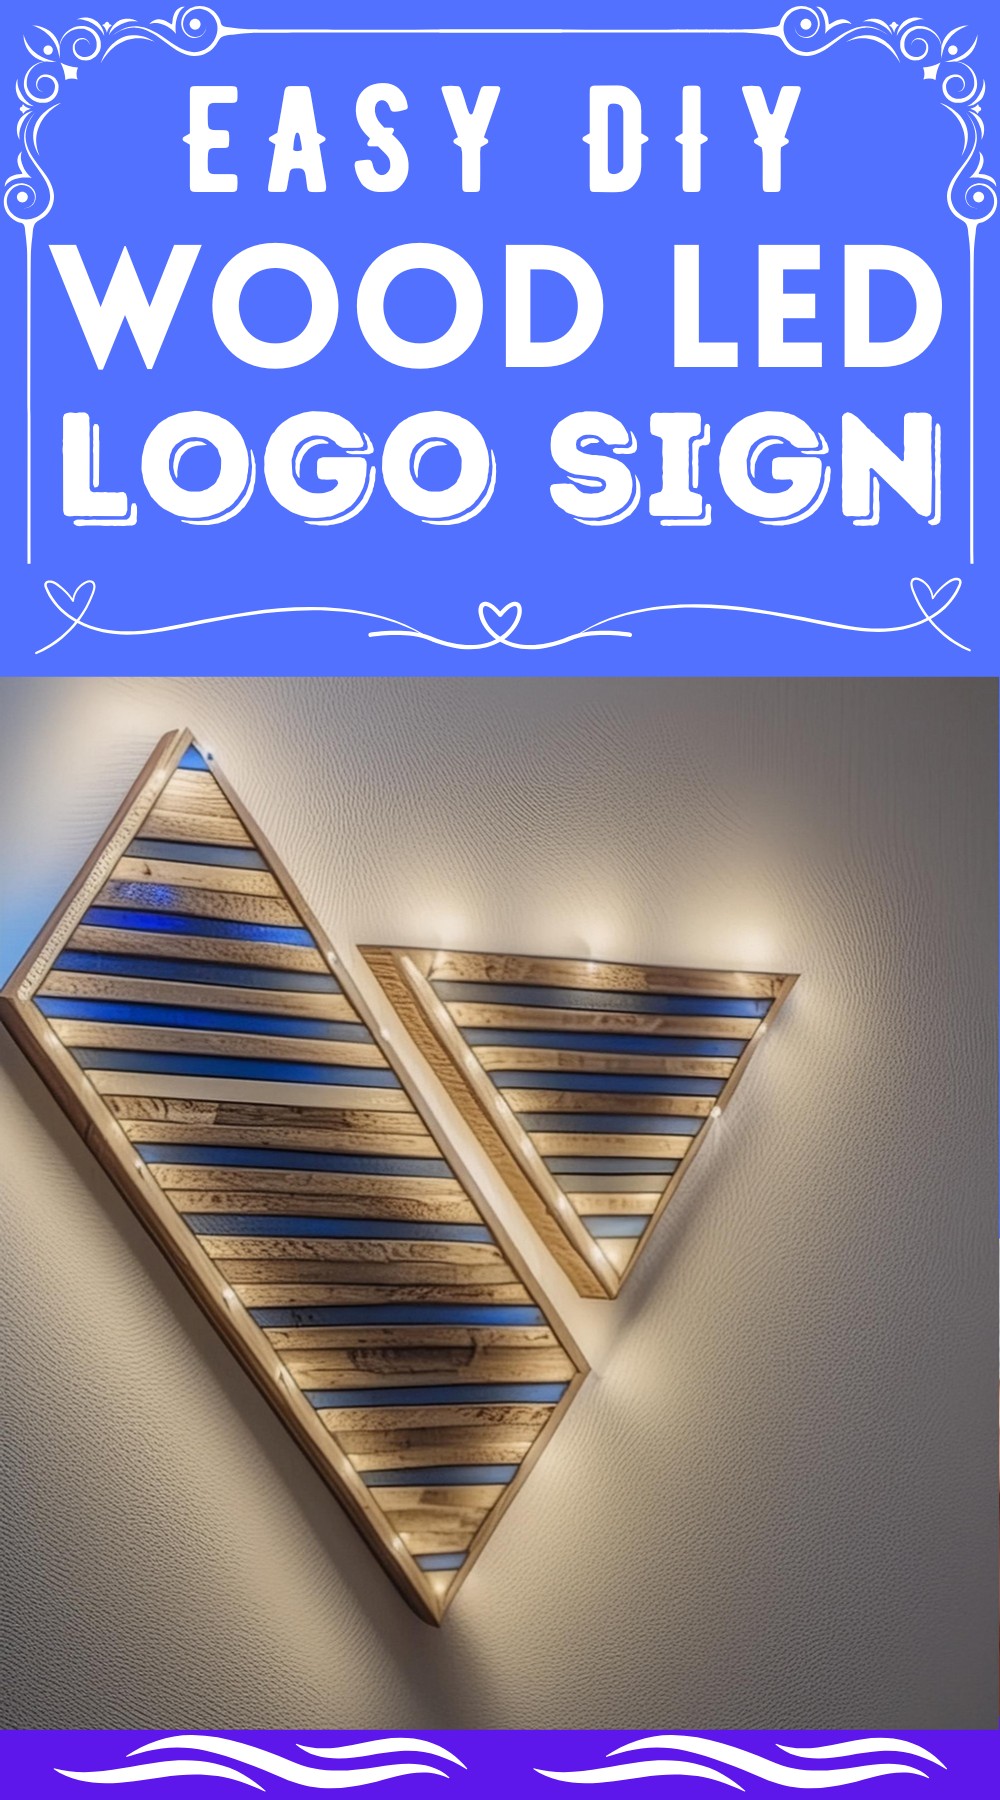
If you love creative projects, imagine making a shining logo sign out of wood and LED lights! This fun DIY Wood LED Logo Sign lets you craft a custom sign that glows, brightening up any space. With just a few basic materials, you can turn your favorite logo into an eye-catching piece of decor. It’s a perfect way to add a personal touch to your room or office, and it even comes with a cool feature – you can change the light’s color and brightness! Dive into this project to create something unique and glowy.

DIY Wood LED Logo

Materials Needed
- Old wooden pallets
- A 2×4 piece of lumber
- Scrap plywood
- LED tape (flexible)
- Carpenter’s glue
- Nails
- Caulk
- French cleat system
- Remote control for LEDs
Tools Required
- Jigsaw
- Jointer
- Table saw
- Brad nailer
- Router with a template bit
- Block plane
- Bench vise

Step-by-Step Guide
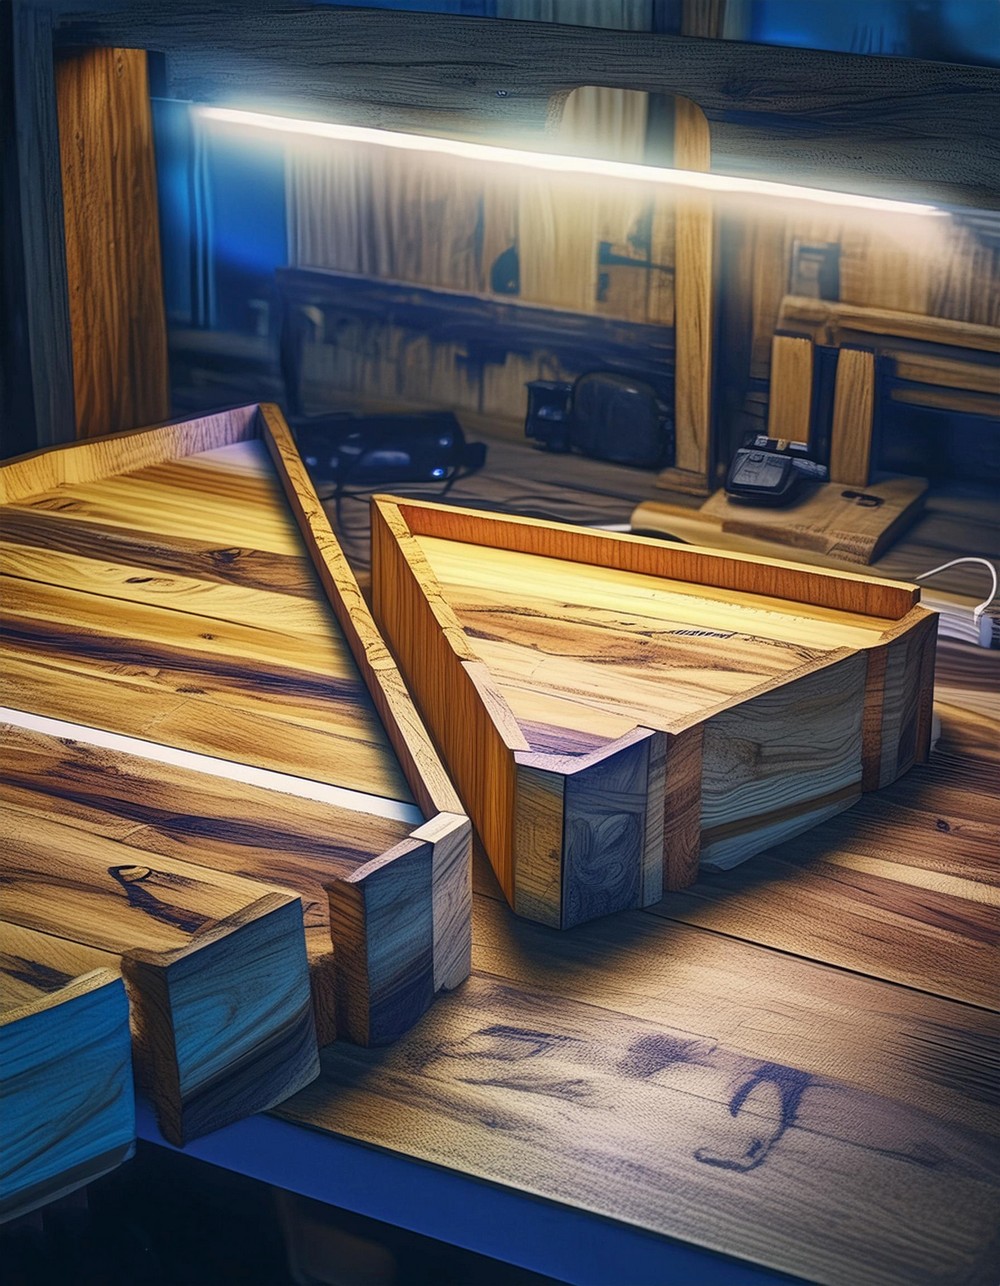
Constructing the Structure: Begin by defining the logo’s shape on plywood and employ a jigsaw for cutting. Utilize 2x4s between the plywood layers to impart a substantial thickness to the structure.
Crafting the Face: Choose pieces from the disassembled pallets, prioritizing color and condition. Flatten one edge of the pallet wood on the jointer, then slice it into thin strips with the table saw. Securely lock two structure pieces together for uniformity and glue the strips across before nailing them down. Once dry, separate them using a jigsaw.
Adding the Trim: For added depth, allow the trim slats on the sides to protrude slightly. Lift the structures about half an inch while gluing and nailing the trim in place. Mold each piece around the curves by hand, utilizing a block plane and bench vise for accurate shaping.
Preparing the Back: Ensure the sign floats half an inch off the wall by constructing a backing that doubles as a track for the LED strip. Apply caulk around the trim’s lip on the back to prevent light seepage. Use a French cleat for simple hanging.
Installing the Lighting: Opt for flexible LED tape because of its affordability and ease of manipulation. Customize the length according to the sign and conceal the wiring through the wall. Employ the remote control for dynamic lighting effects, ensuring the IR sensor is discreet yet accessible.


Leave a Reply