
Enhance both your feline friend’s living space and your home décor with this stylish and functional DIY Cat House Side Table Project. This versatile furniture piece made from our easy-to-follow build plans not only offers a snug hideaway for your cat but also serves as a chic side table, adding a creative touch to any room.

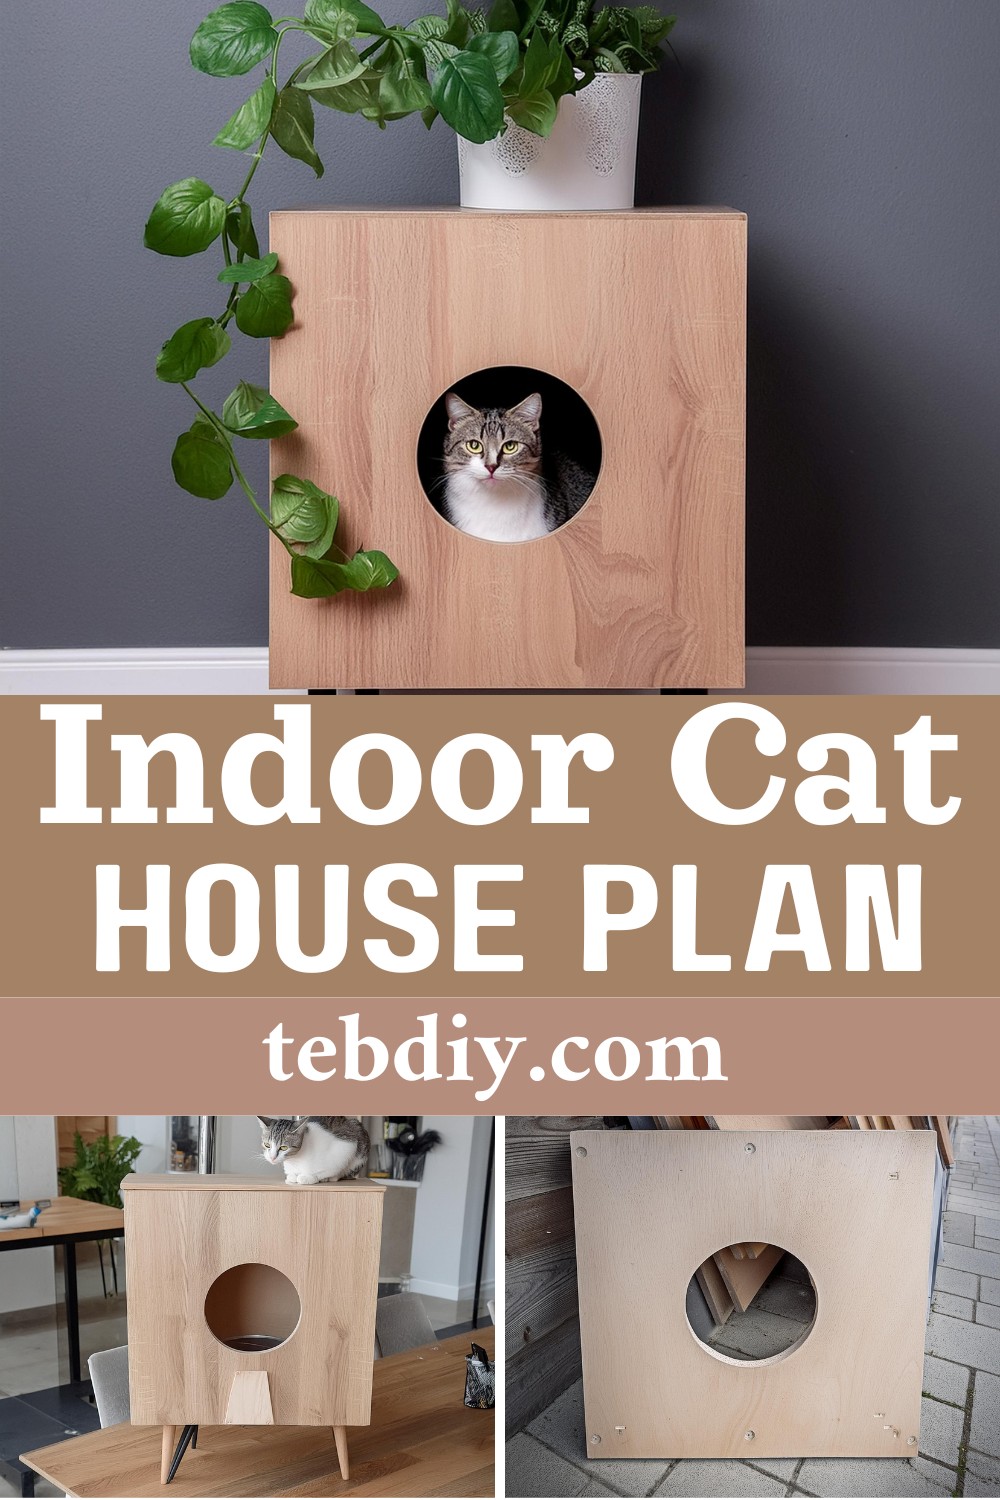
DIY Indoor Cat House Plan
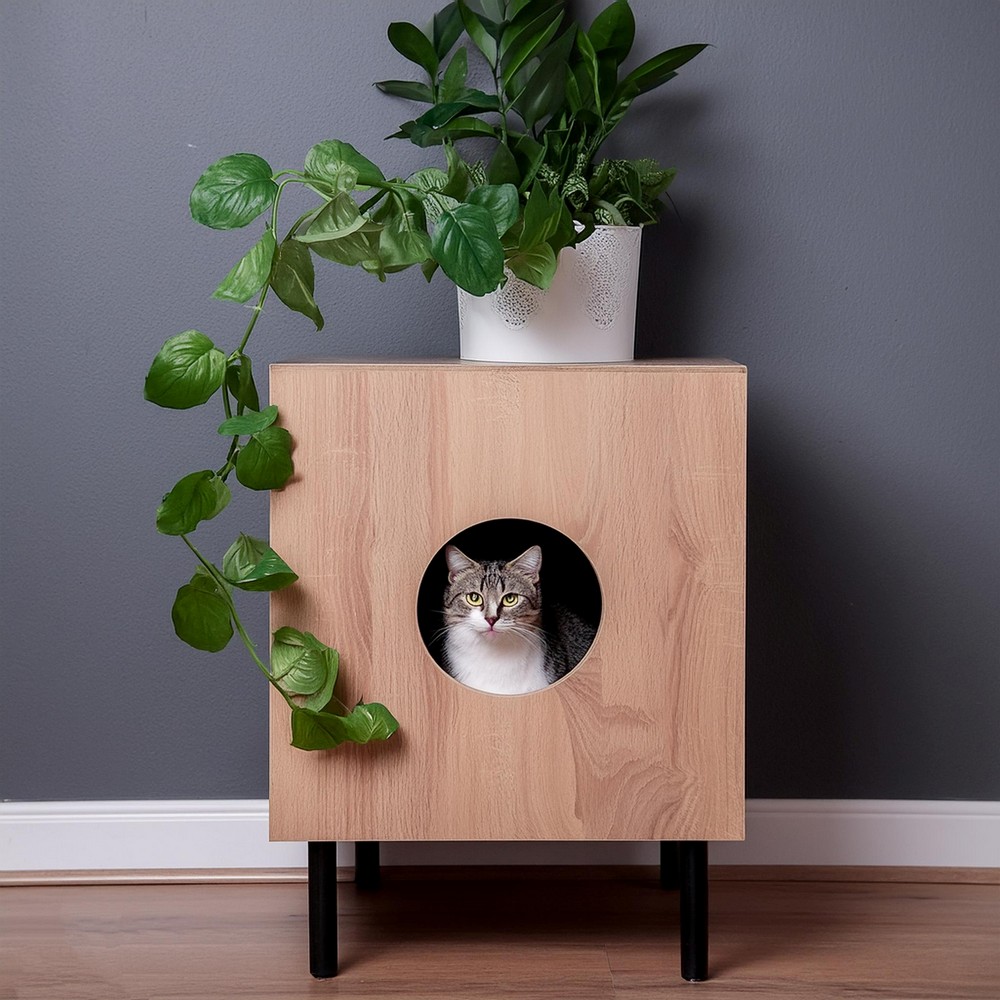
The addition of hairpin legs brings an element of mid-century modern charm to the table. These legs elevate the design, not only literally by lifting the table off the ground but also stylistically, by adding a sleek and retro vibe. The use of 3/4″ wood screws ensures that the legs are firmly attached, and function seamlessly. The simplicity of its structure does not take up unnecessary space, making it a perfect fit for any room, whether that’s a cozy corner in your living space or beside a Murphy bed in a multifunctional room.
Materials Needed
- PureBond plywood
- Pocket hole bit and pocket hole screws
- Beacon Adhesives Timber-Grip glue
- 220-grit sandpaper
- Hole saw and appropriate bit
- Tack cloth
- Minwax stain in Pickled Oak and rag
- Varathane water-based polyurethane in matte and brush
- Hairpin legs and 3/4″ wood screws
Tools Used
- Table saw
- Miter saw
- Orbital sander
- KregJig K4
- Drill
- Finish nailer
Steps to Create Your Cat House Side Table
Prepping the Plywood:
Use your table saw to cut your plywood pieces according to your desired measurements. After cutting, lighten the natural roughness of the plywood with your 220-grit sandpaper using your orbital sander. Apply your KregJig to drill pocket holes as needed.
Assembling the Base
Secure the bottom plywood piece to your workspace using clamps. Utilize pocket hole screws to attach one of the side pieces. For added strength, apply a strip of Timber-Grip wood glue before you attach the plywood piece. Repeat this step for the opposite side.
Constructing the Cat House Body:
Flip the U-shaped plywood structure from the previous step around and use pocket hole screws and wood glue to affix the top piece. You’ll end up with a box with two open sides.
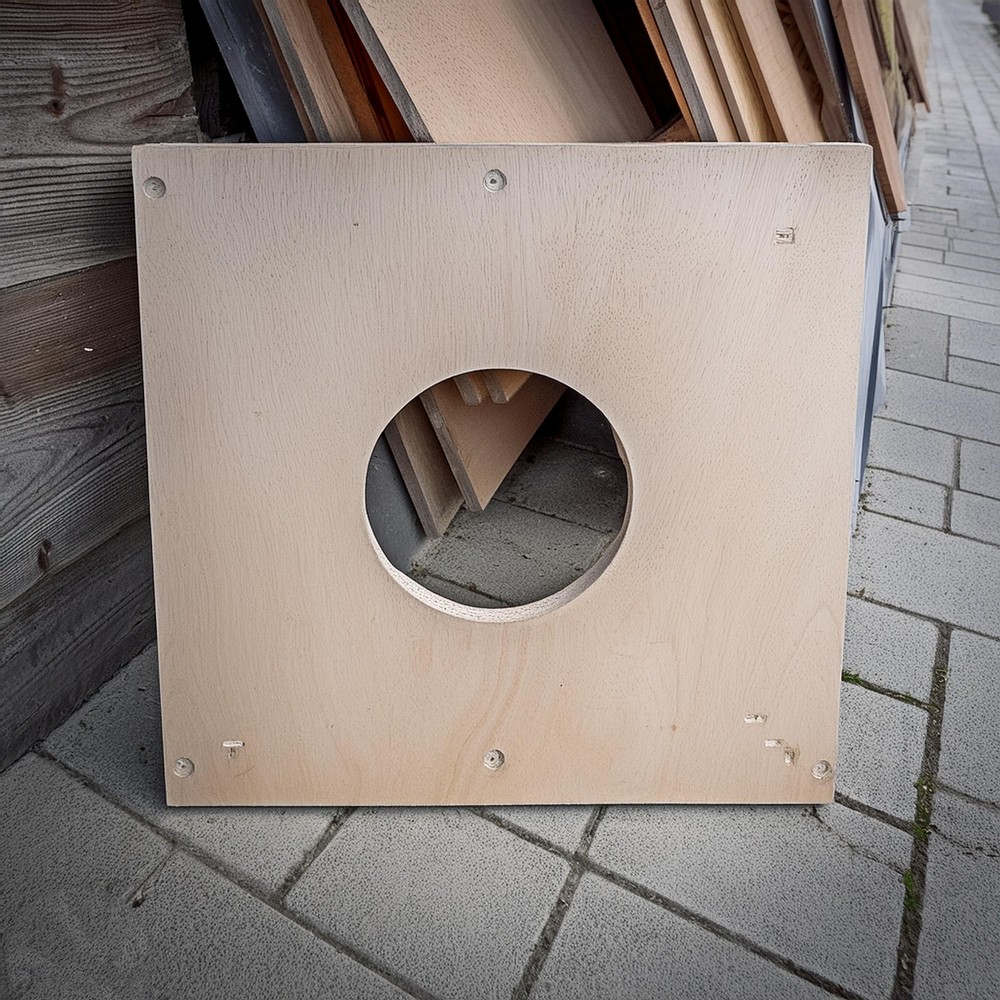
Crafting the Entrance:
Use your hole saw attachment to drill a hole through the front plywood piece. Smooth any rough edges with your sandpaper. Position this piece face down on your workspace, apply a thin layer of wood glue along the edges and set the box down on it. Secure it with pocket hole screws.
Securing the Back Piece:
Apply Timber-Grip wood glue along all four edges of your constructed box and place the last plywood piece (the back) on top of it. Use your finish nailer to secure the back in place.
Adding the Finishing Touches:

Fix your hairpin legs to the bottom of the box using 3/4″ wood screws. Clean your new cat house with a tack cloth, apply the Pickled Oak Minwax stain, and finish with two coats of matte Varathane water-based polyurethane. There you have it, a chic side table that doubles as a cozy cat cave!
Leave a Reply