
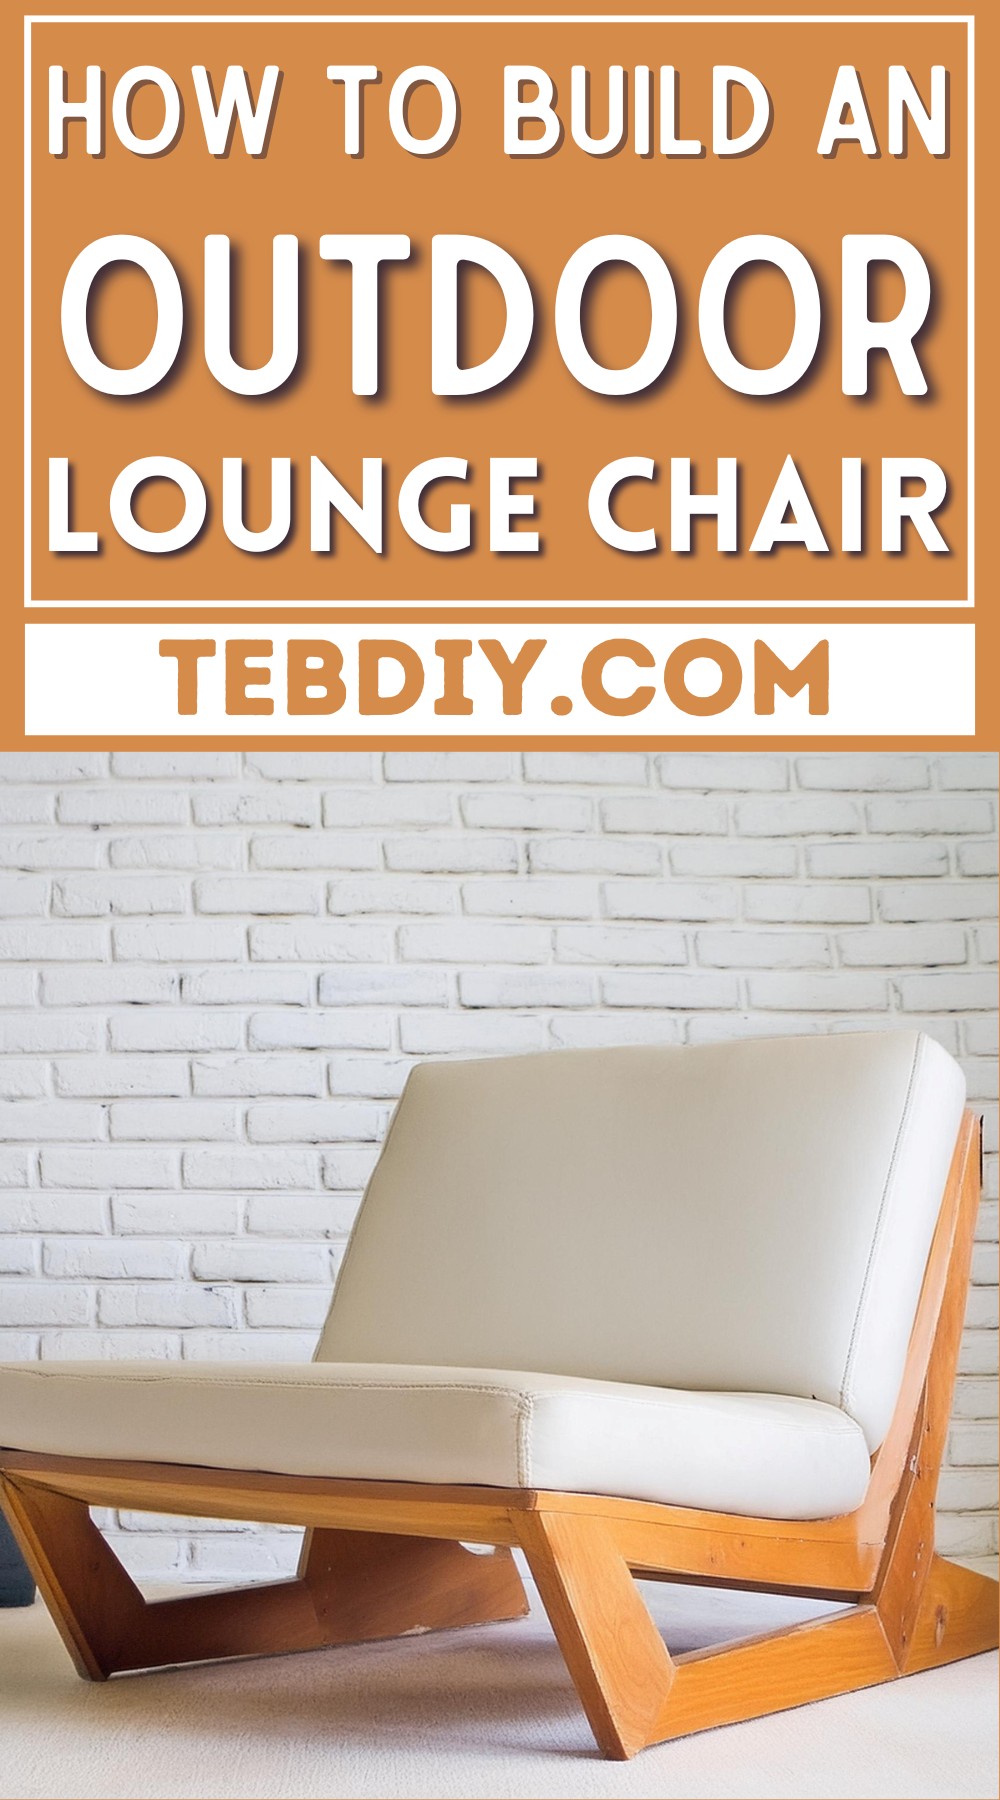
Try basking in the warmth of the sun, a book in one hand and a refreshing drink in the other, all while lounging on a chair you built with your own two hands. That’s not just a dream; today, we’re going to transform it into a reality. This isn’t just any chair as an example of diligence and design, a cedar outdoor lounge chair that promises to be the centerpiece of your backyard retreat. Cedar’s natural charm isn’t just its looks; this wood braves the elements like a seasoned outdoor voyager.

DIY Outdoor Lounge Chair

Materials:
- Cedar 2x4s for frame construction.
- Waterproof wood glue suitable for outdoor use.
- Furniture feet to protect the base from moisture.
- A mix of teak oil and spar urethane for finishing.
Tools:
- Circular saw
- Track Saw
- Miter Saw
- Table Saw
- Angle Gauge
- Clamps
- Pocket Hole Jig
- Forstner Bits
- Plug Cutter
- Flush Trim Saw

Step-by-Step Making Process
Cutting the Cedar Legs
The journey begins with transforming cedar 2x4s into the legs of your chair. You’ll precisely measure and cut two pieces for each of the three base components that make up the sturdy legs.
Crafting the Base Angles
Next is shaping the personality of the chair—its angles. With an angle gauge and a sense of determination, you’ll transfer the ideal angles to your cedar and use a track saw (or circular saw) to create clean, angular cuts.
Preparing the Seat Back Side Supports
Prepare for the seat back side supports with diligence. Employ half-lap joints for strength and aesthetics—cut with a circular saw, refined with a chisel to ensure a seamless fit.
Assembling the Base
Secretly unite the base parts with screws from underneath, pocket holes for middle parts, and recessed screws for outer connections—remember, waterproof glue is your ally through this endeavor.
Attaching the Seat Back Side Supports
Connect the prepped side supports to the base, caring to drill, recess, and clamp. Wood glue and screws will bond this crucial support into place.
Filling the Holes
With a cedar plug cutter at the ready, mask the screw recesses with cedar plugs. Slice them flush with your wood, honoring the grain for aesthetics.

Joining the Stretchers
Now, you’ll unite the structure with stretchers. Back stretcher joins with pocket holes, front stretcher with a clever angled cut, and the top stretcher in its simplicity—all with glue and screws.
Middle Seat Support Addition
For unbending support, a center seat brace is added. Cut, angle, recess, screw, and plug just as you have learned—creating a strong backbone for the slats to come.
Laying the Seat Slats
Cut the many cedar slats identically, and introduce them onto the chair with pocket holes, wood glue, and strategic spacing to construct the seat.
Affixing the Feet
Attach rubber furniture feet at the base; a small elevation to shield your crafted masterpiece from ground moisture.
Finishing Touches
Apply a bespoke outdoor finish—a concoction of teak oil and spar urethane. Coat, let sit, then wipe—twice over for durable protection against the whims of nature.
Completion
With the finish dried and the cushions in place, your newly crafted cedar lounge chair is ready to embrace the outdoors—and you.
Leave a Reply