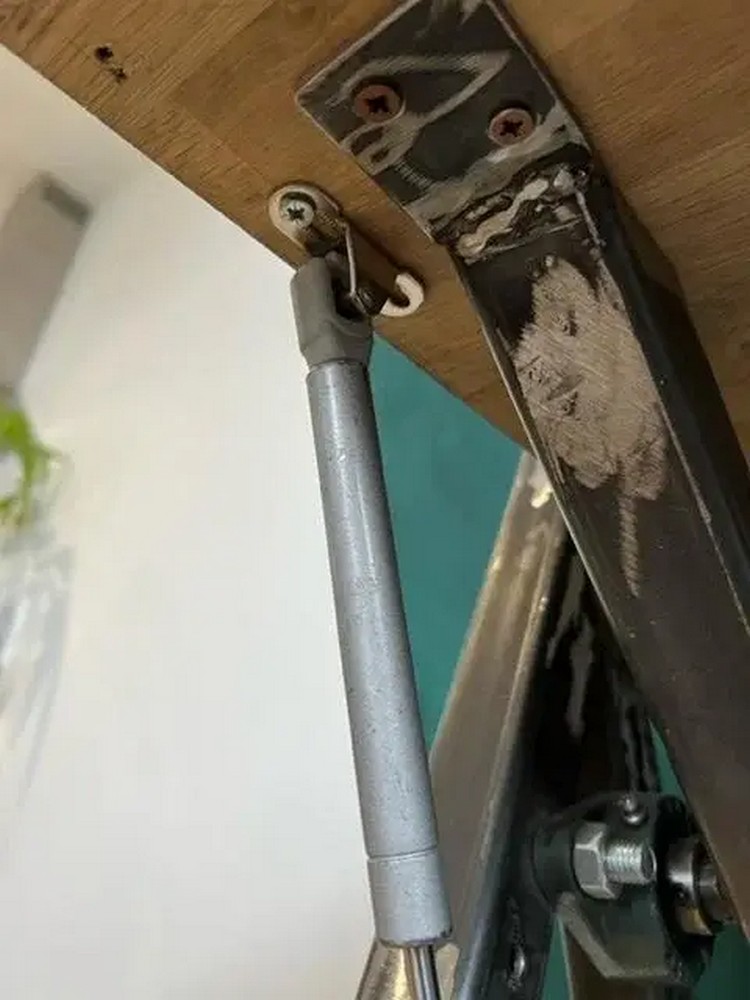
Transform your workspace with a piece of furniture that’s not just functional but also a statement of style and industrious elegance. This isn’t just any drawing or drafting table; it’s a journey into crafting something that stands the test of time, encouraging creativity and adaptability. As we delve into this project, keep in mind the three pillars that make it stand out: an industrial aesthetic, a solid, spacious work surface, and an adjustable design tailored to your ergonomic needs.
DIY Adjustable Drawing/Drafting Table Project

Materials List
For the Frame:
- 6 meters of 40x40x3mm mild steel box section
The Mechanism:
- Two flange bearing units with 20mm ID
- One 250mm gas strut
- Two 100mm, 20mm wide steel round bar
The Table Top:
- A 980x625x40mm solid Oak kitchen worktop offcut
Tools and Equipment
- CNC software (for design precision)
- Angle grinder (for cutting steel)
- Welder (for assembling the frame and mounts)
- Drill with M10 tap (for attaching bearings and mounts)
- Screwdriver (for securing the tabletop)
- Sandpaper (120grit and 240grit, for finishing touches)
Step-by-Step Guide
Fabricating the A-Frame Legs
- Design Precision: Utilize CNC software to digitally craft the leg designs, ensuring the precise angles required.
- Template Preparation: Apply printed templates to steel using a Pritt Stick for cut line guidance.
- Cutting and Preparing: With an angle grinder, meticulously cut along the marked lines, then clean and chamfer edges for optimal welding surfaces.
- Welding: Clamp, tack weld, check alignment, and then complete the welding around all edges. Finish by adding square caps to the leg bottoms and smoothing all welds.
Crafting the Table Top Mounts
- Measuring and Cutting: Scribe a 45-degree angle and cut 250mm segments to form a V shape.
- The Pivot: Weld a 100mm piece of 20mm round steel in the V corner as a pivot point.
- Final Touches: Extend caps at the ends of the V, drill two screw holes for tabletop attachment.

Assembling Bearings and Table Top
- Bearings Placement: Secure the bearings inside the A-frame top, drill, and tap M10 holes for mounting bolts, then weld bolts in place.
- Tabletop Attachment: Choose the best tabletop side, measure for mounts, screw the mounts to the underside, and grind screws flat if protruding.
Adding the Brace and the Gas Strut
- Stabilizing: Clamp and weld a brace between the front legs for stability and as a precautionary stop.
- Adjustability: Attach the gas strut at a calculated angle for easy adjustability without unwanted movement.

Finishing Touches and Potential Extras
- Polishing Up: Sand the tabletop for a smooth finish.
- Functional Design: Add a strip of wood on the tabletop as a rest for pencils, pens, or paper.
- Personalization: Consider painting the legs and drilling holes for additional tool storage.
Conclusion
This project not only offers a chance to create a bespoke piece of furniture but also invites you to tailor your workspace to your specific needs. The blend of industrial aesthetics with practical design makes this adjustable drawing/drafting table a quintessential addition to any creative space.


Leave a Reply