
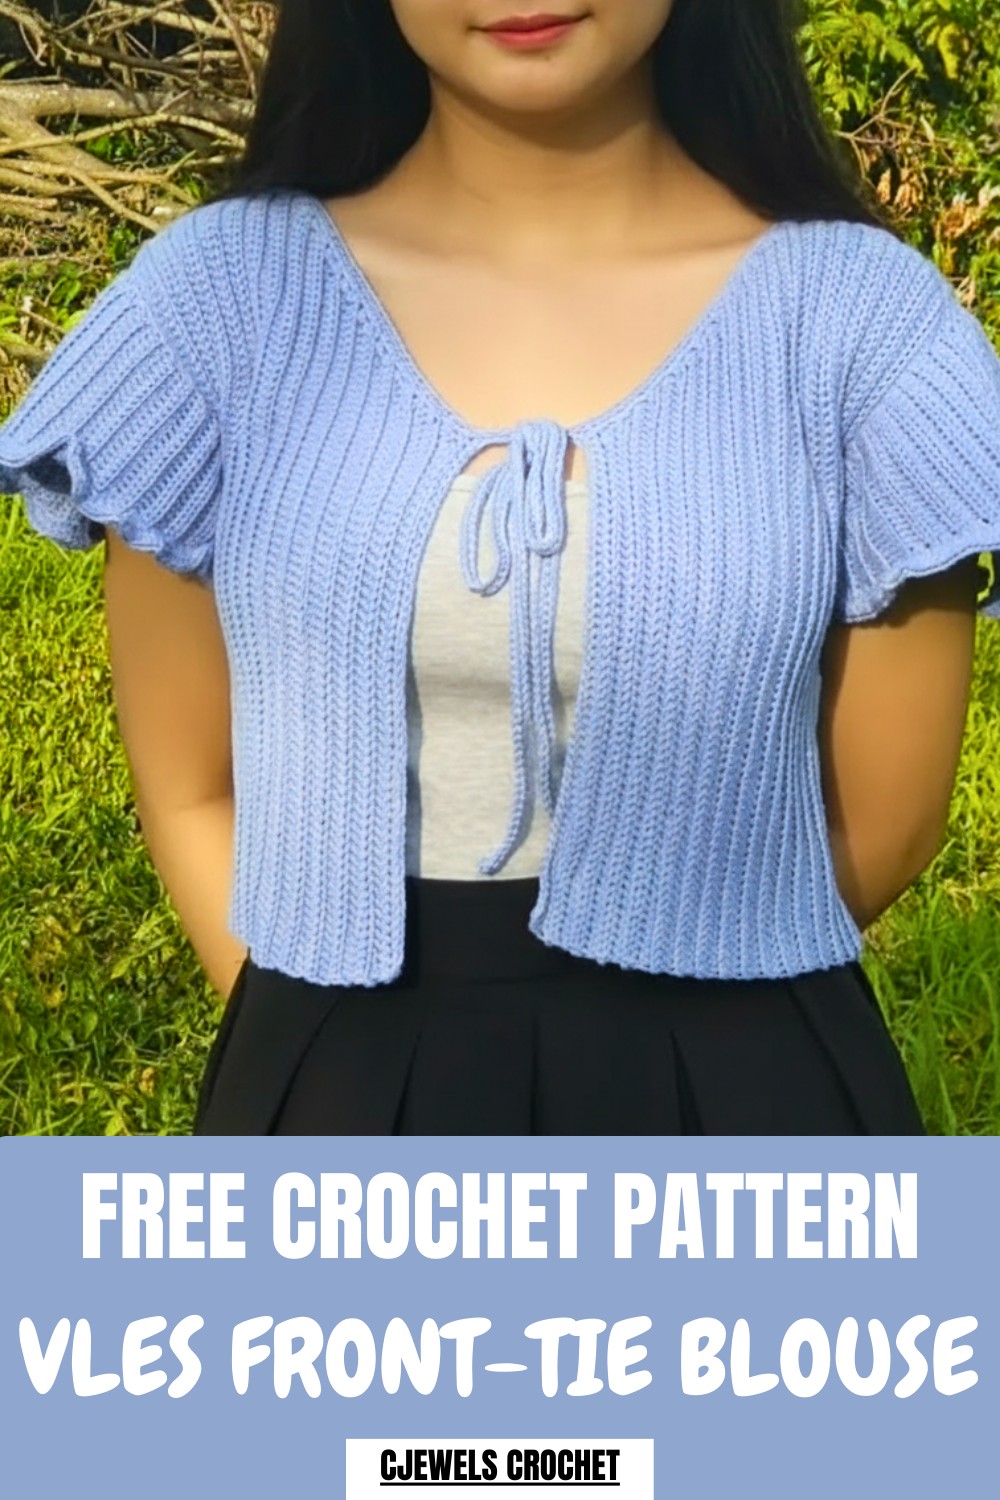
Let your wardrobe shine with this Free Crochet Vles Front-Tie Blouse Pattern offering easy instructions for a stylish blouse for any outing.
Imagine wrapping yourself in a soft cozy top that feels like a gentle hug and looks just as beautiful as a blooming garden. This blouse shines with its lovely V-shaped neckline and cute ribbon you can tie at the front making it perfect for showing a bit of style while feeling comfy all day. The Crochet Vles Front-Tie Blouse pattern is special because it is simple to make yet looks fancy enough for any outing or relaxing time at home.
Must-Try Vles Front-Tie Blouse Pattern for Crochet Lovers
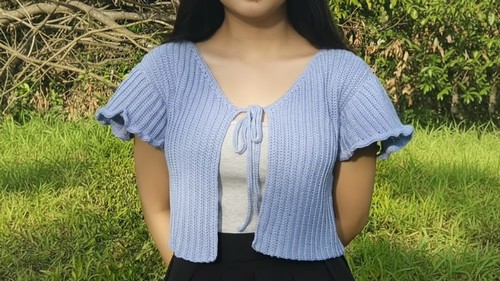
Its design lets the fresh air in so you feel cool and the front-tie feature means you can adjust it just the way you like it. Great for wearing over a dress with your favorite pants or even on its own this pattern brings out charm and grace. Many people love its light feel and how easy it is to wear making it a favorite for any wardrobe.
Rib Stitch Front Tie Blouse Free Crochet Pattern
Materials
- Yarn: Medium weight (Size 4) cotton or acrylic yarn
- Hook: 4.0 mm (adjust as needed for gauge)
- Stitch markers
- Scissors
- Tapestry needle (for weaving ends)
- Measuring tape
Key Abbreviations (US Terms)
- ch – chain
- sc – single crochet
- hdc – half double crochet
- sl st – slip stitch
- inc – increase (2 hdc in the same stitch)
- dec – decrease (hdc2tog)
- BLO – back loop only
- FO – fasten off
Special Notes
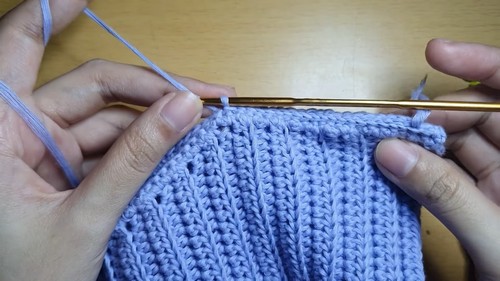
- All half double crochets after the first row are worked in the back loop only (BLO) to create ribbing.
- Measurements are approximate; adjust as needed for your size—chain length determines blouse length, rows determine width.
- Decreases shape the armhole/neck area; increases shape back panel.
- Place stitch markers to track shaping rows and sleeve openings.
- This pattern is for a two-panel construction (front and back), joined at the sides, with ribbed sleeves and front ties.
Pattern
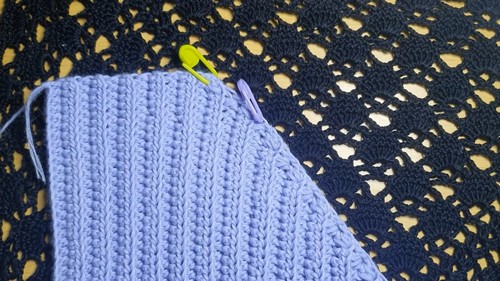
FRONT PANEL
1. Foundation & Ribbed Section
- Make a slip knot.
- Ch 90 (approx. 15″).
- Adjust chain length for your desired blouse length.
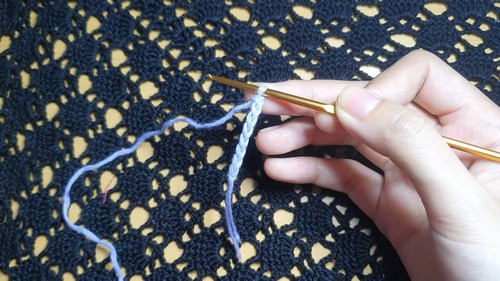
2. Row 1
- Ch 3 (counts as first hdc).
- hdc in 3rd ch from hook and in each remaining ch across. [90 hdc]
3. Row 2
- Ch 2, turn.
- hdc in BLO of each stitch across.
- [90 hdc BLO]
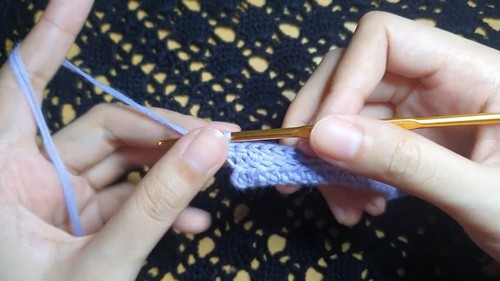
4. Rows 3–11
- Repeat Row 2.
- At the end of row 11, you should have approx. 2.5″ in ribbed height.
SHAPING WITH DECREASES
5. Rows 12–15 (1 decrease per row)
- Ch 2, turn.
- hdc2tog in BLO over first 2 stitches (decrease), hdc in BLO across.
- Row marker placement recommended.
6. Rows 16–30 (2 decreases per row)
- Ch 2, turn.
- hdc3tog in BLO over first 3 stitches (decrease), hdc in BLO across until 4 sts remain, hdc3tog in BLO over last 3 stitches, hdc in BLO in last stitch.
- Work 15 rows total with 2 decreases per row.

7. Row 31 (no decrease)
- Ch 2, turn.
- hdc in BLO across.
- This finishes the front panel. FO.
Make a second identical front panel.
BACK PANEL
Work as for front panel, but with shaping reversed (use increases instead of decreases for arm/neck shaping).
1. Foundation
- Ch 90 (same as front).
2. Row 1
- Ch 3, hdc in 3rd ch from hook and in each ch across.
3. Rows 2–29
- Ch 2, turn, hdc in BLO across.
- No increases or decreases; straight rows.
4. Increase Rows (for arm/neck shaping)
- From row 30 onward, where the front panel uses decreases, use increases instead:
- Ch 2, turn, hdc in BLO across until last 2 sts. inc (2 hdc in same st) in second to last stitch, hdc in last st.
- Work mirrored shaping to front panel; track rows with stitch markers.
5. Final Row (no increase)
- Ch 2, turn, hdc in BLO across. FO.
6. Second Back Panel
- Repeat for second half of back panel (if working in two pieces).
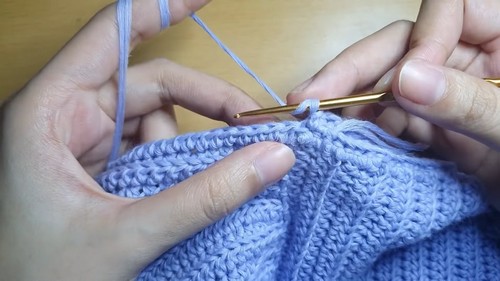
EDGING
Front & Back Panels:
- Attach yarn at top edge.
- Ch 1.
- Work 2 sc in each row end of hdc along top edge.
- Sl st, FO and weave ends.
JOINING PANELS
- Align front and back at edges.
- Slip stitch or sew sides together through the ribbed section (11 rows/no decrease), matching stitches carefully.
- Leave armhole space as desired (up to 6.5″ or as measured). Use stitch markers to mark end of seam.
- Repeat on other side.
SLEEVE (Repeat for both sides)
1. Attach yarn at side seam where sleeve will begin.
2. Chain 12 (for sleeve width), then chain 3 more.
- hdc in 3rd ch from hook, hdc in each ch across.
3. Row Ending
- Sl st into next stitch on body, sl st into following stitch.
- Turn, hdc in BLO across.
- Increase at second-to-last stitch: 2 hdc in same st
- Last stitch: hdc in both front and back loop.
4. Next Row
- Ch 2, turn, hdc in BLO across (no increase).
- Sl st into each of next 2 stitches on body.
5. Repeat increase row and no increase row alternately until sleeve reaches desired length (approx. 6.5″).**
- On decrease portion (for sleeve shaping): hdc2tog at start or end as needed.
6. When done, join sleeve edge using slip stitches, working around outer edge for a neat finish. FO.
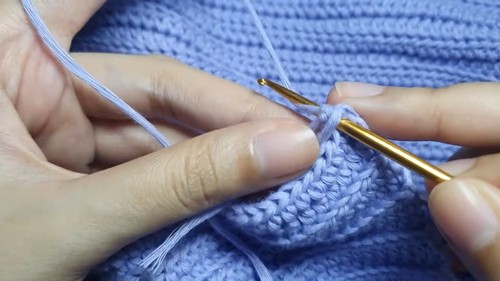
FRONT TIES
- Attach yarn at the front lower edge.
- Ch 100 (for desired length).
- Add three more ch; hdc in 3rd ch from hook, hdc in each ch across.
- Slip stitch into next stitch, continue sc across edge until you reach back panel.
- Repeat on other side for second tie.
- FO and weave in ends.
Conclusion
Your blouse is now ready! The ribbed stitches and strategic shaping create a flattering, fitted garment with attractive sleeves and tie detail. Adjust lengths and widths as needed for your body size, or add embellishments for a custom look.
Pattern Correction & Tips
- Adjust starting chain for length; add or subtract rib rows for width.
- Place stitch markers at shaping points (decreases/increases) and sleeve openings.
- To ensure neat joins, align stitches carefully and use slip stitches or whip stitch as preferred.
- Sleeves may be worked wider/narrower by adjusting chains.
- For best results, block finished pieces before joining.
Leave a Reply