
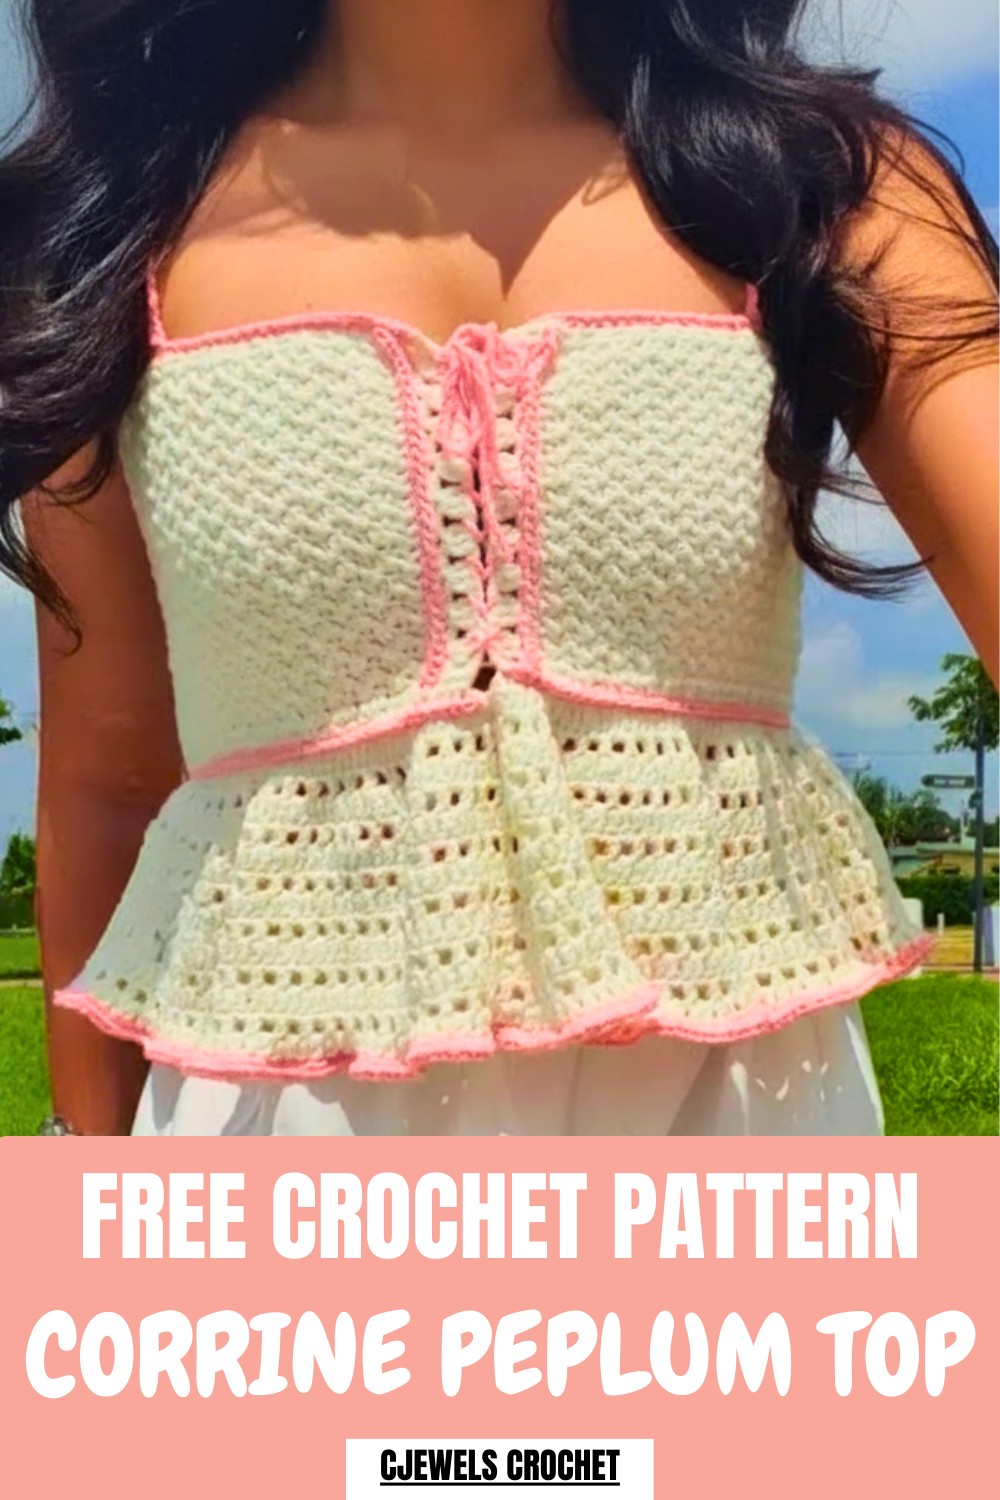
Show your style with this Free Crochet Corrine Peplum Top Pattern that adds sweet flair to your wardrobe and fits perfectly for any outing.
Beautiful clothes have a way of making you feel good and confident. Imagine wearing a soft top that gently fits your body and flares out at the waist making you look even more special. This Crochet Corrine Peplum Top pattern gives you the chance to create a lovely piece that is perfect for family gatherings walking outside or just relaxing at home. Its gentle peplum shape adds a touch of style while the lightweight design keeps you cool and free.
Free Crochet Corrine Peplum Top Pattern for Fashion
You can choose bright colors or calm shades to match your mood or the season. Soft stitches wrap you in comfort with each wear making this top both stylish and practical. Even if making clothes feels new this pattern is easy to follow and suits all sizes. Add beauty and joy to your daily outfits and enjoy wearing something you made with your own hands and heart.
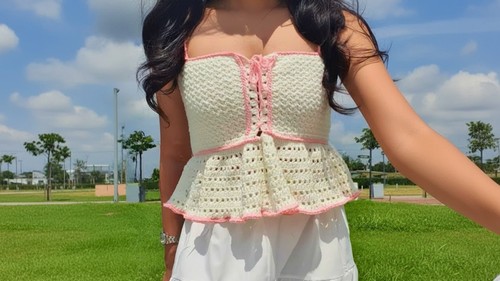
Korean Peplum Top Free Crochet Pattern
Materials
- Yarn: Light (Category 3) cotton or cotton-blend in two colors (Main/Contrast, e.g. white and pink)
- Hook: 3.5 mm or size to match yarn/gauge
- Scissors
- Stitch markers
- Tapestry needle (for weaving ends)
Key Abbreviations (US Terms)
- ch – chain
- sc – single crochet
- dc – double crochet
- hdc – half double crochet
- sl st – slip stitch
- BLO – back loop only
- FLO – front loop only
- st(s) – stitch(es)
- rep – repeat
Special Notes
- The top is worked flat in rows, then seamed.
- Adjust the chest panel row count to fit your bust measurement; try wrapping the fabric around your chest.
- All straps and trims can be customized in color and length.
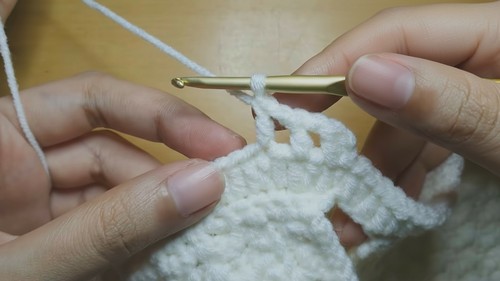
- Textured chest is created with alternating rows of sc & dc in same st.
Pattern
CHEST PANEL (make 1)
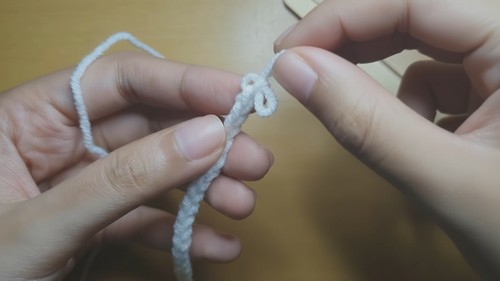
Step 1: Foundation
- Make a slip knot.
- Ch 31. (Adjust for your preferred top height.)
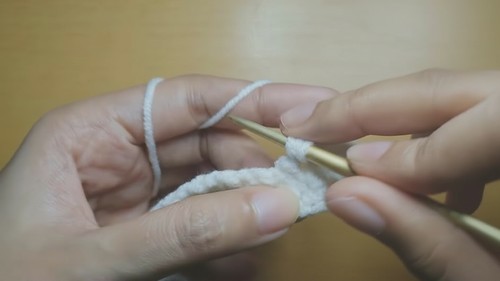
Step 2: Row 1
- Working in the back bump of each chain, sc in each ch across. [31 sc]
Step 3: Row 2 (Texture Row)
- Ch 1, turn.
- Hdc in first st.
- Skip next st. In following st: [sc, dc] in same st.
- Rep … across the row until 2 sts remain.
- Hdc in last st.
Step 4: All Texture Rows
- Ch 1, turn.
- Hdc in first st.
- Skip next st. [sc, dc] in the next st.
- Rep this pattern, always ending with hdc in last st.
- Repeat Row 2 for a total of 125 rows (or until panel wraps around your chest, unstretched).
- Each row begins and ends with hdc.
SIDE RUFFLE PANELS (make each side)
Step 5: First Side
- Ch 1, turn.
- Sc in each st across.
- Ch 1, turn.
- Sc in BLO across. (Front loops will be used for trim later.)
Ruffle Rows—First Side:
- Ch 2, turn.
- Row A: [dc in first st, skip 2, 3 dc in next st] across. Dc in last st if rem.
- Ch 1, turn.
- Sl st in each st across. FO.

Step 6: Repeat on the Other Side
- Attach yarn to first st on the short edge.
- Sc in BLO across.
- Work Ruffle Rows as above (Row A and slip stitches).

BOTTOM RUFFLE
Step 7: Ruffled Edge
- Attach yarn to raw (bottom) edge of panel.
- Sc in each row end across.
- Ch 1, turn.
- Sc in BLO across.
- Ch 2, turn.
- [dc in first st, 2 dc in next st] rep across (dc inc in every second st) for extra ruffle volume.
- Join with sl st.
- Ruffle Pattern Rounds:
- Rnd 1: Ch 2, dc in same st, ch 1, skip 1, dc in next st, rep around. Join with sl st.
- Rnd 2: Ch 2, dc in same st, 2 dc in ch-1 sp, dc in next dc, 1 dc in ch-1 sp… continue for expansion and fullness. Join.
- Rnd 3: Ch 3 (counts as dc, ch 1), skip 1, dc in next st, ch 1, etc., for mesh.
- Rnd 4: Ch 2, dc in each ch sp and on all dc (no increases), join.
- Add extra ruffle rounds as desired.
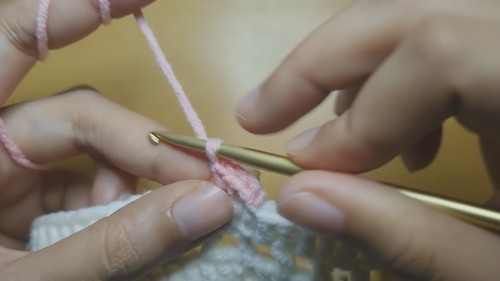
- Finish: Change to contrast color (e.g. pink), 2 sc in every st, join, then sl st, FO.
FRONT LOOP CONTRAST TRIM
- Insert hook in any exposed front loops of sc rows on sides and bottom.
- Attach contrast color.
- Ch 1, sc in every FLO around, sl st join, FO.
- Repeat on all panels with remaining unused front loops.
UPPER EDGING
- Attach yarn on top edge.
- Sc in every row end across for neatness; FO.
- Rep with pink if desired.
STRAPS (make 4)
- Try on the top and mark preferred strap locations with stitch markers.
- Attach contrast color yarn at first marker.
- Ch 100 (for longer bow, ch more).
- Sl st in second ch from hook, then sl st in each remaining ch down to base (for i-cord effect).
- Sl st into original attach st and next st for stability, FO.
- Repeat for remaining 3 straps.

Conclusion
This beautiful Korean peplum top features elegant texture and ruffles, is highly customizable, and finished with pretty contrast trims and i-cord tie straps for a delicate look.
Pattern Correction & Tips
- Slip stitch the straps for a tidy, strong i-cord; avoid sc (pattern correction).
- Always check fit at every stage, particularly after the main chest panel.
- Increases in the ruffle sections can be adjusted for desired fullness.
- Try blocking the finished garment for perfect drape and shape.
- Use a lighter yarn for a more flowy result or a heavier one for more structure.
Leave a Reply