
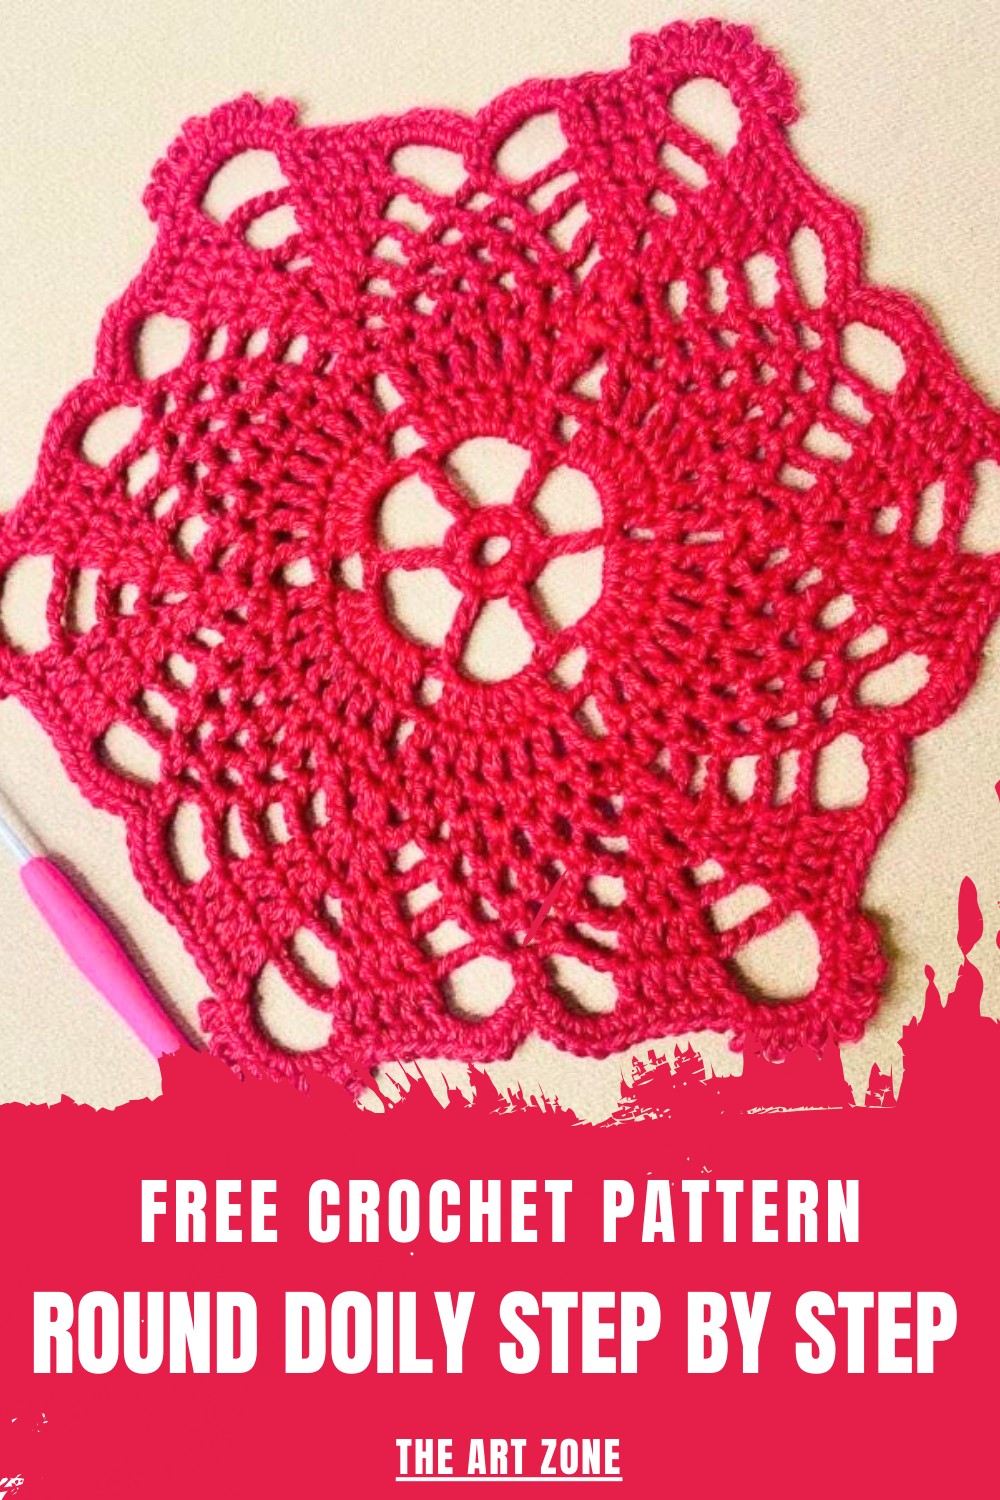
Learn to make a beautiful round doily with easy crochet pattern that anyone can follow, perfect for decorating your home or gifting to loved ones.
Crocheting a round doily is like making a beautiful piece of art with yarn. It can brighten up any room and make everyday objects look special. A crochet doily has a lovely circular shape and detailed designs that catch the eye. It is soft to touch and comes in many colors and sizes, so it can match any style. People use doilies to decorate tables, shelves, and even as gifts.
Free Crochet Round Doily Pattern – Step-by-Step Instructions
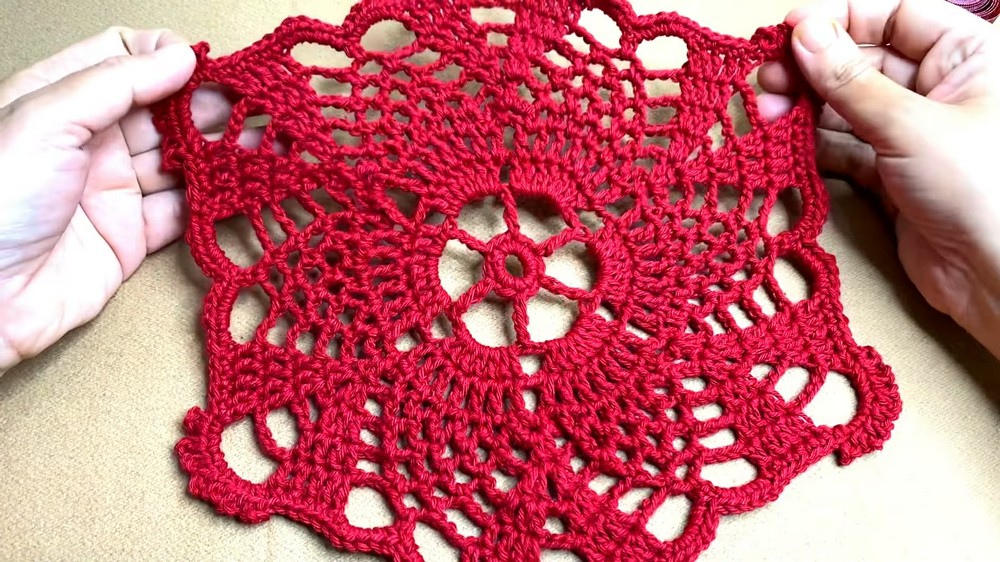
Making a doily is fun and can be a relaxing hobby. It can be simple for beginners or more detailed for those who enjoy a challenge. Once finished, the doily is a unique addition to any home, adding both beauty and charm. With a crochet pattern, anyone can create this delightful piece and enjoy a proud accomplishment in no time.
Crochet Round Doily Pattern
Materials
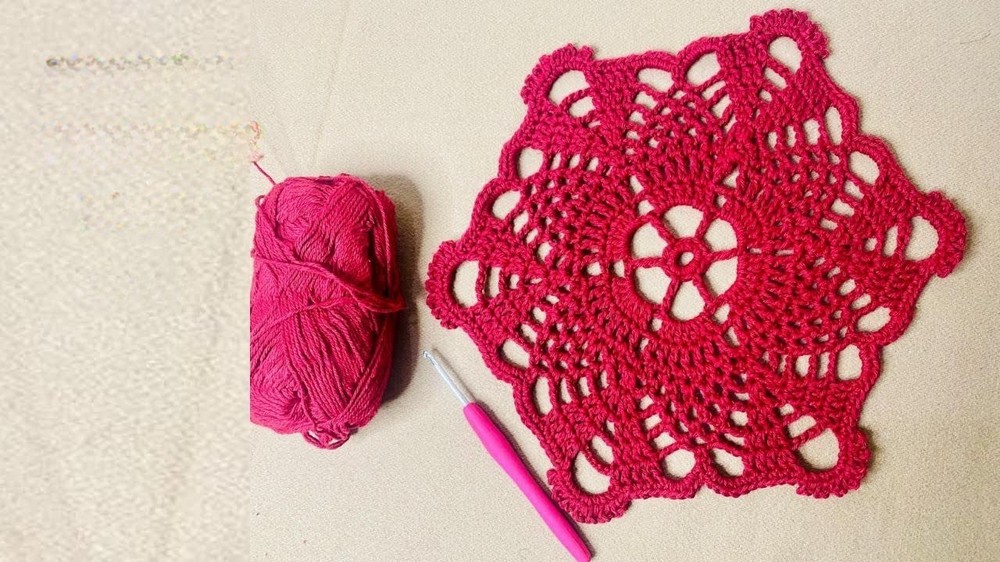
- Yarn: Lightweight #3 Cotton Yarn (recommended for a soft texture and durability).
- Crochet Hook: 3 mm crochet hook.
- Optional: Tapestry needle for weaving in ends, scissors, and stitch markers.
Skill Level
Beginner-friendly with repetitive patterns.
Special Techniques
- Picot Stitch (Picot): Chain 3, insert the hook into the last two loops, and make a slip stitch. This creates a looped decorative edge.
- Slip Stitch (sl st): Used to join rounds seamlessly.
- Triple Crochet (tr): Yarn over twice, insert into the stitch, draw up a loop, and pull through in groups of two loops until complete.
Pattern Details
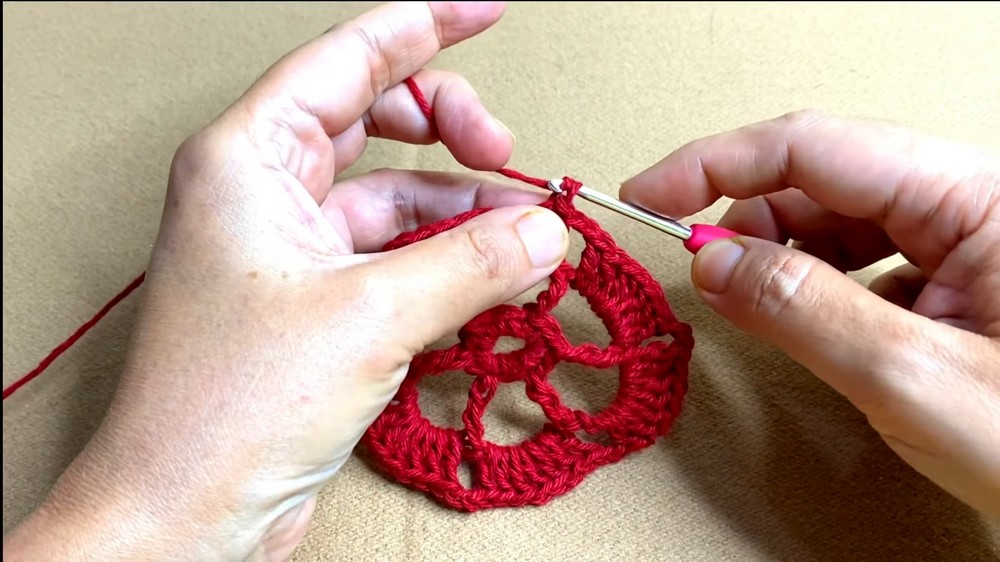
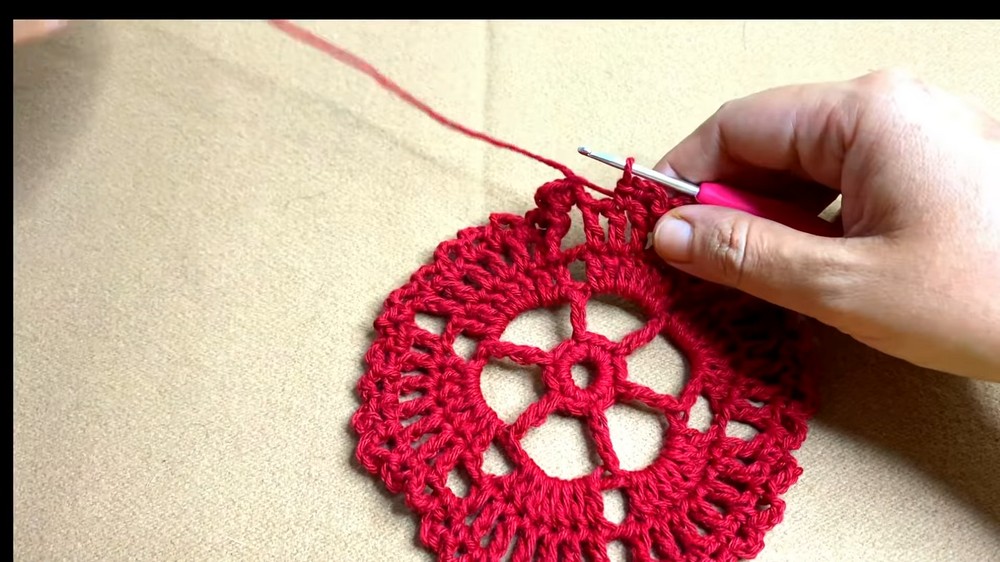
Step 1: The Center of the Joggy
- Foundation Ring:
- Start with a slip knot, then make 7 chains.
- Join to the first chain with a slip stitch, forming a circle.
- Round 1:
- Insert hook into the ring and make 12 single crochets (sc) inside the ring.
- Join to the first single crochet with a slip stitch.
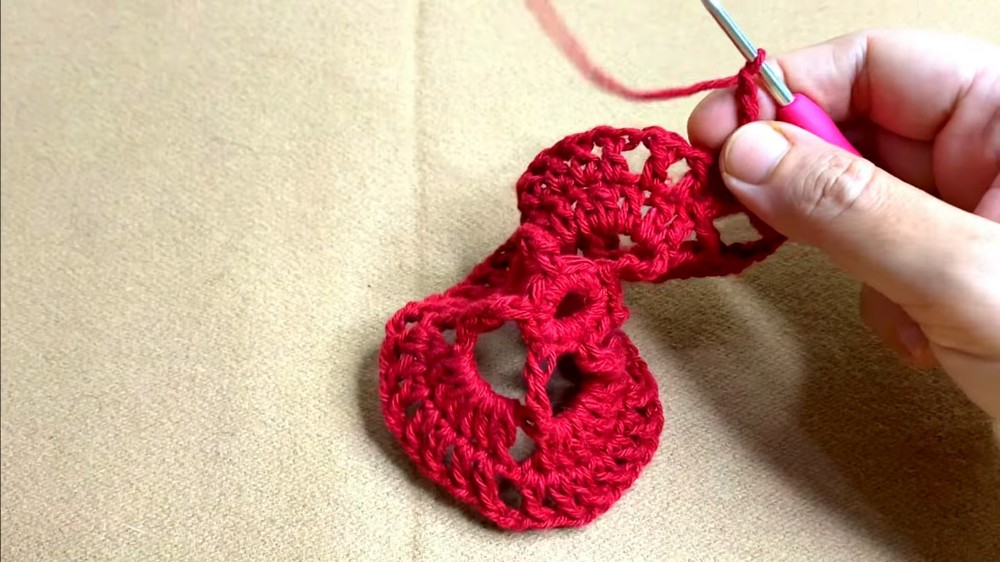
Step 2: Beginning the Design
Round 2:
- Start with 4 chains (this serves as the first triple crochet).
- Make 5 chains for chain spaces.
- Skip the next stitch and work a triple crochet (tr) into the following stitch.
- Continue the pattern of 5 chains + triple crochet (tr) until the round is completed.
- Join with a slip stitch at the top of the starting chain.
Round 3:
- Insert the hook into the first chain space and work:
- 1 sc + 2 chains (counts as the first double crochet).
- Work 6 more double crochets into the same chain space to create 7 double crochets in total per chain space.
- Chain 2 and repeat 7 double crochets per chain space around.
- Finish the round with chain 2 and join with a slip stitch to the top of the initial chain.
Round 4:
- Start with 3 chains (counts as the first double crochet).
- Add 1 chain to create chain spaces before each dc.
- For each group of 7 double crochets, work:
- Double crochet + chain in the tops of stitches until the last stitch in the group.
- Between groups, create 2 chains and repeat the above pattern.
- At the end of the round, join with a slip stitch.
Round 5:
- Begin with a single crochet, chain 3 in the first chain space.
- For the remaining chain spaces, work:
- Single crochet + chain 3 repeatedly.
- At the end of the round, join with a slip stitch into the first single crochet.
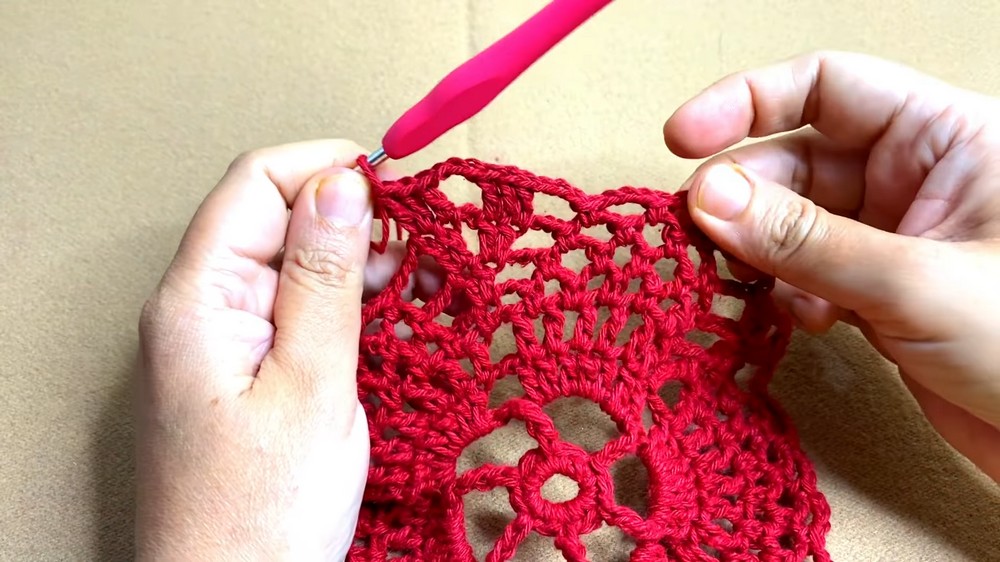
Step 3: Building Height
Round 6:
- Work double crochets with cluster increases:
- In the first double crochet, work 2 dc, and in the next stitches, increase as the pattern grows outward.
- Between large clusters, add 3 chains to separate groups.
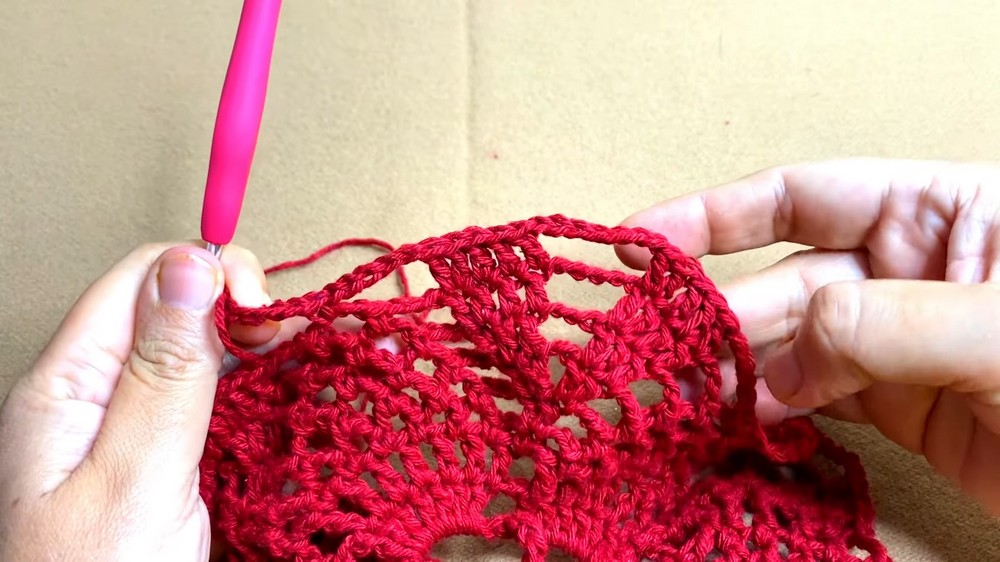
Round 7 to Round 10:
- Repeat the cluster-building process, steadily increasing chain spaces and double crochet groups.
- For decorative edges, add picot stitches on chain spaces.
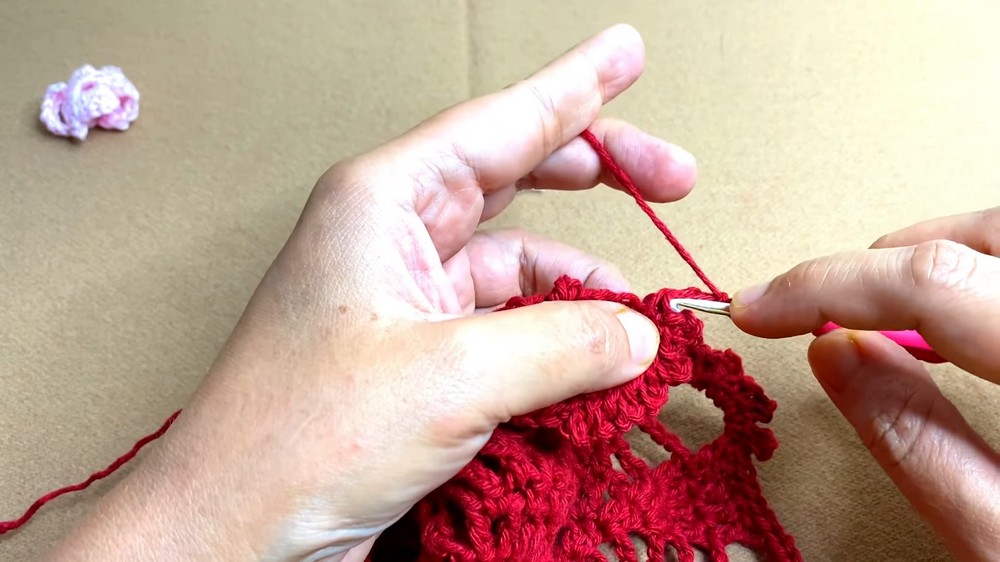
Step 4: Final Round with Edging
Final Edging Round:
- Into each chain space, work 6 single crochets to create a solid edge.
- For picot trim (if desired):
- After each single crochet group, add 3 chains and return to the stitch with a slip stitch to form the picot.
- Continue around the joggy, ensuring all chain spaces and double crochet stitches are equally edged.
Finishing
- Fasten off securely and weave in all loose ends using a tapestry needle.
- Block the joggy: Wet the finished piece lightly, shape it evenly, and allow it to dry flat for a polished look.
Final Words
This simple yet beautiful crochet joggy is ideal for beginners exploring new stitches. The gradual rounds allow for experimentation with chain spaces and decorative picots. With proper blocking, the texture and pattern will achieve a professional finish.
Tips for Maintaining the Joggy
- Wash Gently: Use mild detergent and hand wash to preserve its structure.
- Storage: Keep the joggy flat in a dry area to prevent creases.
- Experiment: Feel free to use different yarns for unique textures and sizes.
Leave a Reply