
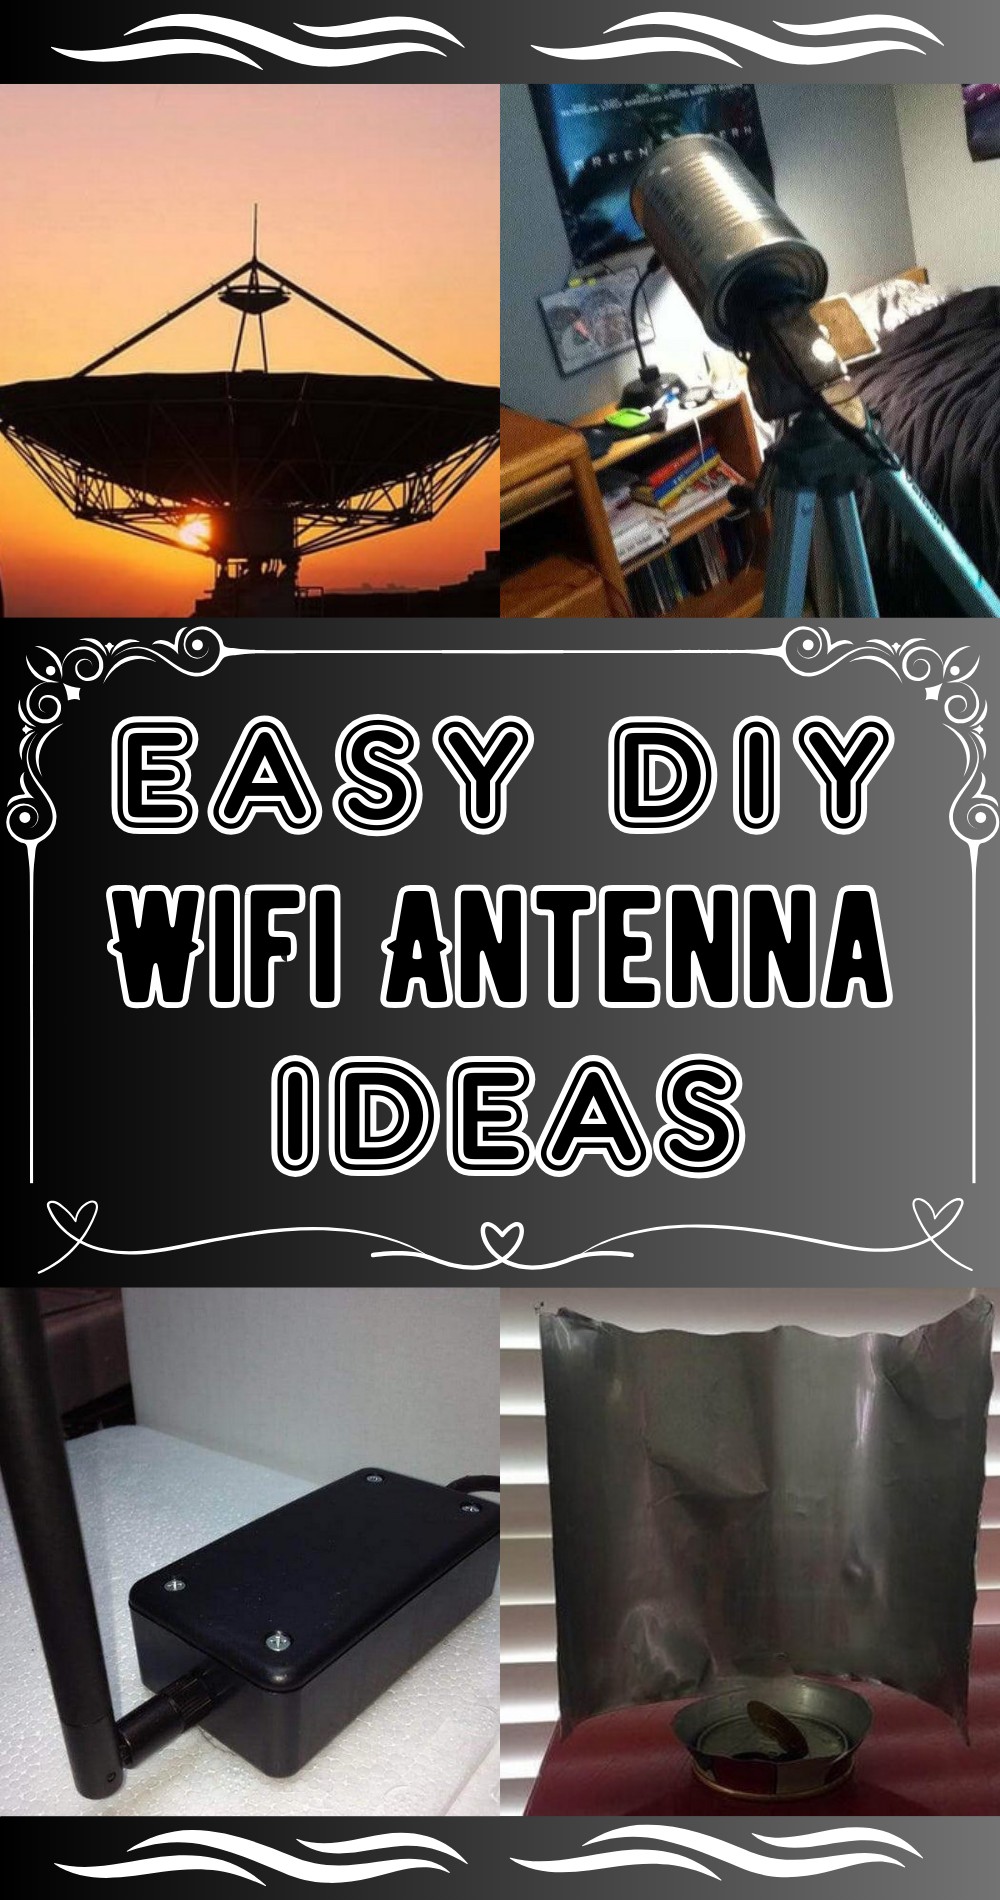
Explore our fun and handy guide on DIY wifi antenna ideas to let you know how much you enjoy testing new things around your house. We’ve brought together some easy-to-make DIY wifi antenna ideas that could help you grab those elusive wifi signals or even turn them into fun science projects. This engaging series will take you by the hand, showing you simple steps to create your very own wifi antenna. We’re sure that you’ll find these ideas handy and fun to try out. So why wait? Go through the given collection and select the best DIY wifi antenna project you want to make by yourself.
DIY Wifi Antenna
DIY Wifi Antenna
Uses: Whether you’re streaming your favorite shows, working from home, or researching the depths of the web, a DIY Wi-Fi antenna improves your wireless signal reception and often goes beyond the reach of typical routers. It’s a simple solution that creates a massive difference, ensuring no room in your house is a wifi-dead zone!
Materials:
A piece of wire (Approximately 1.2 meters)
Wire strippers
Soldering tools
A wifi adapter card
Making:
Although simple, the process requires precise steps! Beginning with straightening a wire, you move forward by cutting it into proper lengths. Half the wire forms a loop connecting to your wifi card, while the other half stands tall, catching signals from the environment. Connecting them together with the wifi card involves some soldering, ensuring a secure, stable connection. All these steps lead to a robust, signal-boosting DIY WiFi antenna.
DIY USB Wifi Antenna
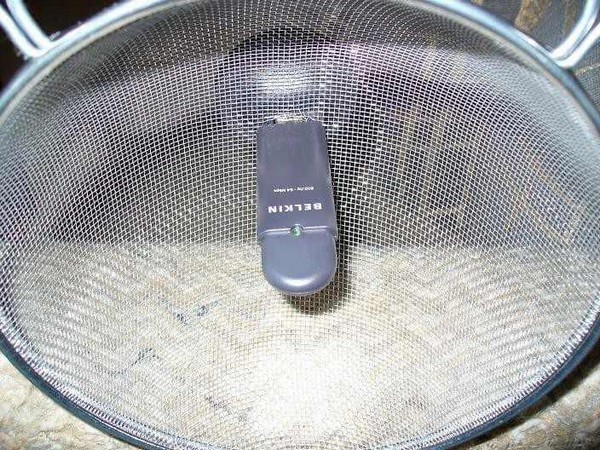
Uses: A DIY USB Wi-Fi antenna possesses an unmistakable charm, unlocking seamless connectivity with ease. For those moments when buffering circles on your screens become all too common, this antenna steps in as your savior, amplifying signals and banishing connectivity issues.
Materials:
USB Wifi adapter (Belkin Wireless G USB Adapter works well)
An 8-inch strainer
Drill or another tool to create a hole in the strainer
Making:
Putting together your own DIY USB Wi-Fi antenna begins with procuring a few basic items. The plan is simple – Start with a basic kitchen strainer, drill a neat hole and insert your USB Wifi adapter about halfway through for the best signal strength. Quite an adventure that wraps up quickly while delivering lasting connectivity improvements.
How To Make A Wifi Antenna
Uses: A homemade wifi antenna simplifies your digital life in extraordinary ways. It can serve as a temporary substitute in the event of losing an original antenna and boosts the range of wireless connections. A custom-made antenna helps you stay in sync with the digital world around you.
Materials:
Paper clip
Pen tube (around 12-18 mm)
Electrical tape
Lighter
Making:
The process of whipping up your Wi-Fi antenna can be a fun and enlightening journey. At the heart of this process is repurposing a paper clip, which transforms into a robust antenna. This voyage encompasses shaping the paper clip, encasing an insulated cover, and a seamless heat application. The outcome is a homemade antenna ready to boost wifi signals.
DIY Low Budget Wifi Antenna
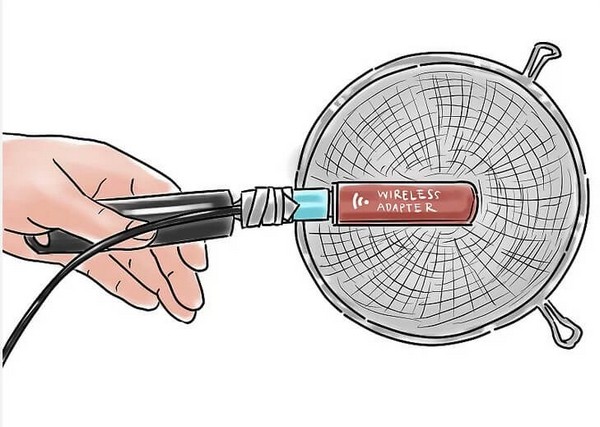
Uses: It amplifies weak wifi signals, offering seamless streaming, smoother video calls, and uninterrupted downloads. When every corner of your home becomes a spot with crystal clear Internet connectivity, the digital world is at your fingertips.
Materials:
USB Wi-Fi LAN adapter dongle
USB extension cable (Type A male to Type A female)
A mesh Sieve or other dish-shaped metal item
Making:
Creating a DIY low-budget Wi-Fi antenna is as easy as pie! It all starts with a USB wifi dongle, a common household kitchen strainer, and simple tools. Fix the dongle onto the strainer and connect it to your computer using a USB extension cable. Your antenna is almost ready! Aim it towards your wifi source and adjust until you find the perfect spot where the signal is strongest.
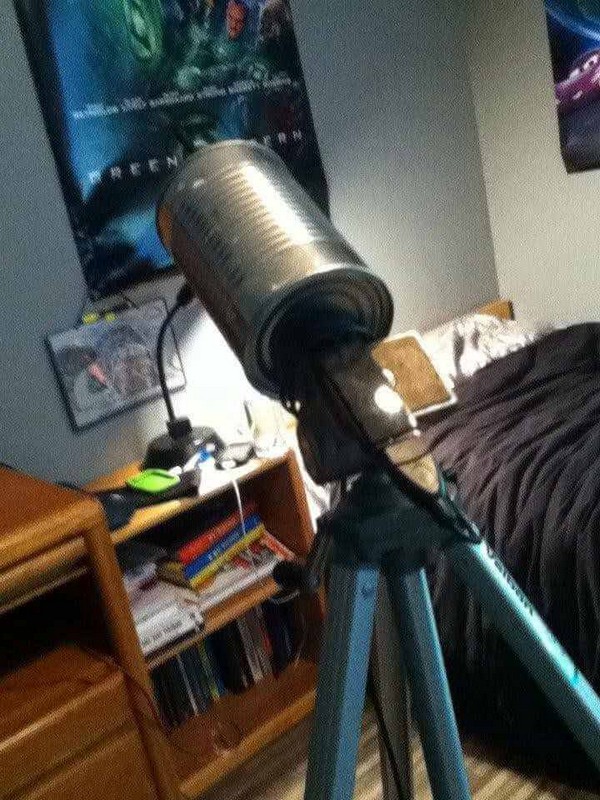
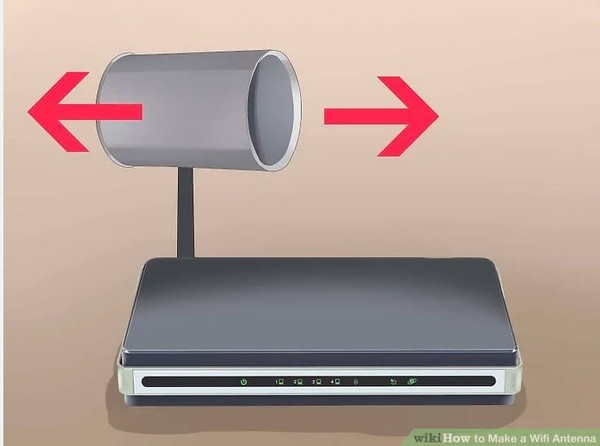
How To Build A Tin Can Wifi Antenna
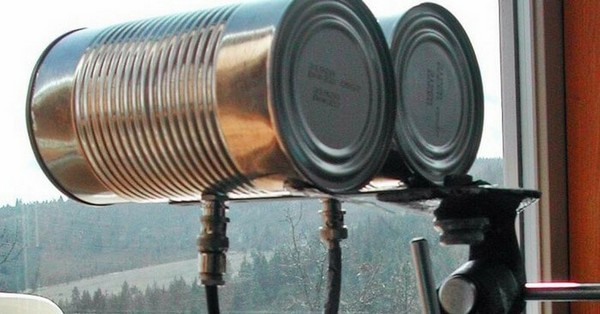
Uses: A humble tin can into a signal-boosting champion! This power tool amplifies your Wi-Fi signals, making those corners of the house that once lacked strong connections become flawless streaming and downloading zones. It assists in maintaining constant communication during emergencies and extends wifi coverage without burning a hole in your pocket.
Materials:
A tin can (minimum diameter of 3 inches)
An N-type female jack panel mount connector
About 1¼” of 12-gauge copper wire
Four nuts and bolts
Drill
Ruler
Permanent marker
Making:
Start with a tin can, and drill holes in all the right places! Followed by mounting an N-type female jack panel mount connector, adding copper wire, and soldering it in place. Adjust the arrangement to minimize obstacles within the antenna’s path. Finish by connecting this inventive antenna to your wireless access point or network card with a special cable. Fiddle around with the orientation of your tin can antenna to enjoy the best connectivity.
Homemade DIY Wifi Antenna

Uses: A smart, homemade DIY Wi-Fi antenna is an extraordinary savior, never failing to keep you online when you need it the most. Lets you enjoy the seamless web surfing joy, whether for work, studies, or leisure.
Materials:
Single handle Strainer
USB extension cable
USB Wi-Fi adapter
Electric tape or Hot glue gun
Making:
Starting with a single-handled strainer, you take an innovative detour from the kitchen utility to the powerful signal amplifier. Attach a USB Wi-Fi adapter at the intersection of the strainer handle and the mesh, securing it with electric tape or hot glue. Next, connect the adapter to your computer with a USB extension cable, and there you have it – your homemade wifi antenna is ready to rock and roll!
Mobile Wifi Antenna DIY
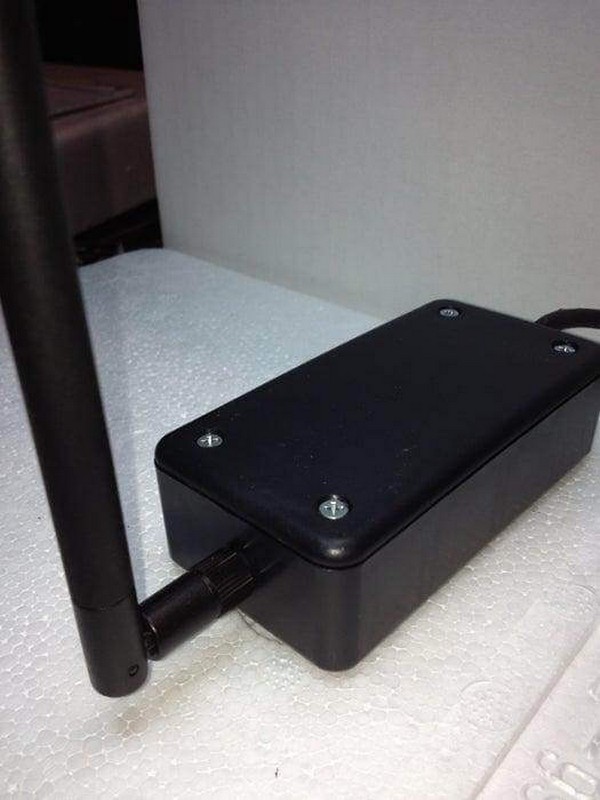
Uses: When you’re on the move and rely heavily on connectivity, the Mobile Wifi Antenna DIY is your go-to companion. This means that if you’re in your vehicle and need a stable wifi signal, this homemade solution is ideal. It amplifies your Wi-Fi range, enabling you to access public Wi-Fi even from a distance.
Materials:
A Project box (available at Radio Shack or similar stores)
Two ceramic magnets
Gorilla Tape
JB Weld epoxy
10-foot USB 2.0 A Male to A Female extension cable
A mini USB LAN adapter antenna
Drill
Making:
Begin with a project box and drill a small hole for the external antenna! Make another exit point for the USB cable. Now, place the wireless LAN card into this box, attach the antenna and plug in the USB cable running out of the box. Lastly, secure the box with screws. To mount it onto your vehicle without leaving scratches, cover the magnets (bar the bottom) with Gorilla Tape, which will hold your box in place. After attaching the magnets to the project box, it’s ready for action. Place it on top of your vehicle and plug it into your laptop for an enhanced wifi range.
DIY Pringles Can Wifi Antenna
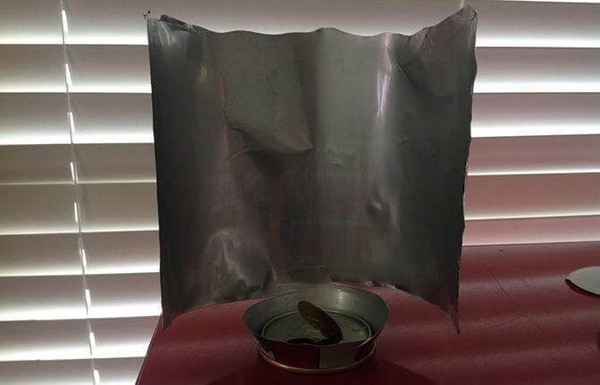
Uses: Whether in an urban jungle or a remote landscape, a DIY Pringles Can Wifi Antenna ensures you’re always plugged into the world with a robust wireless internet connection. This antenna also has the knack for connecting to public wifi from a significant distance, keeping you online when desired.
Materials:
Empty Pringles Can
Female N-type Connector
2 mm thick Copper Wire (approx. 12 gauge)
Female RP-SMA to male N-type Connector (Pigtail connector)
USB Wi-Fi Adapter
Soldering Iron and Solder Wire
Wire Cutters
Drill
Making:
You kick things off by placing a carefully measured and cut piece of copper wire into an N-type connector, drilled into the side of the can in a precise location. The copper wire serves as the probe that picks up Wifi signals. Your antenna takes shape as you can secure a small USB Wi-Fi adapter to the N-type connector. Finally, point your cleverly converted Pringles can toward your Wifi router to experience an amplified boost in connectivity.
Leave a Reply