
If your baby has started to move around, you can build them a safe space to play with a DIY wooden playpen. This project is something you can do in just one day, and it’s totally worth it. The cool thing about this playpen is that you can make it fit your space at home because the plans are adjustable. Whether you need a small area for your little one or you have space for a bigger play zone, this guide shows you how to build a playpen that’s just the right size, with a gate for easy in and out. Plus, it looks nice in your home while keeping your baby safe.

DIY Wooden Playpen

Materials:
- Lumber
- Wood glue
- Nails
- Kreg pocket screws
- Stain
- Right-angle brackets
- Simple Hinges
- Hook and eye closure
Tools:
- Saw
- Drill
- Kreg K4 Pocket Hole System
- Sander
- Paint brushes
Forming Individual Sides and Gate:
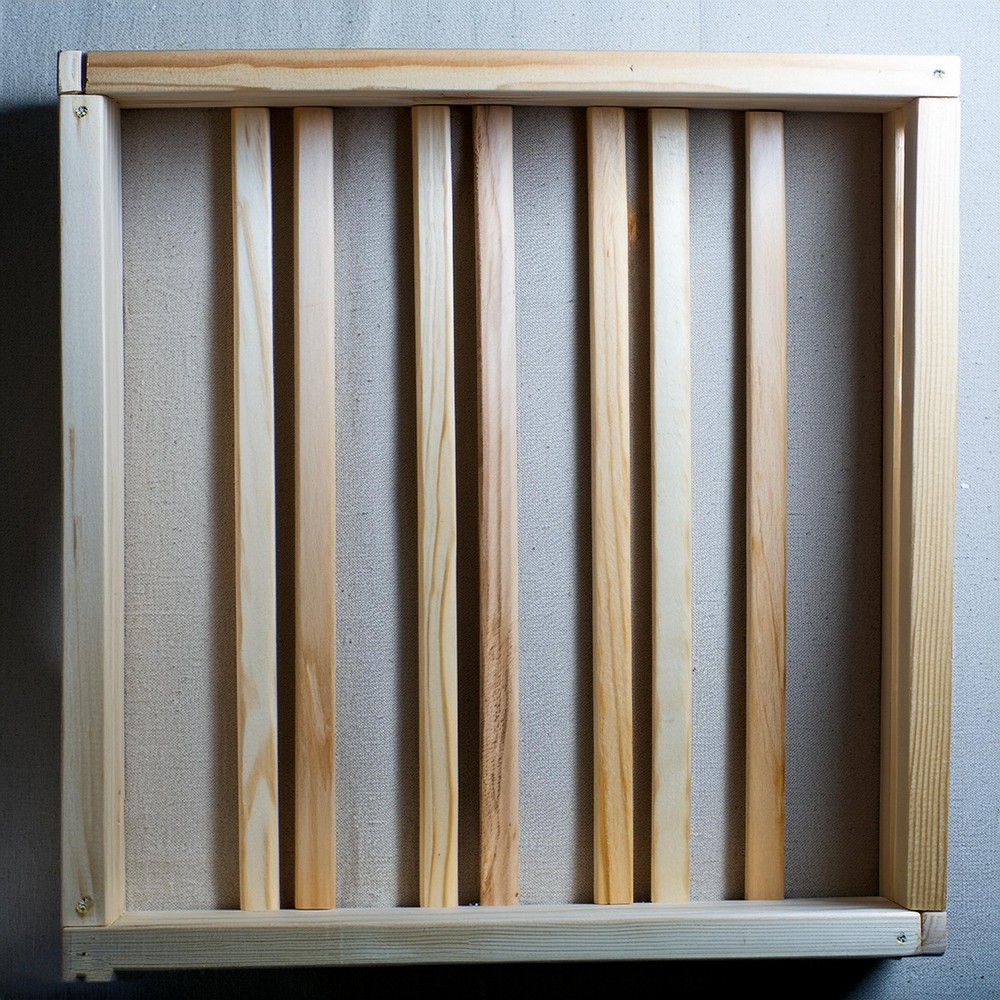
Start by designing separate squares that form the frame of each side and the gate. Apply glue and attach slats to the outer frame, ensuring a gap of 2.25 inches between slats for utmost safety. Use the Kreg K4 Pocket Hole System to consolidate the frames, as it instills strength and resilience.
Connecting the Sides:
Proceed to take a small piece of wood and merge the two side frames at the bottom where the gate will be. This action is all about providing stability to the structure even when the gate is unhinged.
Installation:
Once the frames are ready, sanded, and stained to satisfaction, attach the playpen sides to the wall using right-angle brackets. The key here is alignment; the corners of the frames should meet correctly.
Gate Attachment:
Ultimately, the gate is fastened to one of the sides using basic hinges. This simple action enables the gate to open and shut easily. A hook-and-eye closure ensures that the gate remains locked when necessary.

Converting your home into a secure playground doesn’t have to be complicated. By following these instructions, you can gift your toddler a lovely playpen tailored for safety.

Leave a Reply