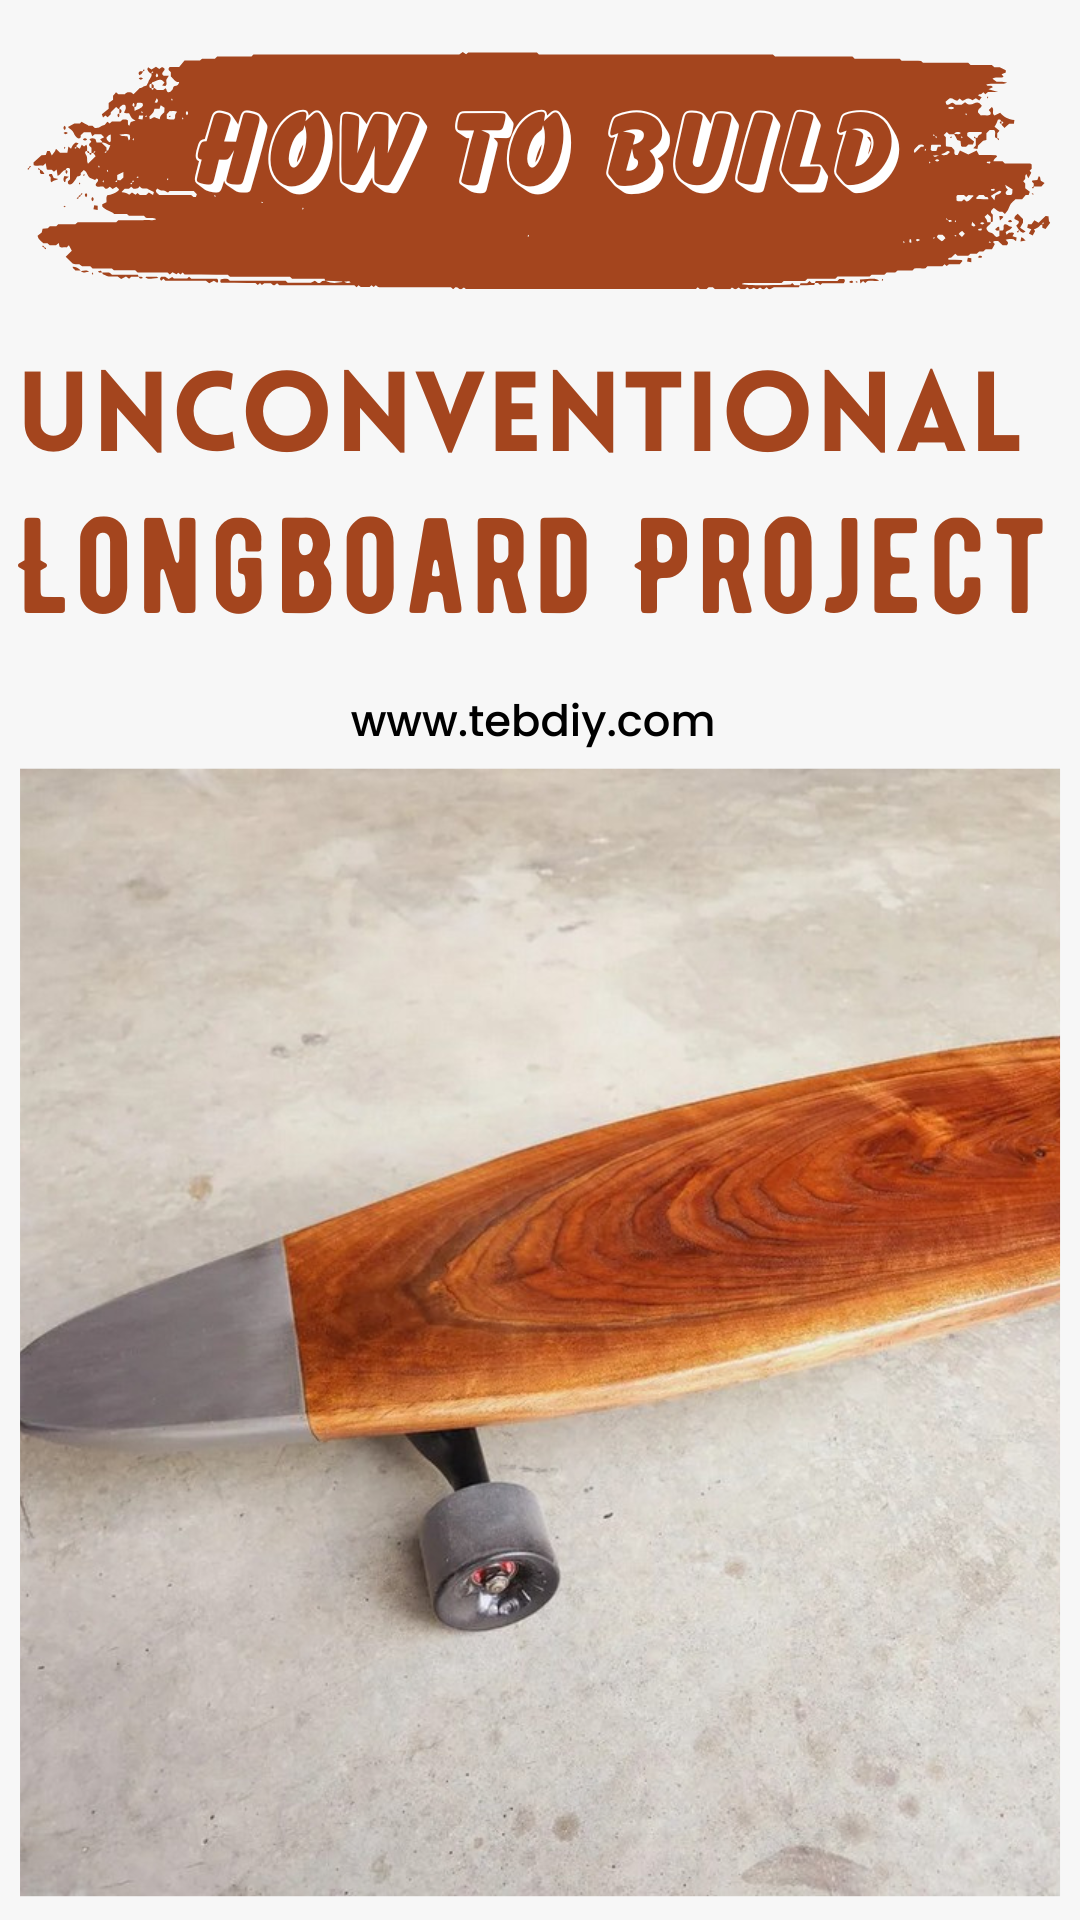
Are you looking for a weekend project that blends both craftsmanship and the thrill of the ride? Look no further than creating this DIY unconventional longboard that marries the raw beauty of walnut wood with the industrial edge of steel. This isn’t just any longboard—it’s a conversation piece, a testament to DIY spirit, and yes, it’s fully rideable. Prepare to turn heads with your bespoke board that’s as much a work of art as it is a functional cruiser.

DIY Unconventional Longboard Project

Materials List
- Walnut Live Edge Slab
- Flat Bar Steel
- Skateboard Trucks with Wheels
- Two 3/8″ Bolts
- Epoxy
- Tung Oil
- Lacquer
- 8 Wood Screws
Tools Used
- Mitre Saw
- Marker/Pen
- Center Punch
- Drill Press
- Cordless Drill
- Tap (for threading holes)
- Screwdriver
- Drill Block
- Clamp
- Planer
- Palm Sander with 120-220 Grit Sandpaper
- Scotch-Brite Pad
- Angle Grinder with:
- Cutoff Disc
- Flap Disc
- Grinding Disc
- Belt Sander
Step-by-Step Guide
Cutting the Wood
Begin by drawing a line on your walnut slab where you wish to make your cut. Then, using a miter saw, carefully cut along the marked line to separate the piece you will use for your longboard.
Drill Holes in Steel
After outlining where the holes need to be on the flat bar steel using a marker, firmly press down with a center punch at those points to aid the drilling process. Secure the steel in a drill press vice and clamp it to the drill press table. Lubricate with multipurpose oil to minimize heat, start with a small pilot hole, and then switch to the final drill bit size. With your chosen 3/8″ bolts, consult a tap size chart to determine the tap drill diameter correctly. Use the appropriate size tap and tap handle to thread the holes by alternating between clockwise turns and counter-clockwise half turns for smooth threads.
Rough Shaping the Steel Tip
Mark the general shape for the steel tip on your flat bar. Then, using an angle grinder with a cutoff disc, slice off the bulk of the excess material. Further refine by grinding down more precisely with a grinding disc.
Planing
The wood might be slightly thicker than your steel piece. To address this, plane the wood down so it’s about 1/16″ thicker than the steel to account for final sanding.
Rough Shaping Board
Roughly shape the board into your desired form using an angle grinder equipped with a flap disk.
Drill Holes into Board
Mark the locations for the holes on the wood using a marker and center punch. To drill, use a drill block to maintain the hole’s perpendicularity to the board. A clamp can be used to hold the block in place while drilling. Make sure to test out the fit of the steel to the board.

Final Shaping of the Steel Tip
To achieve the precise final shape of the steel tip, make use of both belt and palm sanders, and have patience. Once the desired shape is achieved, use a Scotch-Brite pad for a final touch, giving the steel a uniform dull finish. Apply a coat of lacquer over the bare steel to prevent rusting.
Finishing the Wood
Sand the wood smoothly starting with 120-grit and working up to 220-grit sandpaper. Apply three coats of Tung oil, allowing 24 hours of drying time between each application. Finish by sealing the wood with two coats of matte lacquer. Epoxy the inside of the holes prior to inserting the steel tip for robust adhesion.
Truck Installation
For installation of the reverse kingpin trucks, ensure the kingpin and bushings face outward. Align the trucks precisely by running a string along the length of the board, and when satisfied with their positioning, use a center punch to mark the spots for the holes. After marking, drill pilot holes and then secure the trucks using wood screws for a clean aesthetic look.

Completion
After fastening the trucks, you’ll be left with an impressively unique longboard that combines the warmth of wood with the resilience of steel in a stunning design. And the best part—it’s not just for display. You can actually take your new longboard for a spin! With meticulous attention devoted to every detail, you’re sure to find the build process as rewarding as cruising on your finished product.


Leave a Reply