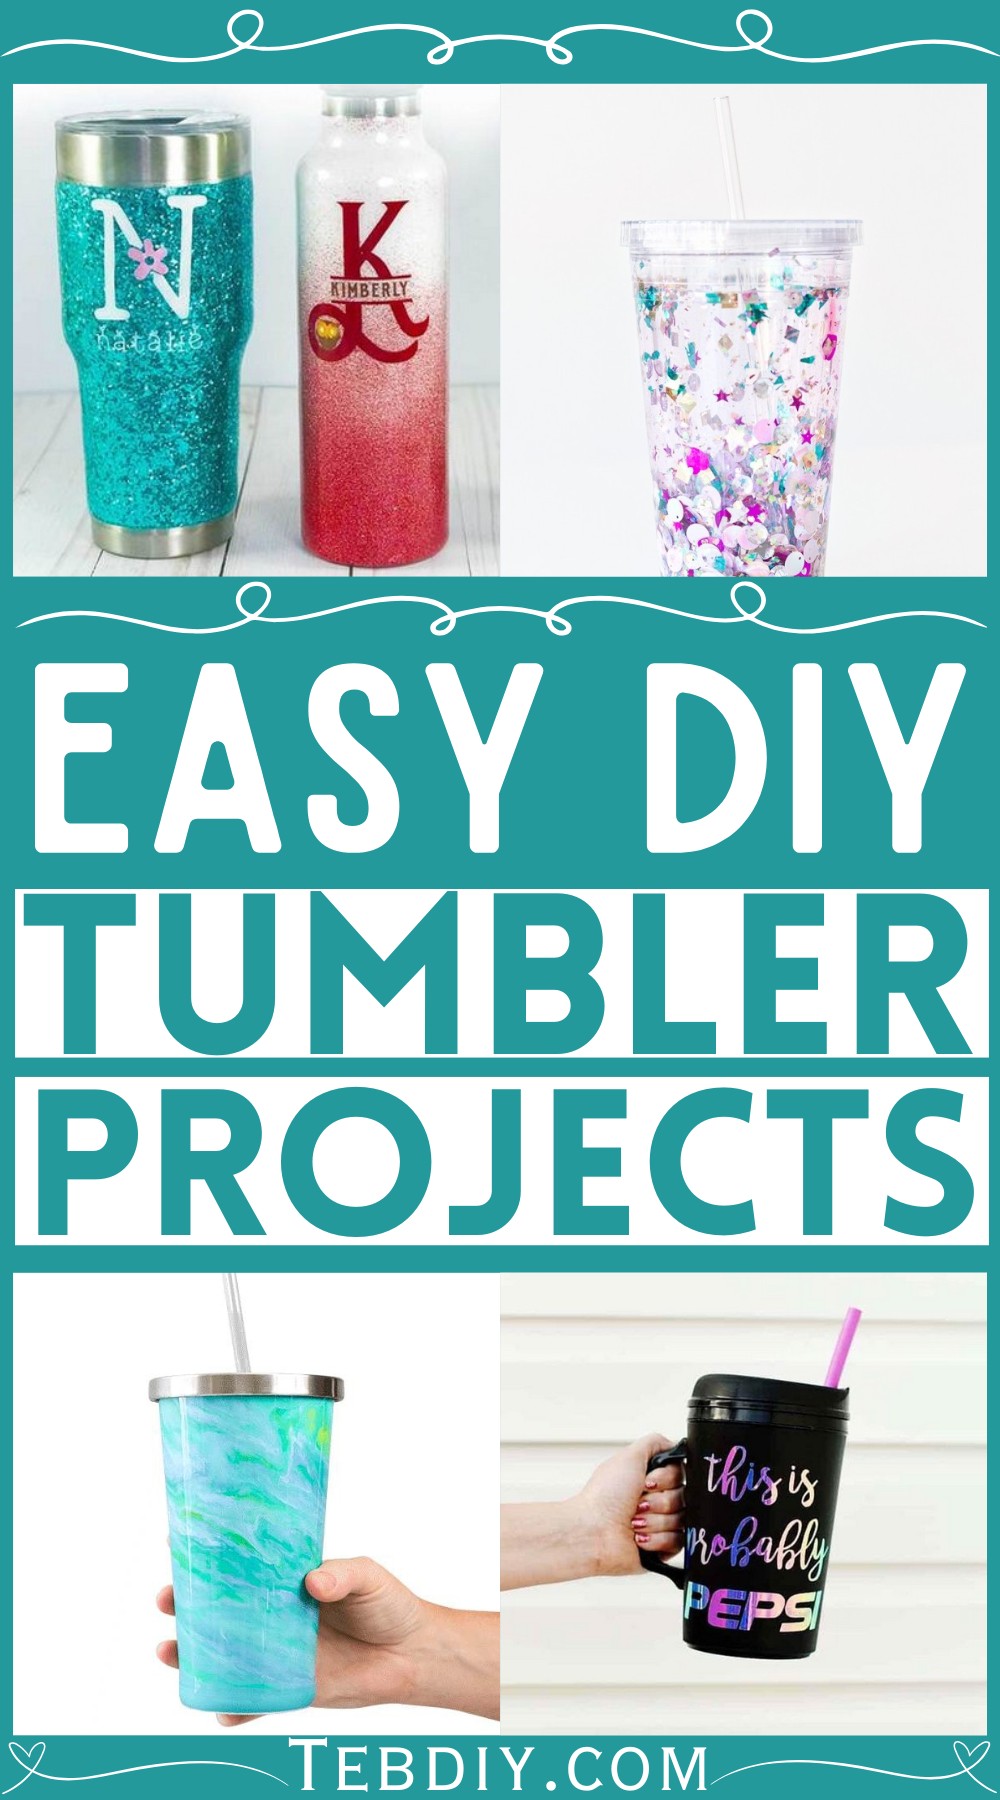
Explore this amazing series of DIY Tumbler Projects; they are much more than just cups. They’re the eco-friendly answer to cutting down single-use plastics, keeping your drinks hot or cold for longer, and a great way to showcase your personal style! Even better, they’re super easy to personalize at home. And today, we will explore a list of fantastic ideas for making your unique tumbler. So, be ready to DIY and bring out your creativity to make fun, admirable tumblers for daily use in no time.
DIY Tumbler Projects
In the following list, we’ve compiled many creative and practical ideas to help you fashion a one-of-a-kind tumbler. By following our guide, you can bring a personal touch to your everyday items and create functional and beautiful accessories – all by yourself! They can become handy tools or even beautiful decor pieces! The possibilities are endless, from doubling as storage jars for your spices or turning into a portable plant pot to becoming a glittering candle holder.
DIY Floating Glitter Tumbler
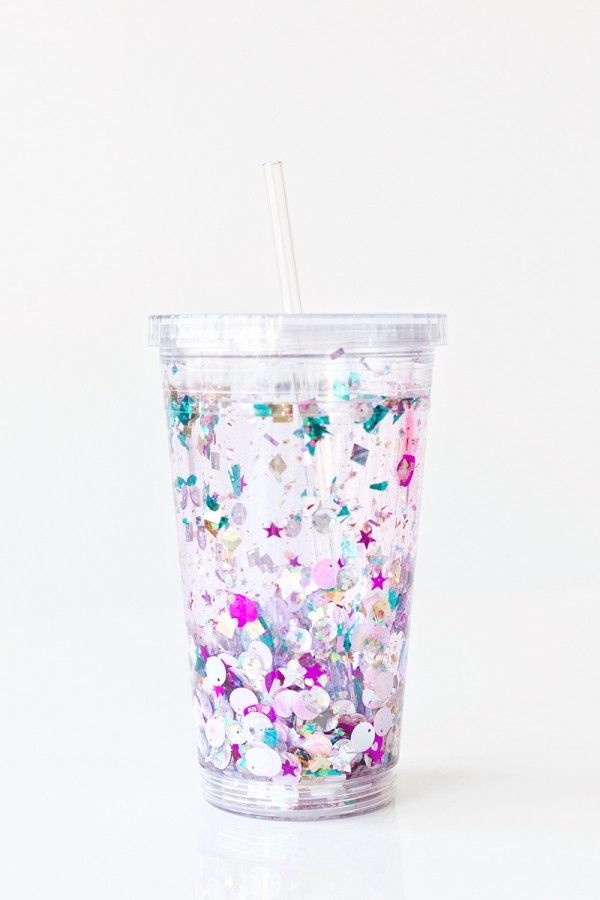
Uses: This attractive tumbler adds an enjoyable aesthetic to your daily hydration routine. Whether you’re making sure you drink enough water or you appreciate sparkling accessories, this glitter-filled tumbler will make every sip shine.
Materials:
Clear Photo Tumbler
Glitter
Sequins
Metallic Confetti
Water
Making:
First, gather a variety of sequins, glitters, and small metallic confetti. Create a mix that appeals to your preference, but ensure the items are small enough to fit inside the tumbler. Unscrew the bottom of your clear photo tumbler, remove the paper, and pour in your glitter mixture. Then, fill the tumbler with water up to the desired level. Screw the bottom back on, and voila, your DIY Floating Glitter Tumbler is ready to add sparkle to your day. Remember to hand wash it only, and avoid unscrewing the bottom unless over a sink.
DIY Glitter Tumbler
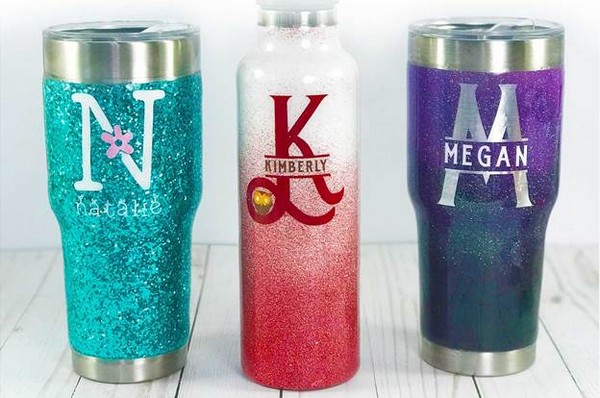
Uses: Perfect for personal use or as a personalized gift, these tumblers stand out for their shimmering elegance. The embedded glitter makes them dazzling accessories that are as functional as fun.
Materials:
Stainless Steel Tumbler
Glitter (Extra fine and chunky)
Mod Podge or Spray Adhesive
Painters tape
A clear coat of sealer
Spray Paint (Optional)
Making:
The procedure to prepare a DIY Glitter Tumbler is straightforward yet rewarding. Start by washing and wiping your tumbler clean with alcohol. Optionally, you can spray paint it before applying adhesive evenly for the glitter to stick. After the adhesive application, sprinkle your chosen glitter onto the tumbler. To ensure the glitter stays put, seal it with a clear coat of sealer. The next step demands your attention – while your sealer is drying, set up a rotation method to keep turning the tumbler, which prevents unwanted drips or uneven layering.
DIY Painting A Tumbler
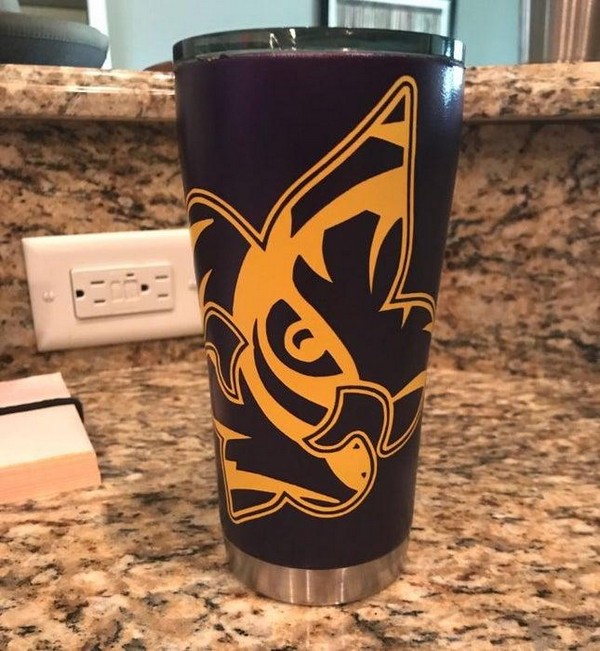
Uses: Personalized and painted, this tumbler might become your favorite drinking vessel, making every sip a little more special.
Materials:
Tumbler
Decals
Spray Paint
Masking Tape
Zip-loc Bag
Making:
Start by roughing up the surface using sandpaper and covering the sections you don’t want to be painted. Then, apply your color using light coats of spray paint. Let it dry, and apply a clear coat to seal the color. Once this is dried, apply any decals on top of the first layer of paint and then add your next layer. Repeat this as necessary until you’ve achieved your desired design. When the painting is complete, remove any tape or barriers and clean the paint lines for a neat finish.
DIY Iridescent Foil Vinyl Project
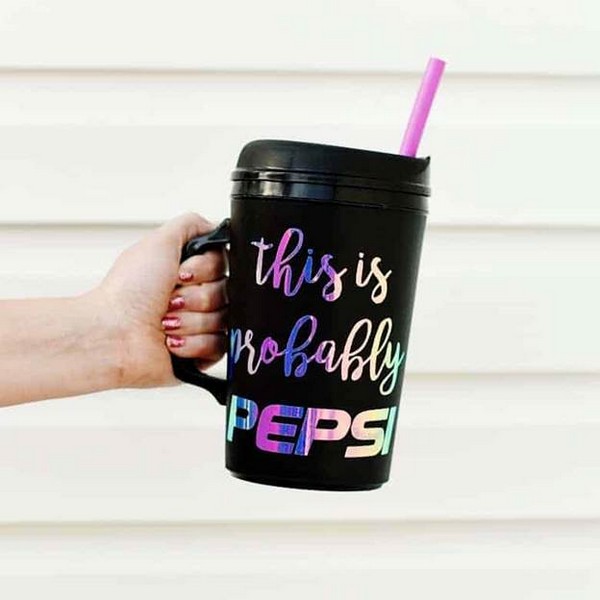
Uses: This method is especially popular for personalizing tumblers, making them stand out in a fun and shimmering way. Perfect as a present or to jazz up your drinkware, it will surely make you or the receiver smile with every use.
Materials:
Tumbler
Adhesive Iridescent Foil Vinyl
A cutting device like Cricut Explore Air™ 2
Contact Paper
Scissors
Making:
Start off by choosing a design. Next, cut out a piece of foil vinyl slightly bigger than the dimensions of your design. With your vinyl foil side up, cut out the design using a cutting device. Following this, remove the excess vinyl around your design. Cut out a piece of contact paper the same size as the design. The next step is to attach the sticky side of the contact paper to the design. Ensure there are no bubbles, and carefully remove the backing from the vinyl design. Apply the design to your tumbler using a plastic scraper tool or gift card gently. Finally, peel back the contact paper until only the design remains on the tumbler.
How To Add Resin To A Tumbler
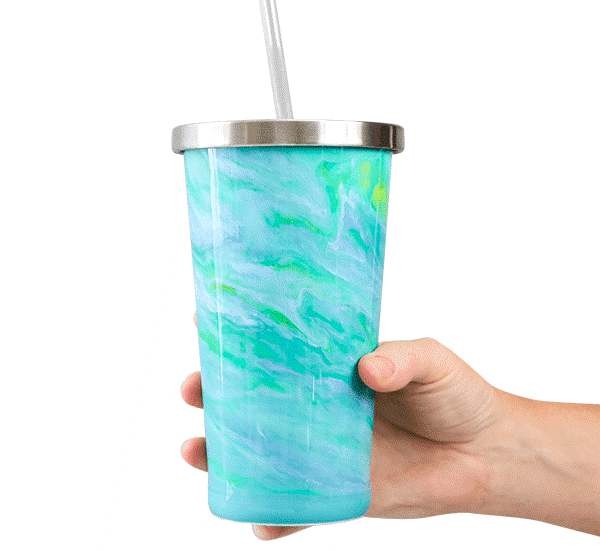
Uses: This easy-to-follow method allows you to create personalized drinkware with a glossy, smooth finish. Best of all, a resin-coated tumbler not only looks fantastic but it also extends the life of your tumbler, making it a durable choice for everyday use.
Materials:
An Insulated Tumbler
A Tumbler Turner
Resin Obsession Crystal Doming Resin
Resin Obsession Resin Opaque Pigments
Mixing Cups
Stir Sticks
Protective Gloves
Making:
Making a resin-treated tumbler starts with prepping it by painting it with a background color. Once the paint dries, you’re ready to mix the resin and pigments. The mixed-colored resin is then carefully dripped onto a rotating tumbler to create a beautiful marbled effect. As your tumbler spins, you can blend the colors using a stick or a gloved finger to achieve your desired design. The crucial part is to let the tumbler continue spinning for at least 4 hours to avoid uneven dripping while the resin hardens. Once cured, remove the protective tape and give your tumbler a nice wash.
Geometric Gold Foil Tumbler DIY
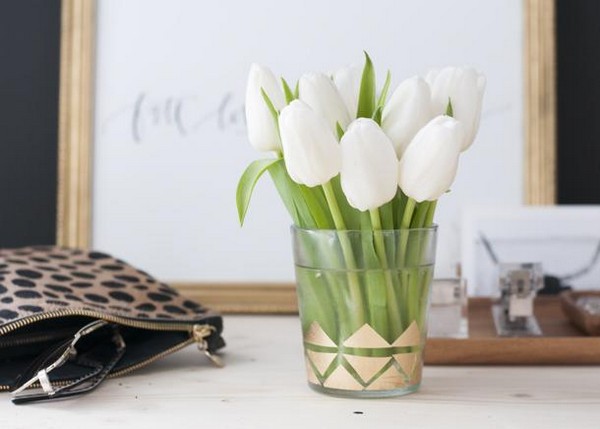
Uses: The stunning combination of geometric shapes and gold foil makes this an outstanding piece of drinkware that will surely impress. With simple steps and easy-to-find materials, it’s the perfect project to showcase your creativity and artistic skills.
Materials:
Tumbler
Gold Adhesive Foil
Pen
Painter’s Tape
Clear Food-Safe Sealant
Making:
To make a Geometric Gold Foil Tumbler, begin by using a pen and ruler to draw the geometric shapes on a sheet of gold adhesive foil. Carefully cut out the shapes and peel off any excess material. Next, apply painter’s tape on the tumbler to create an area with straight lines or angles where you want your design. Press the gold foil shapes onto the desired area, ensuring they adhere smoothly. Remove the painter’s tape and ensure all gold foil pieces are properly placed. Finally, seal the design with a clear food-safe sealant to add durability and a glossy finish.
DIY Teacher Tumbler
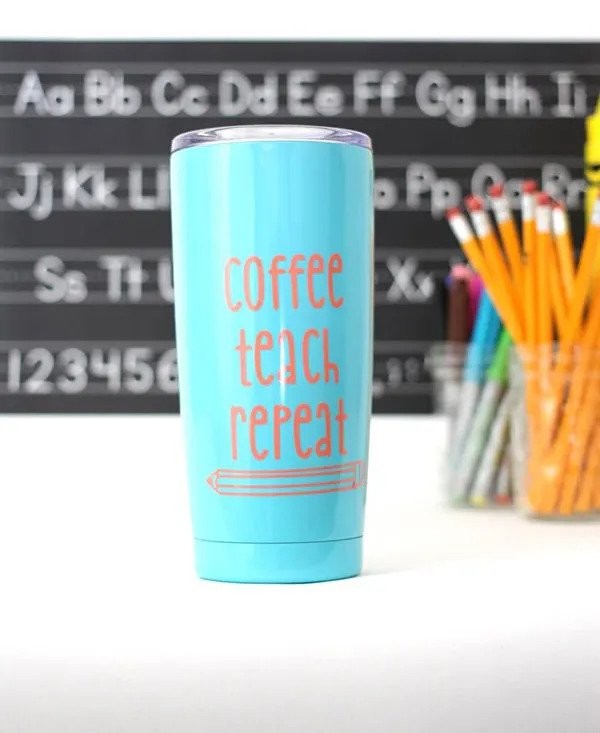
Uses: Ideal for giving on the first day of school or during teacher appreciation week, it’s a way to add a personal touch to their drinkware and brighten their everyday routine.
Materials:
Coffee Tumbler
Silhouette Cutting Blade
Silhouette Studio
Coral Adhesive Vinyl – Permanent
Transfer Tape
Scraper Tool
Making:
Open your design software and adjust the size to fit your Tumbler measurements. Attach adhesive vinyl to the cutting mat, color side up, and load it into the cutting machine. Follow the prompts in the design studio to cut the design. After cutting, gently remove the excess vinyl, leaving your design on the backing sheet. Place a piece of transfer tape over your design, and use a scraping tool to adhere it to the tape. Carefully position the design onto the tumbler, transfer the design on the tumbler using a scraping tool, and gently remove the transfer tape.
DIY Dollar Tree Snow Globe Tumblers
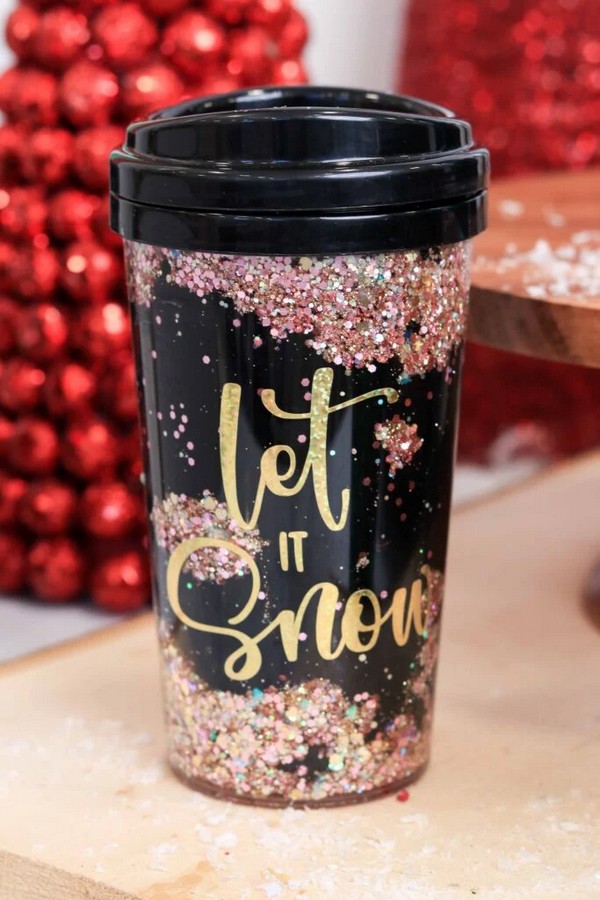
Uses: DIY Dollar Tree Snow Globe Tumblers provide a lovely and budget-friendly option to upgrade drinkware during the holiday season. These delightful snow globe tumblers showcase swirling glitter that catches everyone’s attention, making your beverages more magical.
Materials:
Dollar Tree 16 oz Create Your Own Design Travel Mugs
Permanent Vinyl
Cutting Machine (e.g., Cricut Maker, Cricut Explore)
StandardGrip Mat
Fine-Point Blade
Transfer Tape
Glitter (a mix of fine and chunky)
Vegetable Glycerin or Clear Glue
Making:
To create a DIY Dollar Tree Snow Globe Tumbler, choose a holiday-themed design and cut it out from permanent vinyl using a cutting machine. Apply the design onto the outside of the tumbler using transfer tape. Then, mix water, glycerin or clear glue, and glitter in the clear plastic cup of the tumbler. Carefully insert the inner black container into the clear plastic cup, add waterproof adhesive on the rim, and screw the tumbler together. Allow it to dry for at least 24 hours, and your beautiful snow globe tumbler is ready to spread holiday cheer.

Leave a Reply