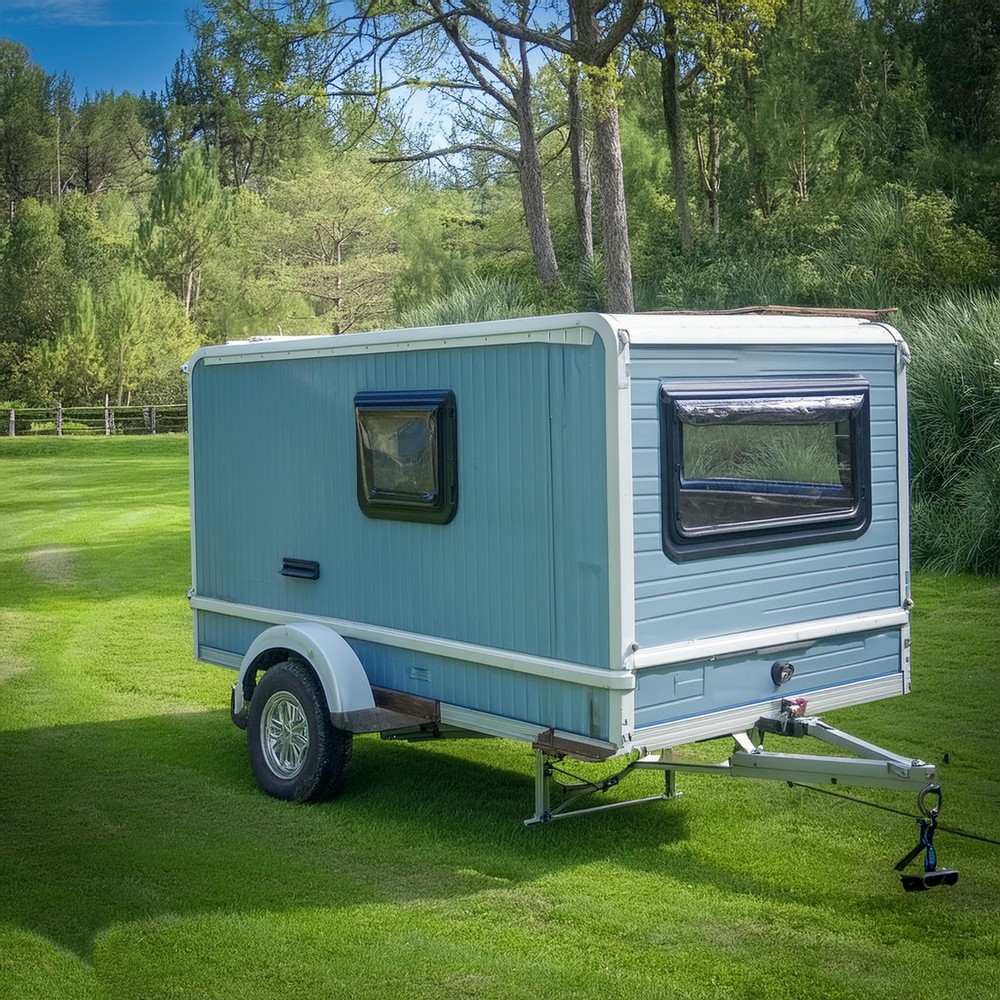
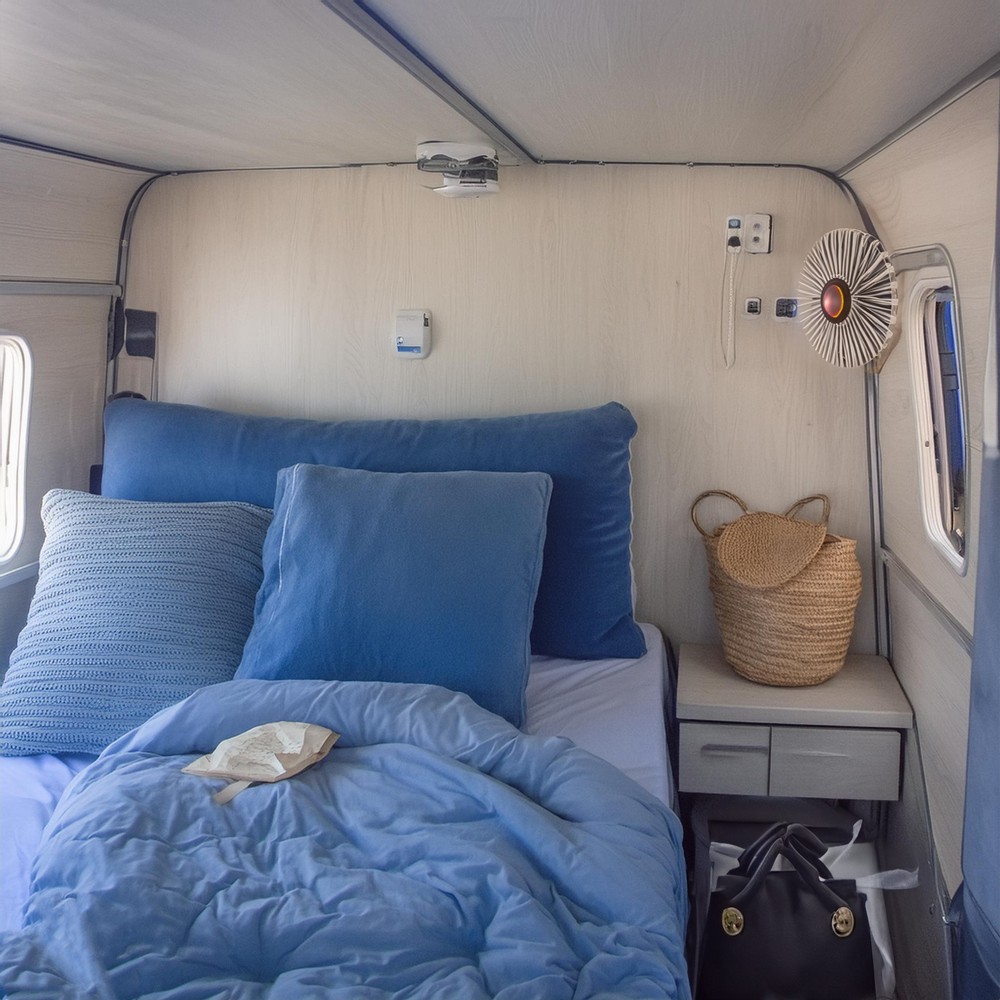
Let’s explore the serenity of nature, far from the hustle and bustle of city life, where the only noises are the chirping of birds and the rustling of leaves. Now, blend that idyllic setting with the comfort of sleeping on a real mattress after a day of adventure. This is not a far-fetched dream but a very achievable reality with the DIY Micro Camper project.

DIY Micro Camper

Designed for those who cherish outdoor life but appreciate comfort, this micro camper becomes your portable haven. Made to trail behind your vehicle without imposing on the rugged terrains of the mountains, this project is an invitation to transform your camping experience. Whether you’re a seasoned camper or someone looking to elevate your outdoor adventures, building this micro camper can be an enriching journey—not just to a favorite camping spot but through the rewarding process of creating something truly yours.
Materials Needed
- 4×8 Harbor Freight trailer frame
- 3/4″ inch plywood (for the base)
- 2×3 studs (for the outer frame of the base)
- 1/2″ exterior plywood (for the outer walls)
- 1/8″ underlayment (for the interior walls and ceiling)
- 2x4s (for the roof rafters)
- 1/2″ OSB (for the roof)
- Aluminum trim stock (various sizes, including 24″ wide material for roofing)
- Exterior-grade primer and semi-gloss paint
- Caulk (for filling screw holes)
- Electrical wiring supplies (110 volt 15 amp inlet, outlets, interior light)
Tools Required
- Drill and bits
- Roto-zip or similar cutting tool
- Hammer or nail gun
- Screwdriver
- Painting supplies

Step-by-Step Guide
Constructing the Frame: Start with assembling the 4×8 trailer frame as per the manufacturer’s instructions, but hold off on adding the lights and fenders. Strengthen the base by laying a 3/4″ inch plywood sheet atop the frame, bordered by a 2×3 stud edge. Secure these materials to the frame with bolts, enhancing the frame’s rigidity and providing a solid anchor point for the walls.
Wall and Roof Materials Preparation: The camper’s walls are structured with 2×3 studs and covered externally with 1/2″ plywood, with an inner layer of 1/8″ underlayment. For the roofing, employ 2×4 rafters supporting a 1/2″ OSB sheet, capped with the same thin underlayment as the interior walls.
Framing the Walls: In your workspace, frame the camper’s walls to a 16-inch center, incorporating spaces for a window on each side and a door at the back.
Wall Installation: Mount the pre-framed walls onto the trailer, securing them to the base 2x3s bolted down and ensuring connectivity between the walls, rafters, and foundation for a sturdy structure.
Roof Attachment:
Post wall installation, cover the top with a 1/8″ underlayment, followed by configuring 2×4 rafter setups at a 16-inch center. Integrate rafters with the wall’s top plate and inter-rafter blocks for additional stability before attaching the 1/2″ OSB roofing.
Exterior Sheeting: Cover the walls externally with the 1/2″ exterior plywood, securing them with screws. Use a roto-zip tool to make precise cuts for windows and doors.
Trim and Roofing Installation: For weatherproofing, install aluminum trim around corners, over window and door edges, and guttering. Secure aluminum sheeting atop the roof, ensuring all seams are adequately sealed.
Interior Work: Run electric wiring as per requirement before covering the interior walls and ceiling with 1/8″ underlayment.
Final Touches on Door and Windows:
Assemble the door from three layers of 1/2″ exterior plywood glued and screwed for durability. Cut and install interior trim for windows and doors and apply primer.
Painting: The micro camper requires a coat of exterior primer, followed by two coats of semi-gloss paint, finishing with caulking all screw holes before the final paint coat for a neat appearance.
Electrical Setup: Complete the electrical installations with an external 110-volt 15 amp inlet, connecting interior outlets and lighting.
Adding Windows, Doors, and Final Finishing: Install windows with screens and interior trims and hang the constructed door. Finish the interior and exterior with the paint coats for a polished look. Finally, mount the fenders and external lights.
The Grand Finale: Your DIY Micro Camper is ready to embark on its maiden voyage. This compact, cozy camper, tailored to your tastes and needs, promises countless adventures and memories in the embrace of nature.


Leave a Reply