
Learn to make vibrant and playful pom pom tassel garlands with our easy-to-follow tutorial. Perfect for beginners, this project will add a touch of handmade charm to any space or celebration.
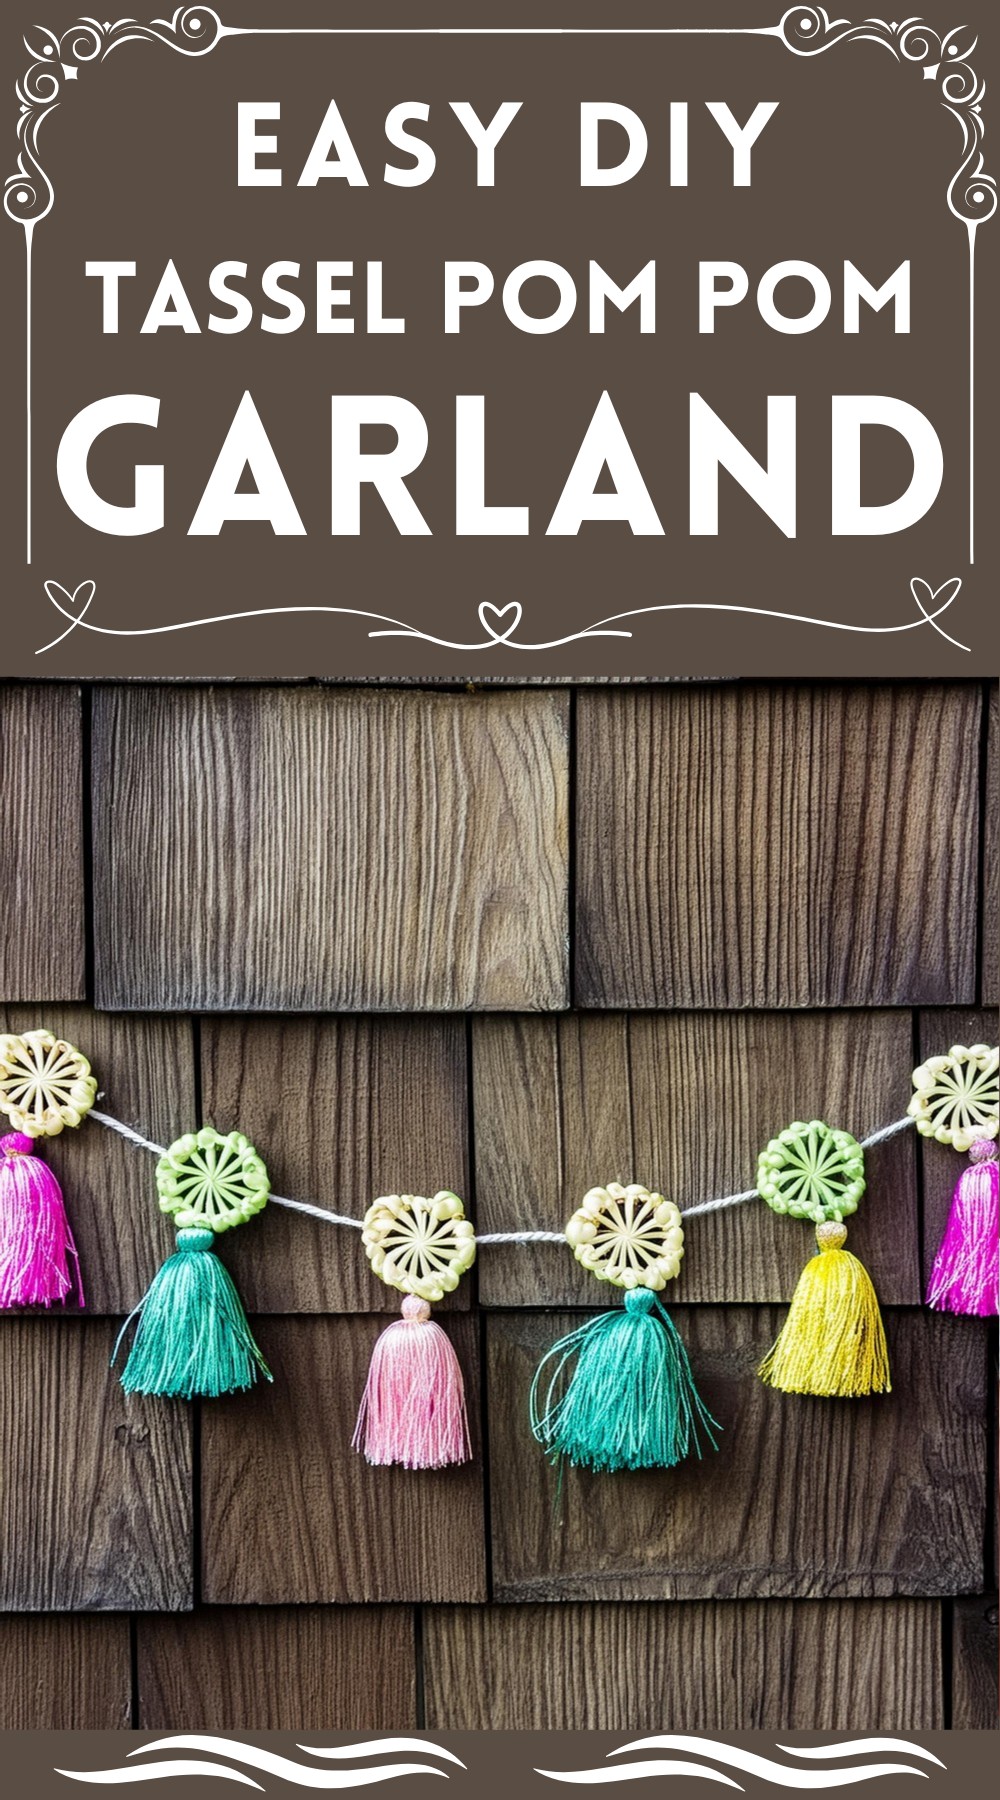
DIY Tassel Pom Pom Garland
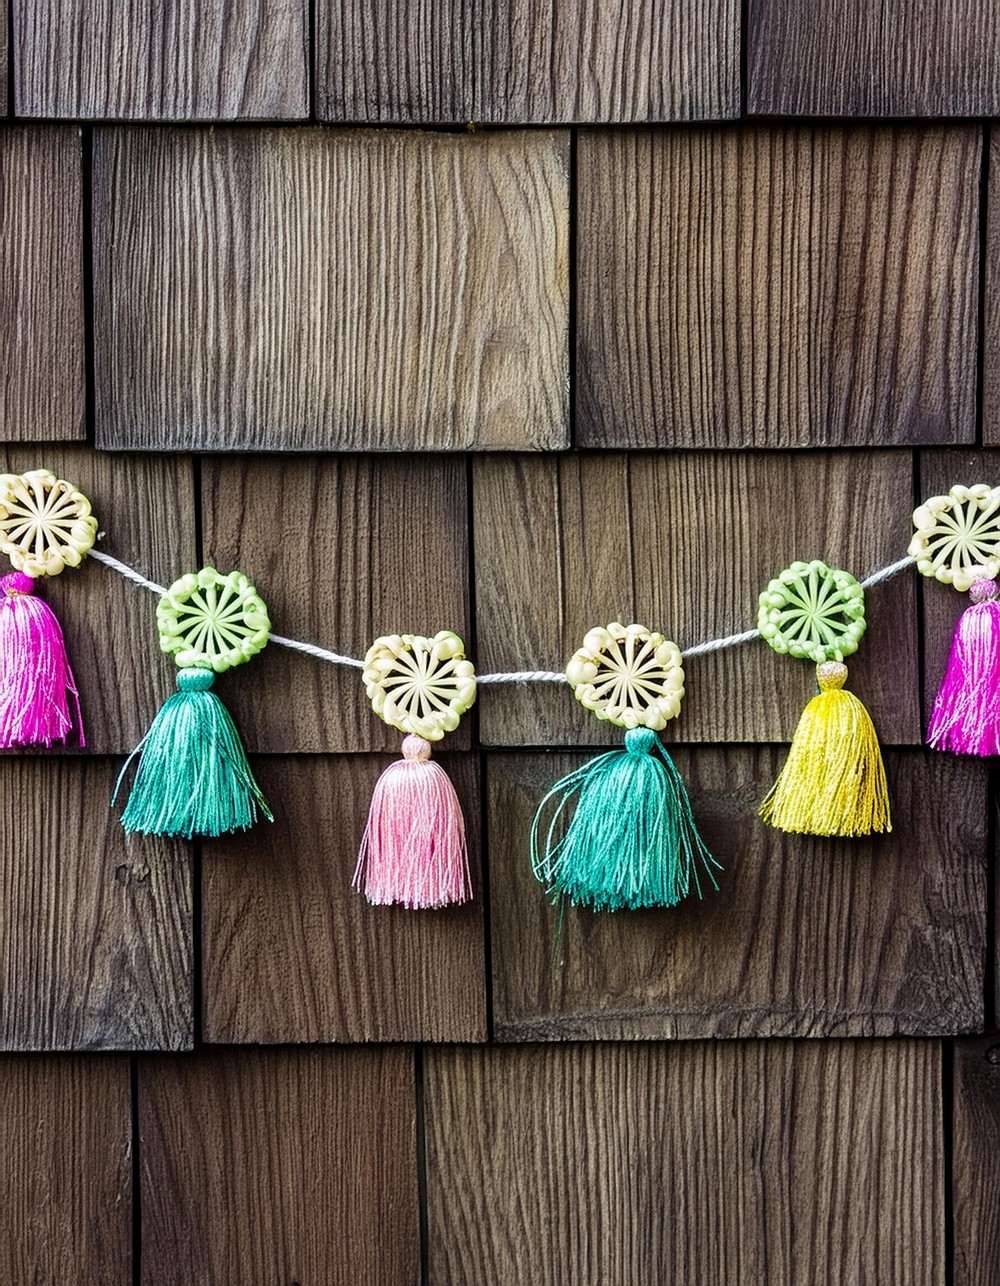
The combination of fluffy pom poms and sleek tassels creates an appealing mix of textures. The finished garlands exude a festive vibe, making them perfect for decorating homes, parties, and special events. Their cheerful appearance can brighten up any room or serve as a delightful backdrop for celebrations.
Materials and Tools Needed
- Slingshot XL Loome Tool
- Robot Model Loome Tool (unprinted version also suitable)
- Pom Pom Trim Guide
- Embroidery Floss
- Tapestry Needle
- Sharp Scissors
- A bowl or placemat (to catch trimmings)

Crafting Your Tassels
Wrapping Your Yarn:
Utilize the Slingshot XL Loome tool to wrap your yarn around its width. The number of wraps dictates your tassel’s density; adjust based on yarn thickness. Ensure beginning and end yarn tails are secured in the notches of the same Loome arm.
Creating the Tassel Top:
After wrapping, gently slide the yarn off the Loome, securing a double knot at one end to form the top of your tassel. Snip the loops at the other end to reveal the tassel’s fringes.
Finishing Touches:
Fold the tassel to display a neat loop at the top. Take an additional yarn strand, either matching or in an accent color, and tightly wrap it around the tassel head to form a neat “neck.” Ensure the wrapping is tight and secure.
Assembling Your Pom Pom & Tassel Garland
Preparing the Floss:
Cut an 8-inch piece of embroidery floss, threading it with your tapestry needle. This floss will connect the pom and tassel.
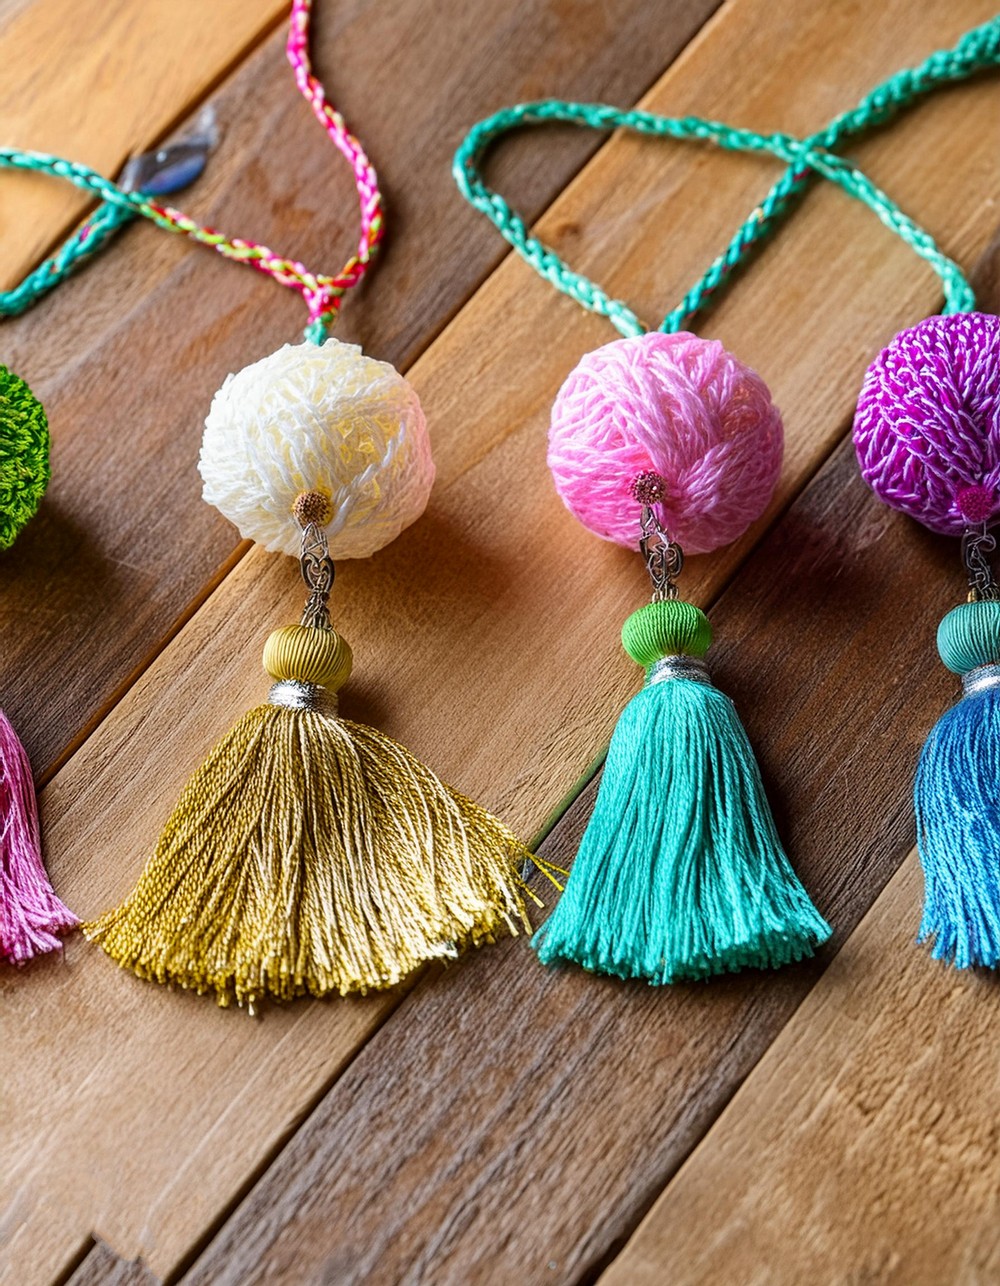
Connecting Elements:
Thread the floss first under the tassel’s top loop, then proceed to attach it to the pom pom, ensuring the floss runs through the pom’s center.
Garland Assembly:
Lastly, string your delightful pom-tassels onto a sturdy yarn piece, using the tapestry needle for guidance. Adjust pom pom orientation as needed to ease the threading process.
Congratulations! You’ve now mastered the art of creating pom pom tassel garlands. These charming decorations serve as vibrant, festive additions to any setting, encouraging you to experiment with colors, textures, and patterns.

Leave a Reply