
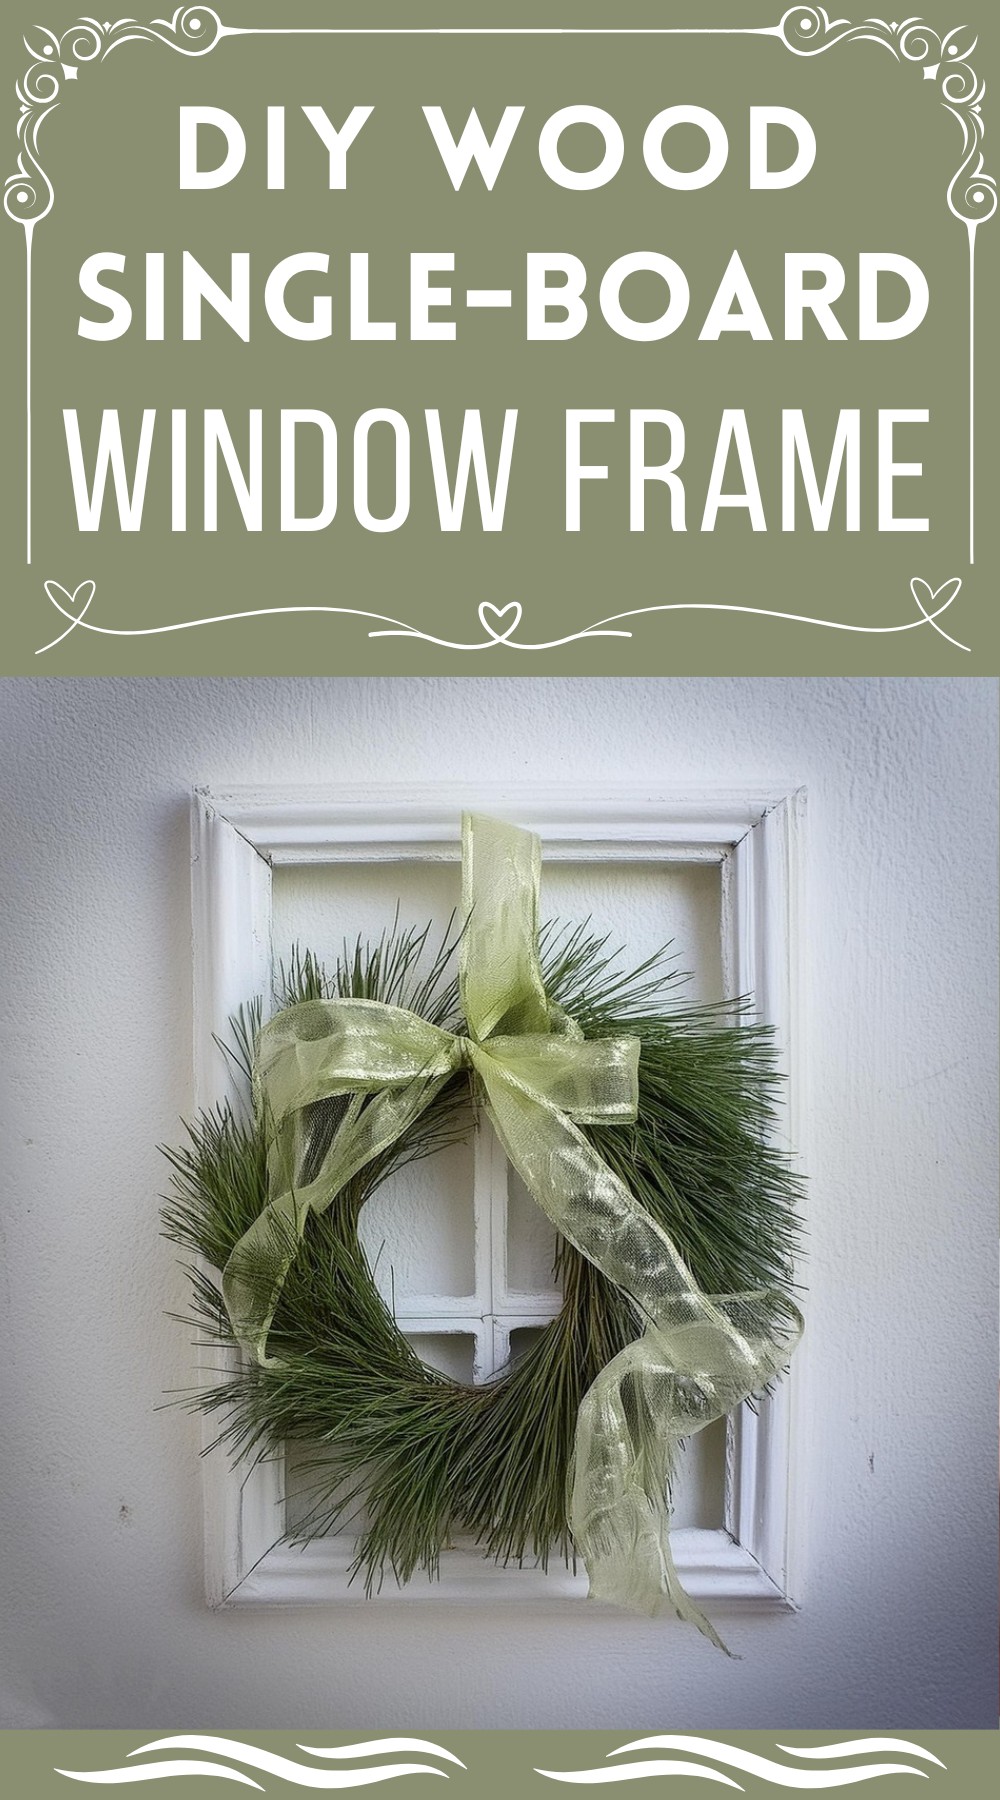
Making a window frame from a single board is a good idea because it can save you money. Whether you’re looking to sprinkle a bit of holiday spirit or add a rustic accent to your decor, this DIY Single-Board Window Frame project is a versatile and easy-to-customize option to try. This DIY decorative window frame project will invite you to display seasonal wreaths or stand alone as a showoff for your crafty skills. Instead of buying lots of little parts, you need one piece of wood, which makes the job simpler and easier, especially for folks who are new to DIY projects.
DIY Single-Board Window Frame

Materials Needed:
- (1) 1″x 4″ x 8′ Standard Board (alternative: 1×3 board and 1″ square dowel with adjusted measurements)
- Ribbon (optional)
- Wreath (optional)
- Weathered Oak Stain
- Flat White Paint
- Candle Wax
- Paint Brush
- 1 1/4″ Kreg Screws

Tools Recommended:
- Table Saw
- Miter Saw
- Drill
- Kreg Pocket Hole Jig
- Stapler (for adding ribbon)
- Putty Knife (for distressing paint)
Step-by-Step Guide:
Rip Down the Board: Begin by setting your table saw to 1″ and rip down the 1″x 4″ board into two pieces, one approximately 1″ wide and the other 2 1/2″ wide, considering the saw blade width. This neat trick makes efficient use of your material.
Building the Frame: Construct the outer frame using the two 24 1/4″ boards for the length and the two 13″ boards for the width. Ensure to drill pocket holes at both ends of the 13″ boards. Secure them together with 1 1/4″ Kreg screws to form a sturdy rectangle.
Assembling the Grid: The inner grid requires drilling pocket holes at both ends of all grid pieces, including the four 6″ pieces and the one 19 1/4″ piece. A pro tip is to map out the grid placement beforehand to minimize mistakes during assembly.
Applying Finishes: Sand down the entire window frame to prepare it for staining and painting. Apply two coats of Weathered Oak stain for a rich hue. For a distressed look, strategically rub candle wax on parts of the frame before painting with flat white paint. Once dry, scrape off areas with the putty knife to reveal the beautifully stained wood beneath, achieving that desirable chippy paint aesthetic.

Accessorize: While fetching on its own, the frame’s charm multiplies when adorned. A heavy-duty stapler affixes a ribbon perfectly, offering a picturesque backdrop for any wreath, from festive Christmas circles of holly to spring-themed floral arrangements.

Leave a Reply