
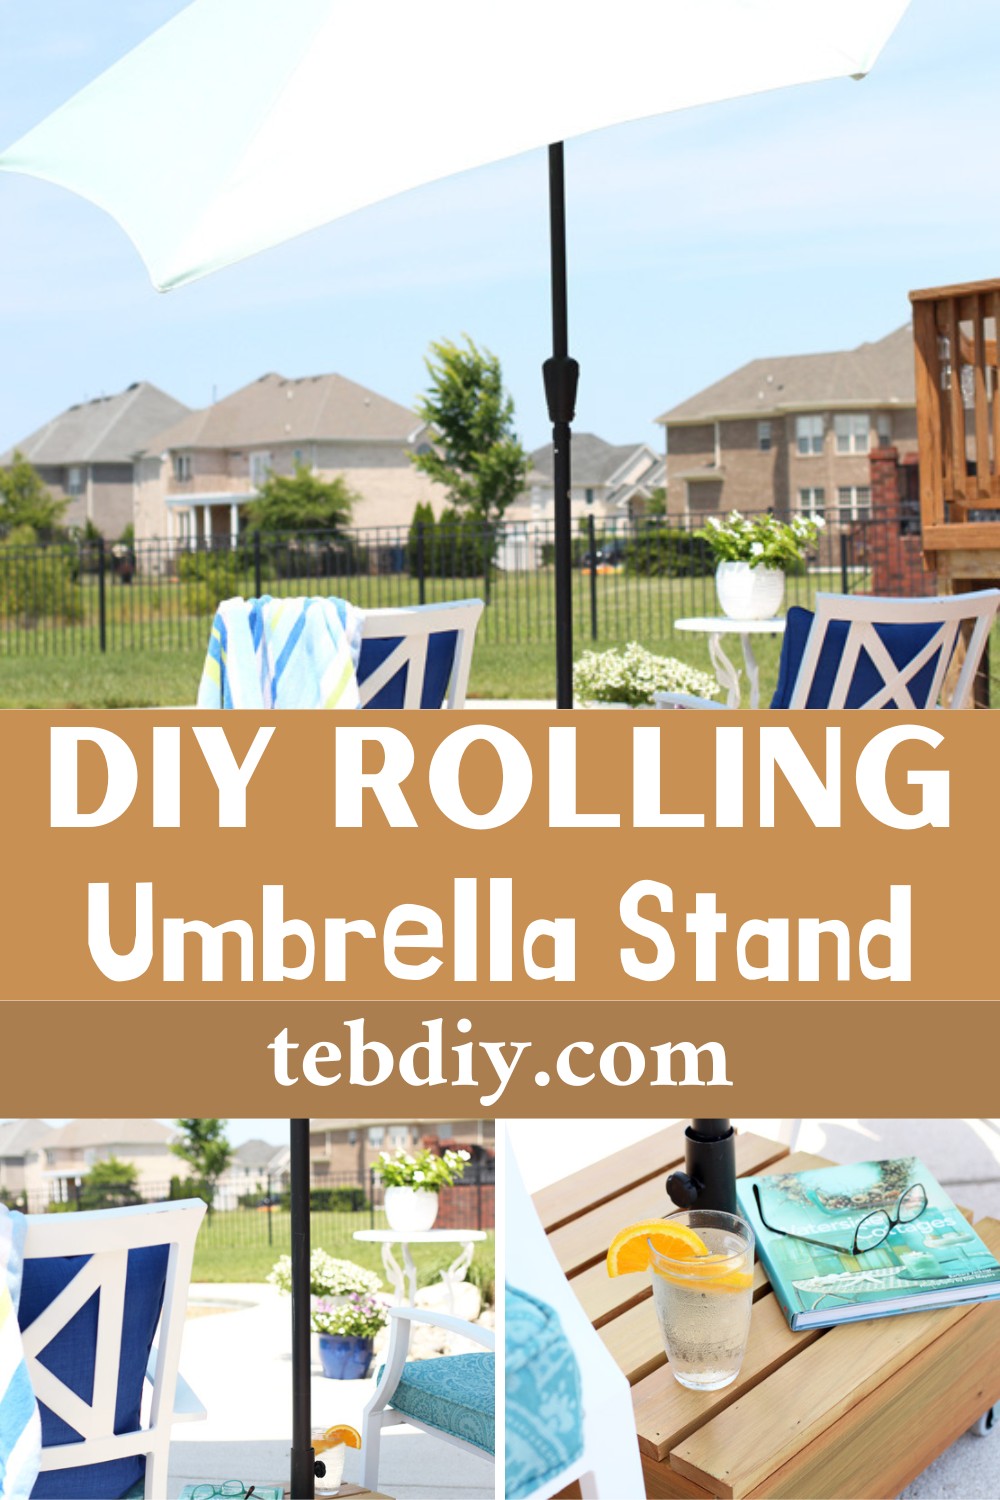
Are you thinking about making your home even more charming and comfy? If so, we have a fun and simple project for you – a DIY Rolling Umbrella Stand. This handy accessory can become a perfect piece that adds to your relaxing corner at home. This guide will walk you through the steps, making creating this cool umbrella stand by yourself easy. It’s more straightforward than you might imagine, and the result can be a delightful addition to your decor, and you’ll love it.

DIY Rolling Umbrella Stand
Materials Needed:
- Pressure-treated wood scraps
- Two locking swivel casters
- Two stationary casters
- Deck screws
- One and a half bags of Quikrete concrete mix
- A smaller concrete base from Target
- Plastic sheet
- FrogTape
- Thompson’s Water Seal deck stain in Desert Brown
- Pad applicator (paint edger) from Shur-line for staining
Tools Required:
- Miter saw
- Nail gun
- Sander
- Drill with pre-drill bit
- Grout mixing paddle (for mixing concrete)
- Five-gallon bucket (for mixing concrete)
- Table saw
- Jigsaw
Step-by-Step Creation Process:
Starting with the Wood Base: Cut and Sand: Begin with cutting all but two of the wood planks to a length of 19″. You’ll also need to trim two of the side pieces about 1 1/2″ shorter to fit between the other side pieces and one smaller piece to ensure the bottom forms a perfect square. Then, sand all the pieces, particularly focusing on the newly cut ends for a smooth finish. Use a nail gun to attach the side pieces, forming the walls of your box.
Preparing and Attaching the Wheels: Pre-Drill for Casters: Mark and pre-drill holes at the base for the wheels. Remember, two should be locking swivel casters and two stationary ones for stability and mobility.
Attach the Wheels: Fix the casters to the base using the deck screws to prepare the base for movement.
Adding Stability with Concrete: Insert a smaller concrete base inside the wooden base. Put a layer of plastic underneath and around the edges to avoid concrete leakage. Mix the concrete according to the package instructions and pour it over the base inside the wooden box. Fill until it’s flush with the top of your wooden base.
Finishing Touches:
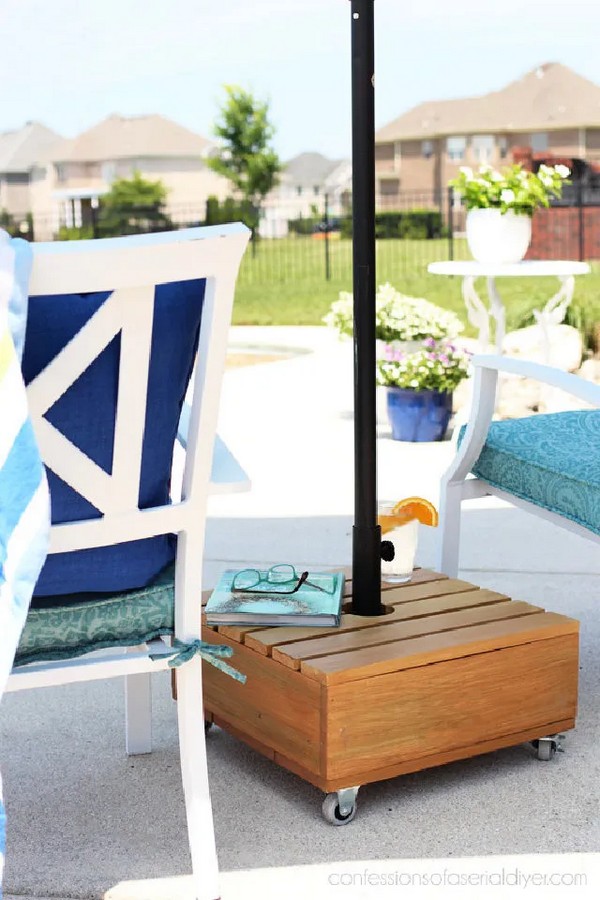
To hide the concrete, cut three 19″ pieces of wood planks and rip them in half lengthwise. Trace and cut a semi-circle on each piece for the umbrella pole, then secure these on top of the base. Using the same deck stain, apply it to the new top planks. Once dry, attach them with the nail gun, ensuring everything is uniform and cohesive. With the structure complete and dried, insert your umbrella into the designated hole.
It can even double as a side table, adding functionality and flair to your outdoor oasis. Such a project doesn’t just answer a practical need; it invites a personalized charm to any space, making your moments outdoors more enjoyable and shaded, just where you need them.
Leave a Reply