Explore transforming humble pallet wood into a stunning piece of art that captures the essence of your style and creativity. This DIY pallet Wood Painting Project, is a perfect blend of rustic charm and elegance, offering a unique way to decorate your walls. Whether you’re a seasoned DIY enthusiast or a curious beginner, this guide promises an enjoyable and fulfilling experience as you turn a simple piece of wood into something extraordinary. Dive into the materials and tools you’ll need, followed by a step-by-step guide to creating your own pallet wood painting.
DIY Pallet Wood Painting Project

Materials List
- Pallet Wood: Get three pieces, each measuring approximately 36 inches by 5.5 inches.
- Nails or Screws: To hold the wood pieces together securely.
- Paint: Choose colors that match your desired aesthetic.
- Tape: For masking off areas around your painting stencil.
- Adhesive (optional): Useful for securing the stencil for more intricate designs.
Tools Used
- Saw: To cut the pallet wood to the required dimensions.
- Computer/Printer: Needed to create and print out your stencil design.
- X-Acto Knife or Box Cutter: For cutting out the stencil accurately.
Step-by-Step Guide
Gathering Pallet Wood
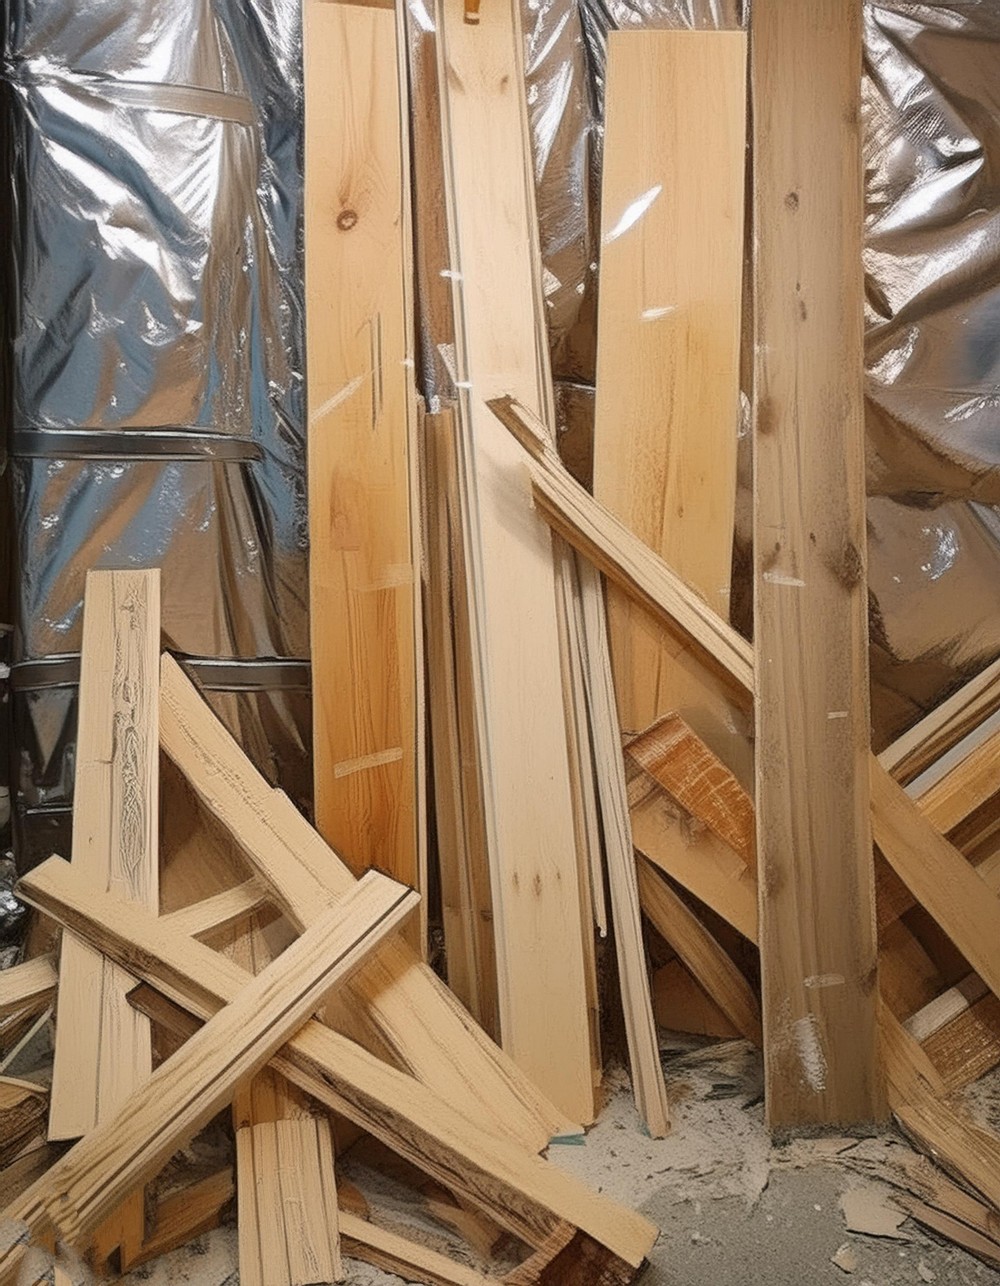
Begin with sourcing some pallet wood. Look for pieces in good condition that can be easily cleaned and cut.

Cutting Wood to Length
Measure and cut your pallet wood into three equal-length pieces of 22 inches each, keeping the remaining wood for later use.
Sanding
Give your wood a light sanding to remove any grime and soften major imperfections, preparing it for a cozy, rustic look.
Assembly
Use the remaining wood to join the three main pieces together. Apply glue for extra hold, then reinforce everything with nails or screws.
Cleaning
Wipe down the assembled wood with a damp cloth to pick up any leftover dust, ensuring a clean surface for painting.
Painting – Base Coat
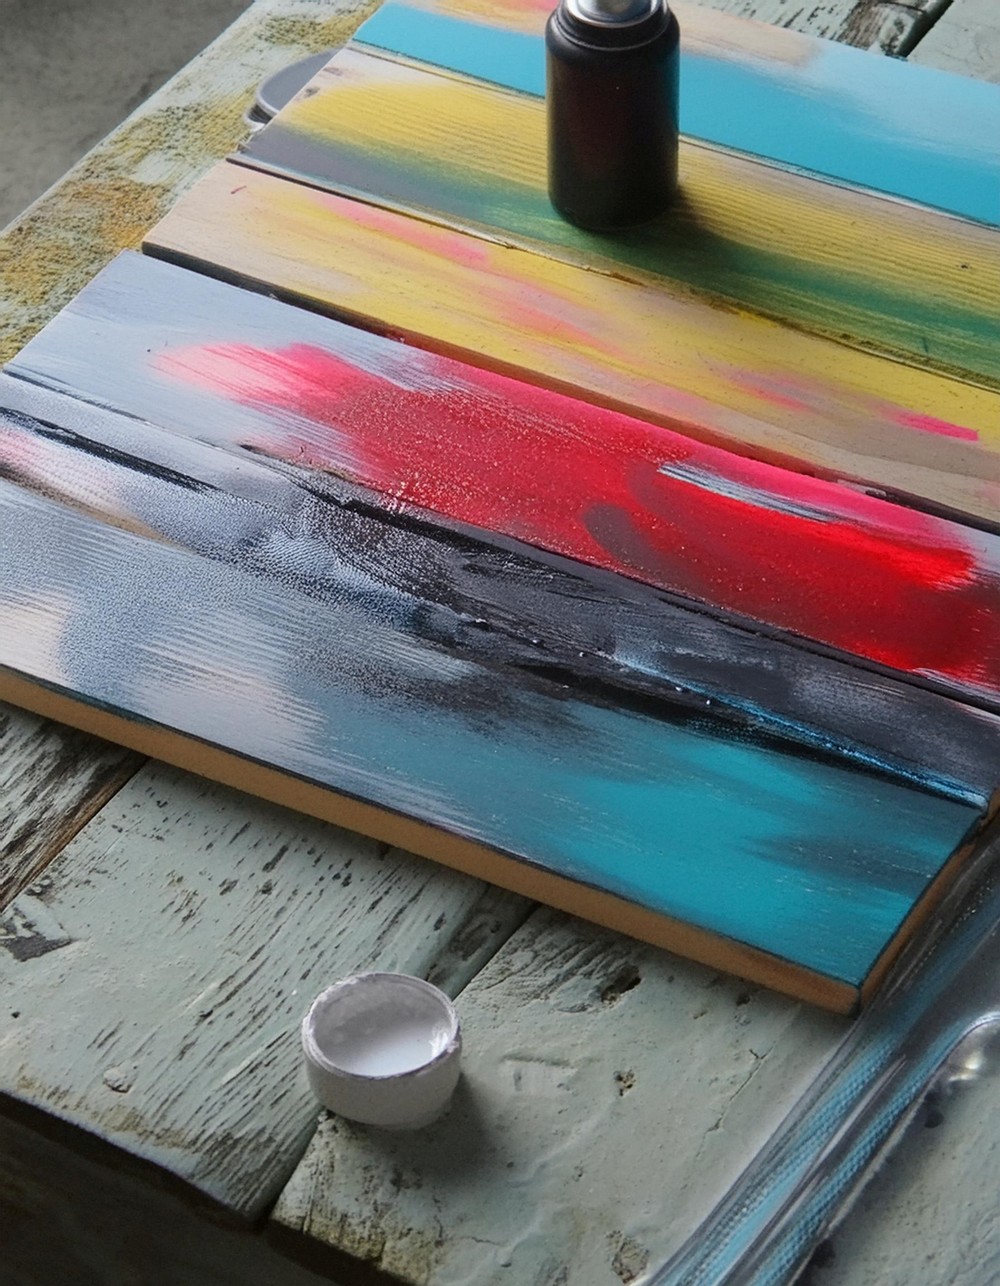
Apply a base coat of paint. Pallet wood is naturally porous, which might yield an uneven finish; this, however, enhances its rustic appeal. For a more refined look, consider a smoother sanding and possibly a primer.

Preparing the Stencil
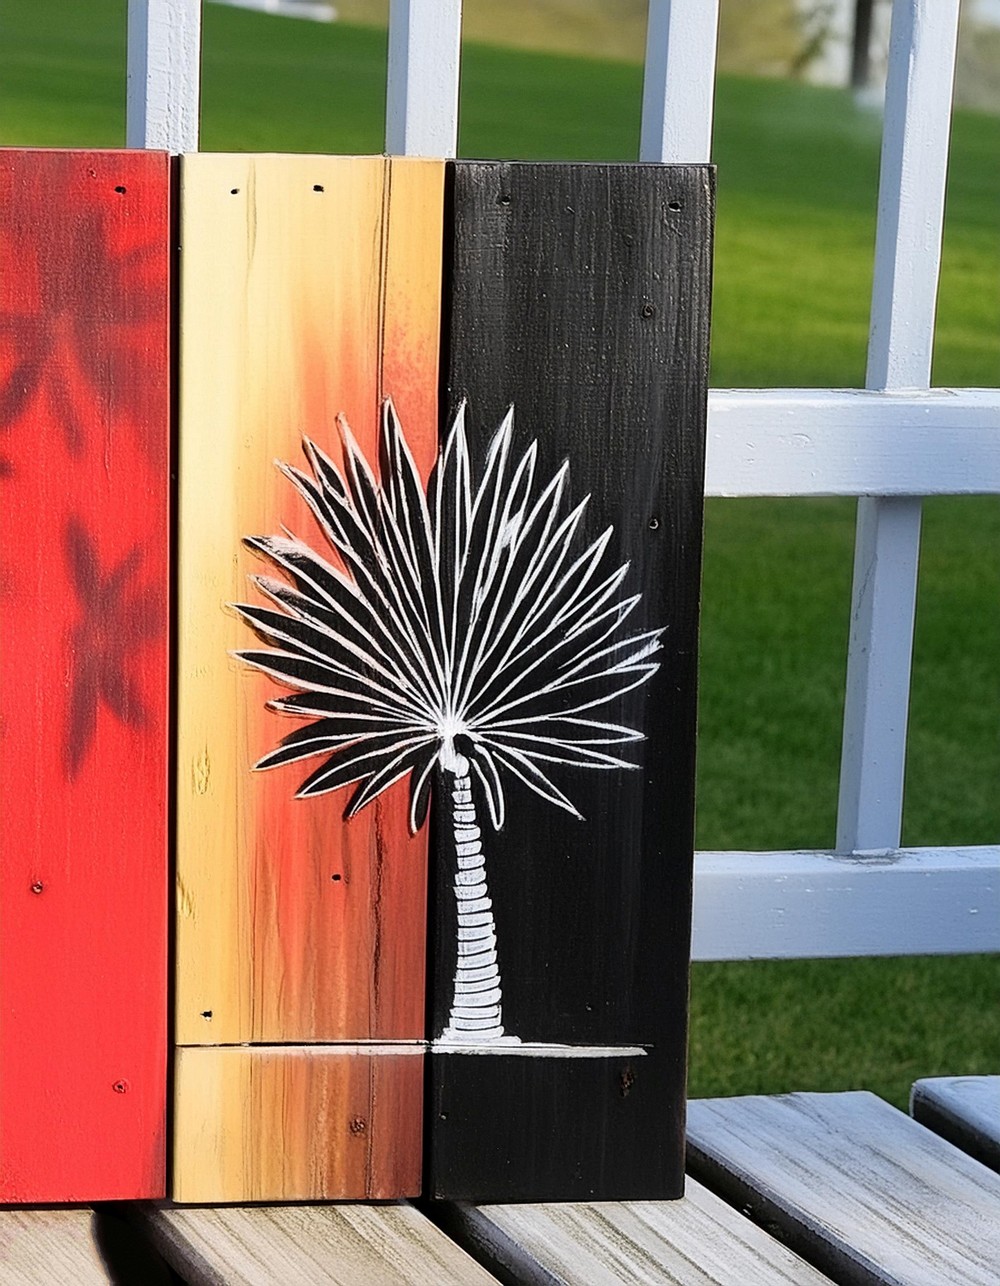
Choose an image that speaks to you (in this case, a modified version of the South Carolina Flag) and print it on card stock. Carefully use an X-Acto knife to cut out your stencil design.
Painting – Detail Work
Fix the stencil on the wood. Use adhesive if needed, especially for designs with finer details. Mask the surrounding areas with tape to keep your work neat, then paint over the stencil in the colors of your choice.
Through these detailed steps, you transform simple pallet wood into a personalized piece of art. Not only do you repurpose material in a creative way, but you also end up with a one-of-a-kind decoration that tells a story. Happy crafting!


Leave a Reply