
Here we will guide you with a remarkably rewarding DIY Raised Outdoor Planter Boxes project about taking raw materials and transforming them into a functional piece of outdoor decor, especially when it adds a touch of nature to your living space. The project of building raised outdoor planter boxes is a perfect example. Not only do these planter boxes elevate the aesthetic of your backyard or patio, but they also offer a practical solution for growing your own herbs, flowers, or vegetables.
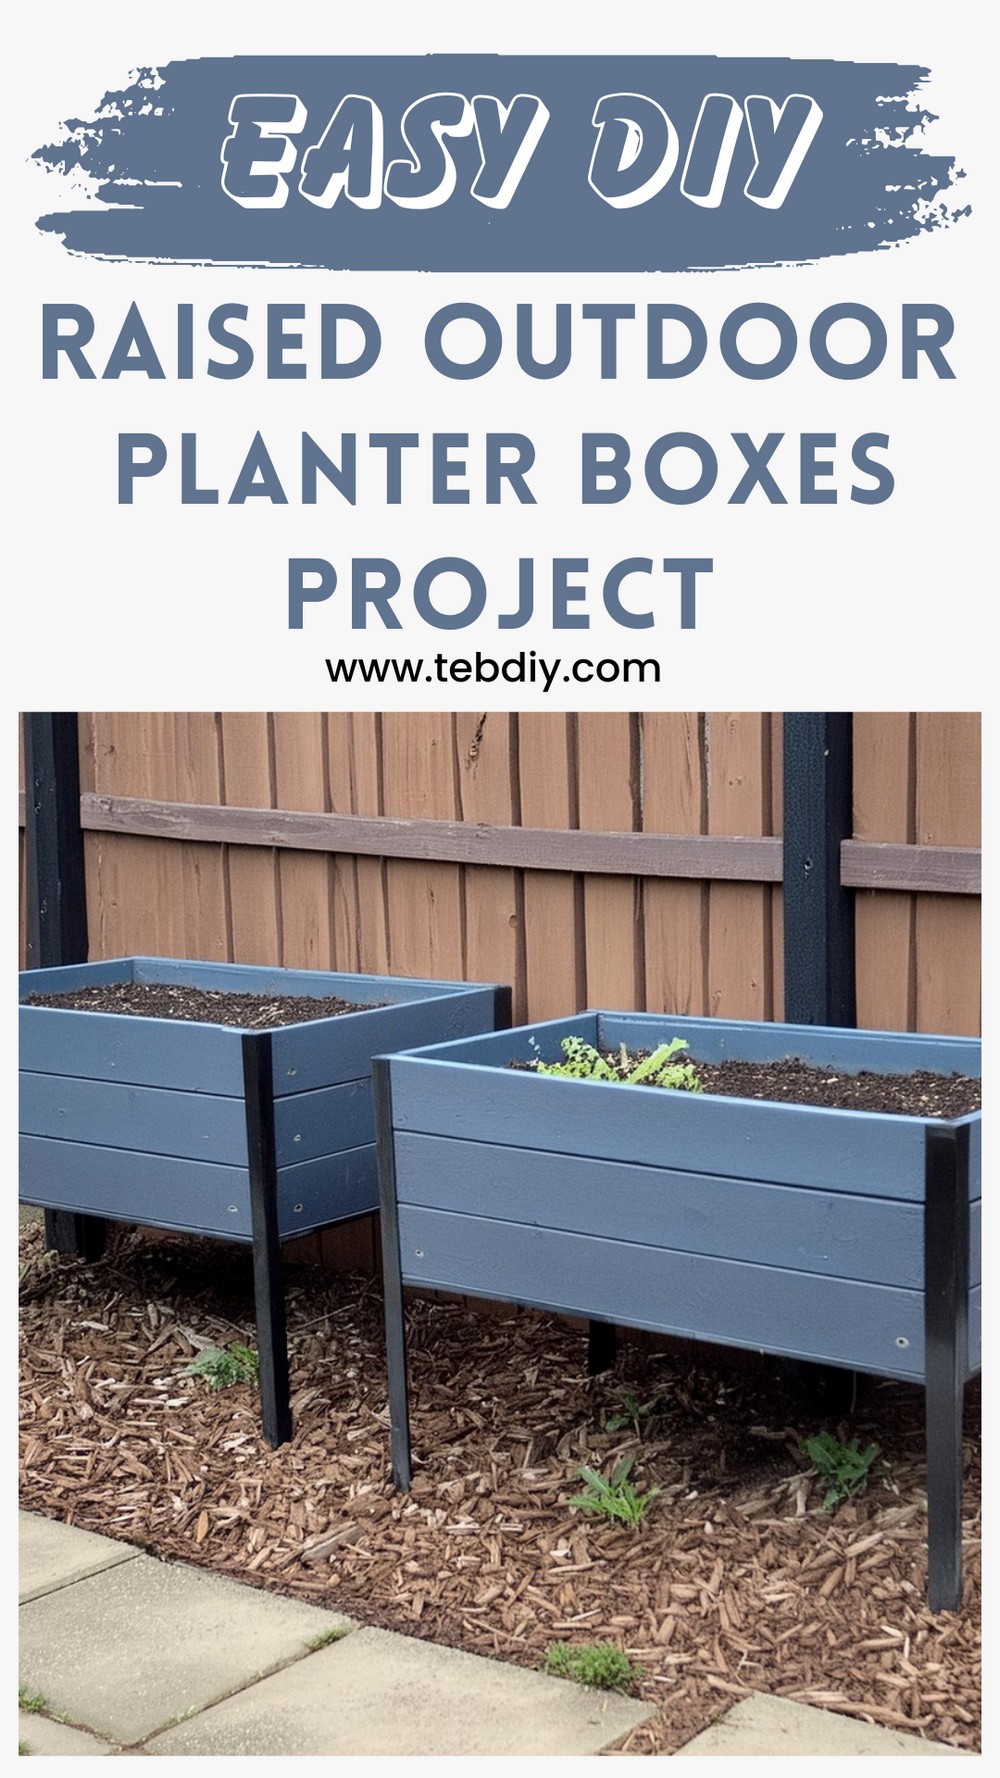
DIY Raised Outdoor Planter Boxes

Ready to get your hands dirty and your garden flourishing? Let’s dive into the essentials needed and the steps to create these charming raised planter boxes.
Materials Required:
- (5) 2x6x8′ Pressure-Treated Boards (Note: Non-treated is an option, but they require frequent maintenance to prevent rot.)
- 3-1/2″ #10 Outdoor Screws
- 1/4″ Wire Mesh Hardware Cloth
- Plastic Sheeting
- 1/4″ x 3″ Stainless Lag Screws (Galvanized screws are also suitable.)
- (4) Steel Legs (2″ Angle, 1/8″ Thick, 36″ Long)
- Outdoor Construction Adhesive
- Optional: Paint for a custom finish
Tools Needed:
- Miter Saw, Circular Saw, or Hand Saw
- Drill & Bits
- Staple Gun

Step-by-Step Guide:
Site Preparation
Identify and prepare the location for your planter boxes. Remove any unwanted plants and level the soil to create a smooth surface.
Cutting Materials
Measure and cut the wood according to the desired dimensions. Each front and rear piece should be 48″ long, with the end pieces and bottom braces at 24″ long, accounting for the slight reduction in length due to the saw blade’s width.
Drilling Pilot Holes
Mark a guideline 3/4″ from the edge of each piece for the screw placements. Using a drill, make pilot holes at these marks to prepare for assembly.

Assembly of Layers
Begin assembling the layers by joining each piece at the pilot holes with outdoor screws. Clamps can be used to align the joints for a straighter assembly.
Installation of Bottom Supports
To ensure the planter can bear the weight of the soil, install supports across the bottom layer. Space them evenly for optimal support.
Layer Assembly
Layer the cut pieces, using outdoor construction adhesive for added durability. Clamps or heavy objects can be used to secure the layers while the adhesive sets.
Inserting Mesh and Plastic Liner
Add a wire mesh at the bottom to facilitate drainage yet keep the soil in place. Follow with a plastic liner along the sides to prevent potential chemical leeching from the treated wood.

Applying Finish
Though optional, painting the planters can enhance their durability and appeal. Match them with your outdoor decor for a cohesive look.
Preparing and Attaching Legs
Prepare the metal legs by smoothing any rough edges and drilling holes for attachment. A coat of primer and paint will protect them from rust.
Securing the Legs
Position the legs at each corner of the planter and secure them with the lag screws, ensuring they’re tightly affixed for stability.
Positioning the Planters
With assistance, move the heavy planter to its designated spot. Make minor adjustments to ensure it’s level, particularly important for optimal plant growth.
Filling with Soil
Mix native soil, organic compost, and potting mix to fill the planter. A gravel layer at the bottom helps with drainage.
Enjoy Your Handiwork
Once the climate is right, plant your chosen seeds or plants. Adding a layer of mulch around the planter can enhance its appearance and benefit plant growth.
Building your own raised outdoor planter boxes is not just a way to personalize your outdoor space; it’s an opportunity to engage with nature and perhaps discover a rewarding new hobby. Each step brings you closer to a garden that reflects your care and creativity—happy planting!
Leave a Reply