
Add a personal touch to your table essentials with these DIY Pinwheel Placemats, showcasing a vibrant transformation of ordinary mats into artistic table decors. This exciting project is both effortless and customizable, making it a delightful option for those who want to add a dash of creativity to their meal times or special gatherings.
DIY Pinwheel Placemats

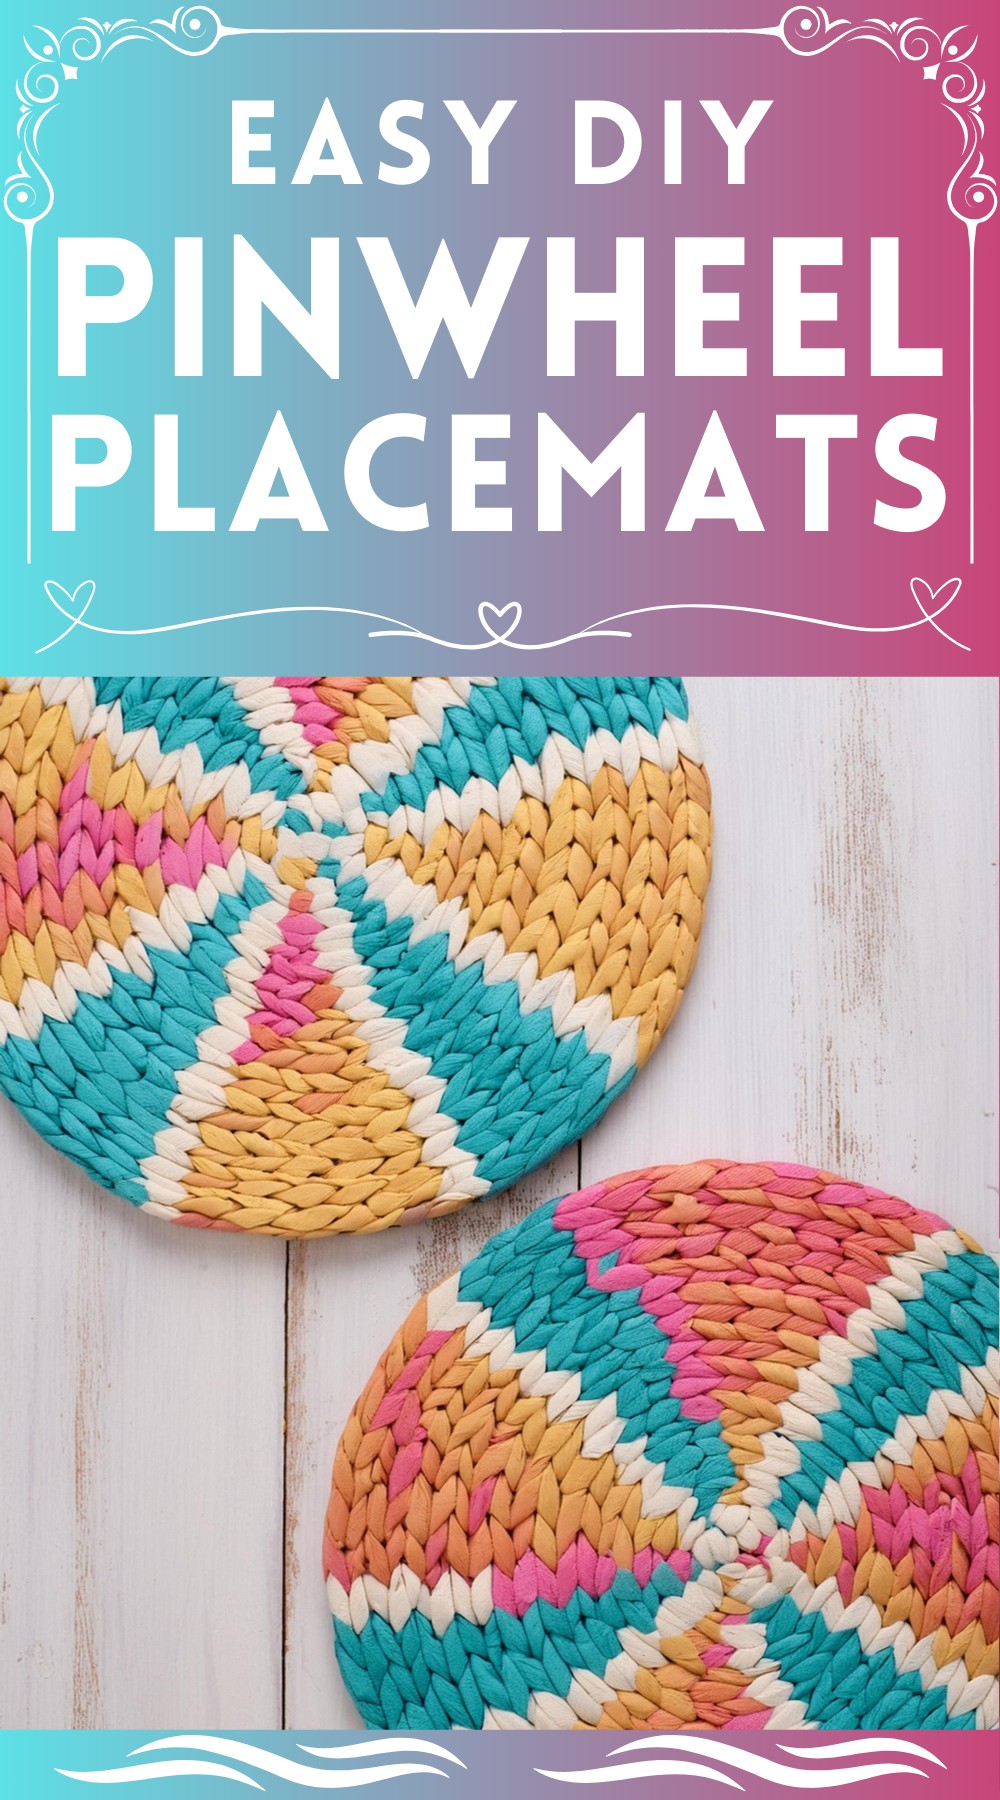
The project involves creating a pinwheel or triangular pattern across the placemat. This geometric design adds visual interest and a touch of modern style. Each color segment in the design is hand-painted, lending a charming, artisanal feel to the mats. The multi-purpose craft paint gives these placemats a non-glossy, matte finish. It promotes a high-end, stylish look.
Materials Required:
- Placemats
- Tape
- Multi-purpose Craft Paint
- Paintbrush
Creating Your Custom Placemats:
Planning your Design:
Before applying any paint, plan out your pinwheel design and decide which color goes where on the placemat. This will help you create an organized and aesthetically pleasing pattern.

Section Off Your Design:
Use tape to mark off one section of your pinwheel design. Press down firmly on the tape to ensure a clean paint line.
Painting Time:
Now, with your chosen paint color, start filling in your design. Depending on the color of your placemat, you may need to apply two coats.

Wait for it…
Avoid smudging the design by allowing the paint to dry completely before peeling off the tape. Patience is key!
Repeat the Process:
Continue the same process for your remaining colors. To save time, paint the same color on all your placemats before moving on to the next shade.
Final Reveal:
Once all sections are painted and dry, your handmade pinwheel placemats are ready to complement your table setting!

Leave a Reply