
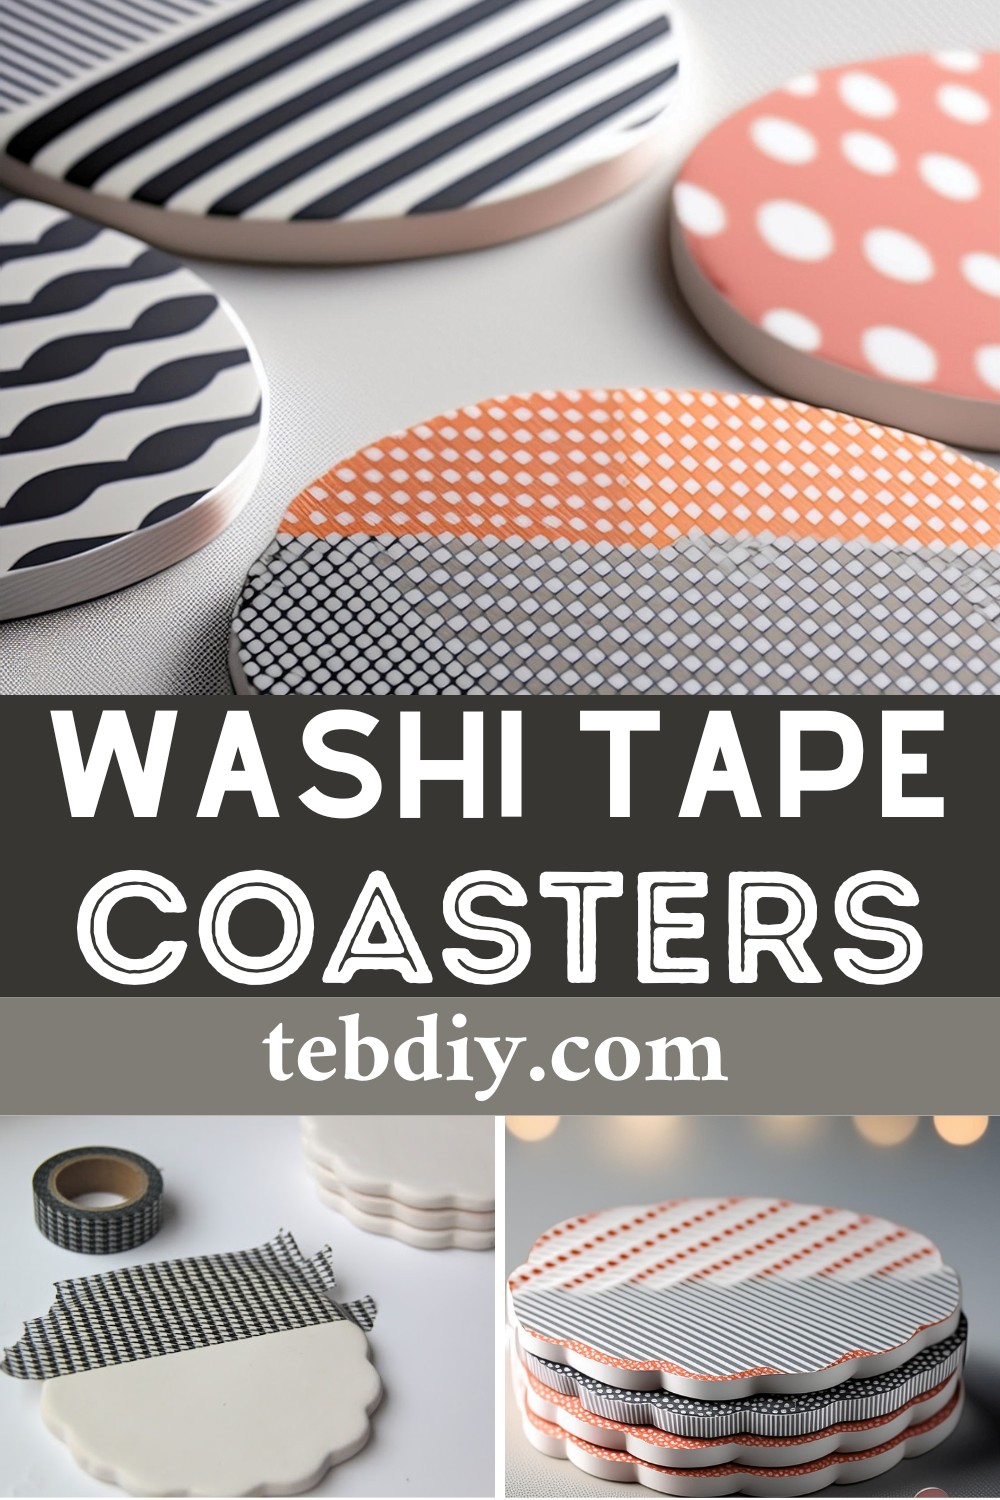
Learn how to make charming Washi Tape Coasters with simple materials. A perfect DIY project for creative gifts or adding a personal touch to your décor. Whether you’re a seasoned DIY-er or a novice, the step-by-step instructions in this tutorial will transform regular ceramic tiles or coasters into beautiful, unique pieces of functional art.

DIY Patterned Washi Tape Coasters

Materials List
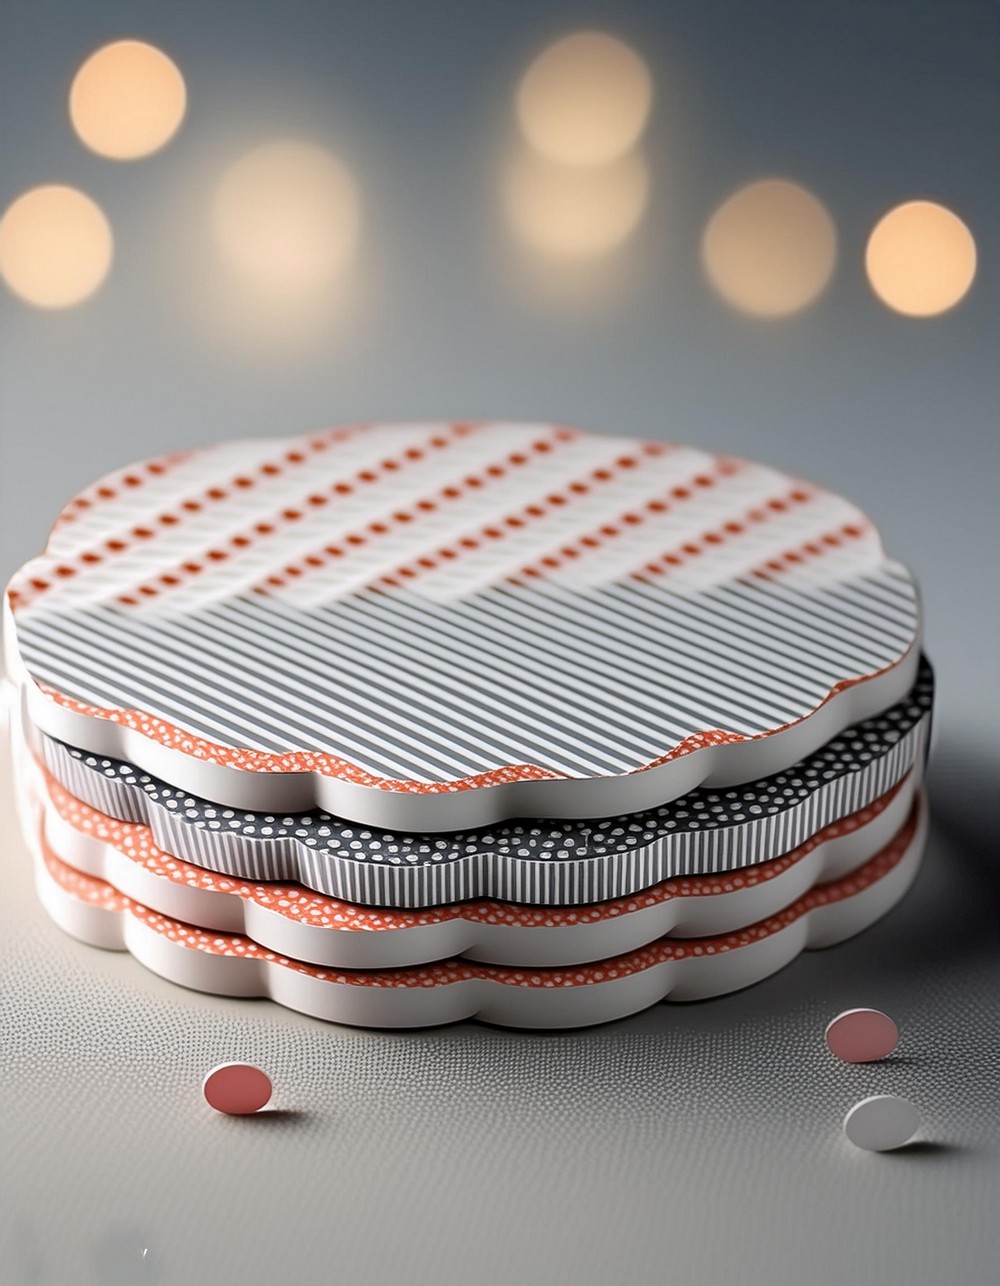
- A set of ceramic coasters (Ceramic tiles can be used as well)
- Washi tape of your preferred designs
- Clear acrylic sealer
- Mod podge
Tools Needed
- X-acto knife
- Cutting mat
- Foam brush
Step-by-Step Process
Preparation:
Begin by cleaning your ceramic coasters with a damp cloth and allow them to dry. This will enable the Washi tape to adhere better.
Tape Application
Arrange strips of Washi Tape slightly longer than the coaster’s size alongside each other. Ensure you match the pattern on your tape as closely as possible if there is one. Aim for no uncovered space on the coaster. The beauty of Washi Tape is that it’s removable and re-stickable, so you can always make corrections.
Trimming
After completely covering the coaster, gently press down the Washi Tape to achieve a smooth surface. Now, place it on a cutting mat and, using your X-acto knife, trim the excess Washi Tape around the edges.
Sealing
In their current state, your coasters could be considered complete. However, to make them more durable and resistant to drink condensation, an additional step is necessary. Apply Mod-Podge to the tops and sides of the coasters with a foam brush, as per the instructions on the Mod-Podge packaging. Allow the coasters to dry thoroughly.
Waterproofing
Finally, spray a coat of Clear Acrylic Sealer over the top of the coasters. This step will waterproof them, enhancing their functionality.
And there you have it! Your own custom set of Washi Tape Coasters, ready to enliven any setting with their vibrant hues!
Leave a Reply