Have you ever gazed upon a pile of discarded pallets and envisioned something more? This project will guide you through the transformation of humble pallet slats into a unique and stylish bench. With a combination of woodworking and metalworking, this endeavour is perfect for those who love to blend rustic charm with a modern silhouette. Whether you’re new to crafting or are looking for your next challenge, this pallet wood bench project promises not just a piece of furniture, but a statement piece that sparks conversation.

DIY Pallet Wood Bench Project

DIY Pallet Wood Bench With Hairpin Legs Project
Materials Needed
- Pallets (quantity depends on the size desired for the bench)
- 1/2″ round steel rod for legs
- Flat stock for the leg mounting bracket
Tools Required
- Thickness planer
- Clamps
- Sandpaper/Sanding device
- Router (with round-over bit)
- Danish Oil (for finishing)
- Welding equipment (welder, welding helmet, gloves, etc.)
- Saw (preferably a band saw or jigsaw for angled cuts)
Step-by-Step Guide
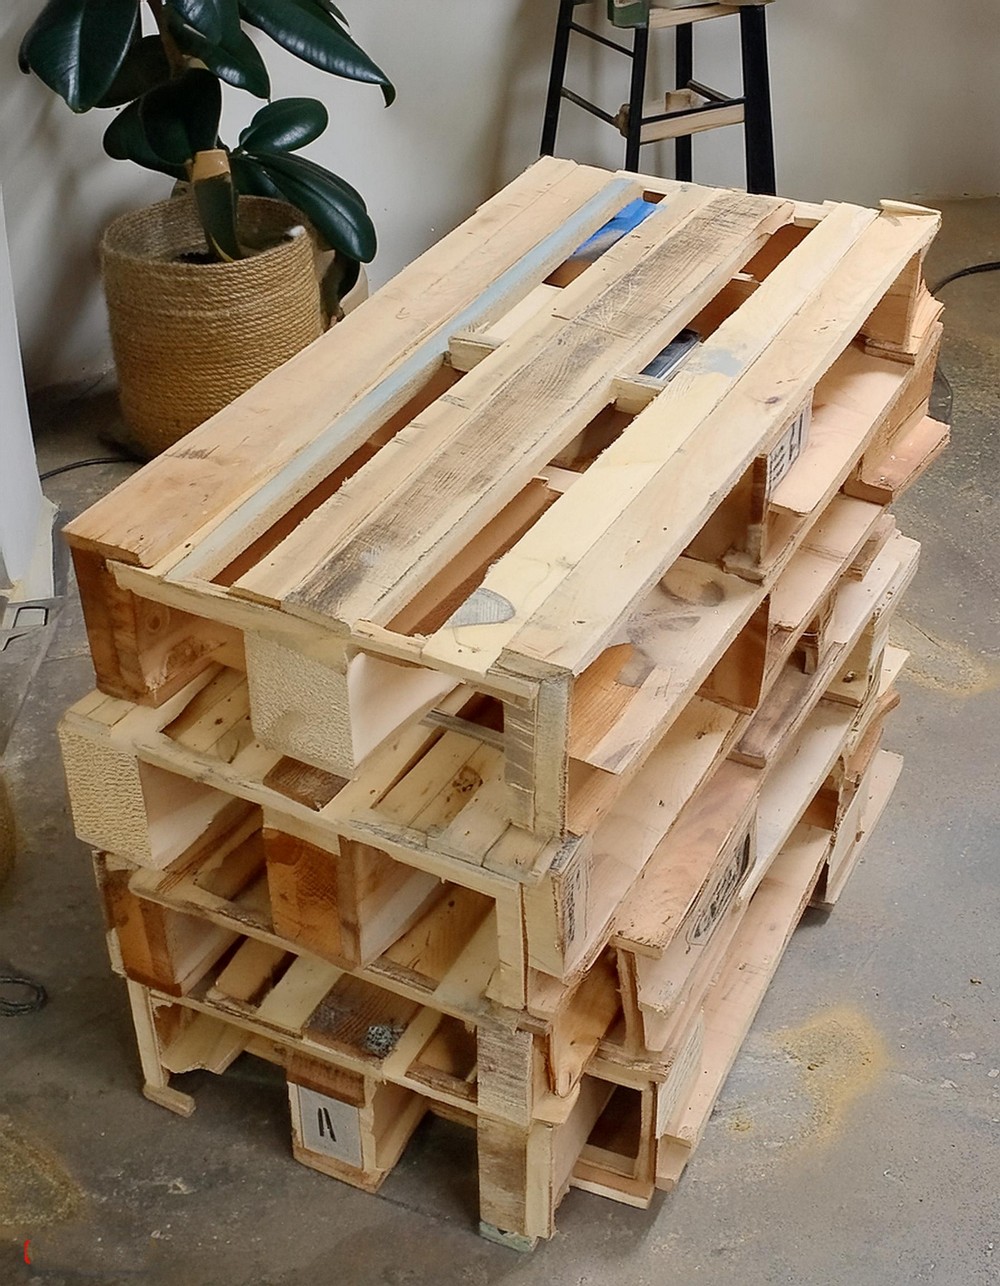
Gathering Pallets
Look around for discarded pallets; these are often found near dumpsters at apartment complexes or businesses following large deliveries. The quantity needed may vary based on the desired bench size and the condition of the pallets found.
Preparing the Wood
Break down the pallets to free the slats. The next crucial step involves running the slats through a thickness planer, which cleans them up and ensures they are of consistent thickness.

Gluing the Wood
Start by gluing the separate slats into three sections. This initial separation makes clamping and managing the pieces more manageable. Afterward, glue these sections together to form a solid slab. This slab forms the bench’s seat.
Planing the Slab
The slab at this point is likely to be heavy and somewhat difficult to handle. Run the entire piece through the thickness planer. This step is vital for ensuring the top and bottom surfaces are perfectly flat and smooth.
Shaping the Bench
For a modern touch, the ends of the slab can be cut at an angle. This stylistic choice adds to the overall aesthetic of the bench, offering a more contemporary look.
Finishing Touches
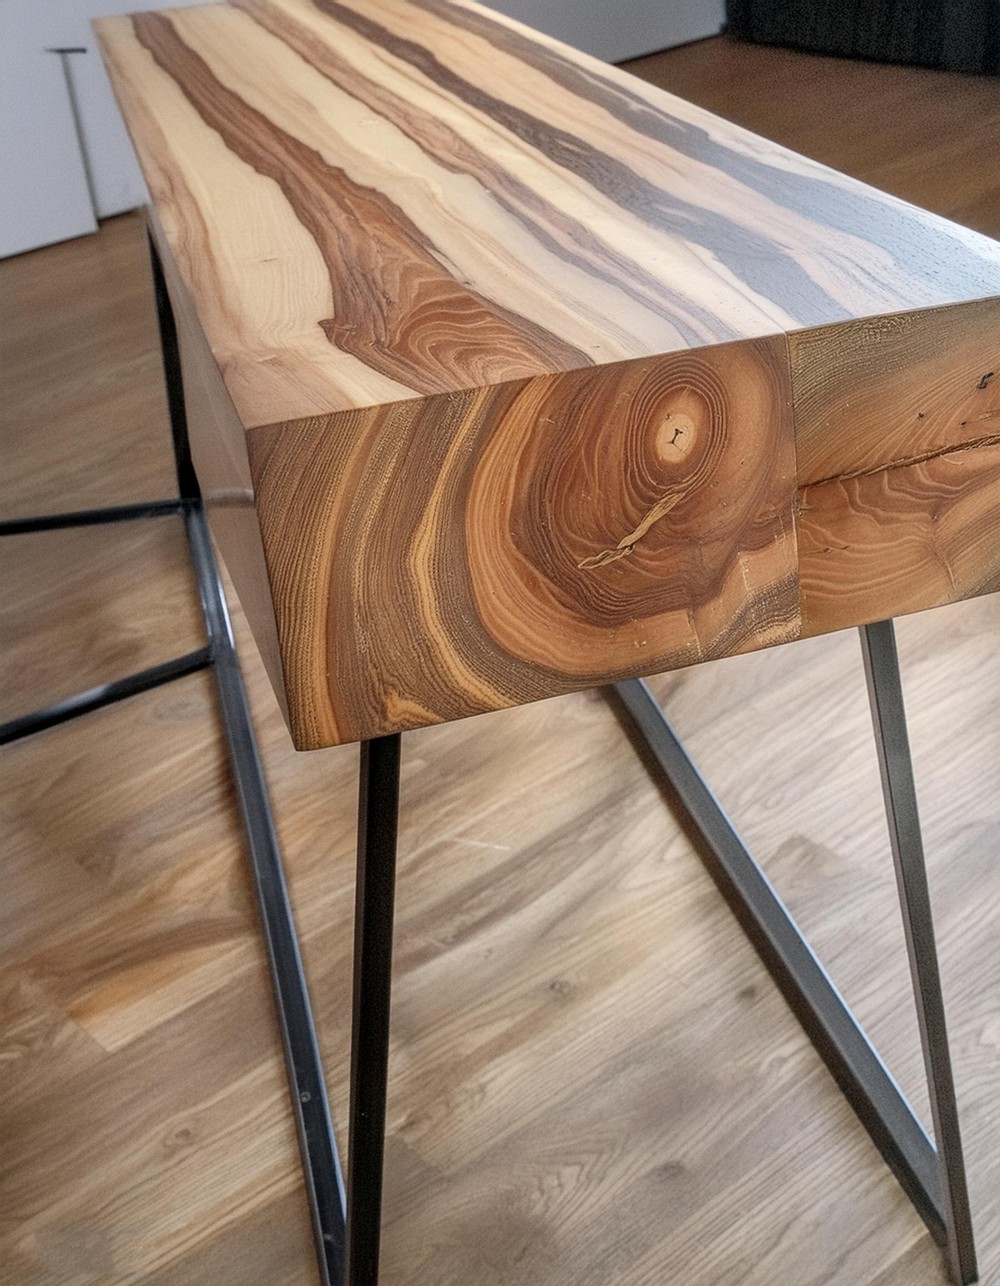
Once the shape is finalized, sand the entire piece thoroughly. Use a router with a round-over bit to smooth the edges. Finish the wood with a couple of coats of Danish Oil to seal it and bring out the beauty of the pallet wood.

Constructing the Legs
For a distinctive look, craft the legs from 1/2″ round steel rod, bending them into a hairpin style. This requires some metalworking skills, including bending and welding. The legs are welded to a “T” shaped mounting bracket made out of flat stock.
Attaching the Legs
Attach the legs to the ben, ensuring they are properly angled to match the slab’s aesthetic. This may involve a bit of trial and error to get the positioning just right.
Conclusion: Enjoy Your Bench
With the legs securely attached, your pallet wood bench is now complete. This unique piece marries rustic charm with modern design, creating a focal point for any room or outdoor space. As a finished piece, it not only serves a practical purpose but also stands as a testament to creative recycling and craftsmanship.
The Seal of Approval
And of course, no project is complete without the final verdict from our furry friends. If the dogs love it, then it’s best to be a hit.
Embarking on this project, remember that the true beauty of DIY lies not just in the creation of something new but in the story it tells. This pallet wood bench is more than a place to sit; it’s a narrative of transformation, imagination, and the endless possibilities that lie in repurposing the ordinary into the extraordinary.


Leave a Reply